Choosing the Right Medicine Cabinet
How to install medicine cabinet? Choosing the right medicine cabinet is crucial for both functionality and aesthetics. It’s important to consider various factors such as size, style, material, and features.
Types of Medicine Cabinets
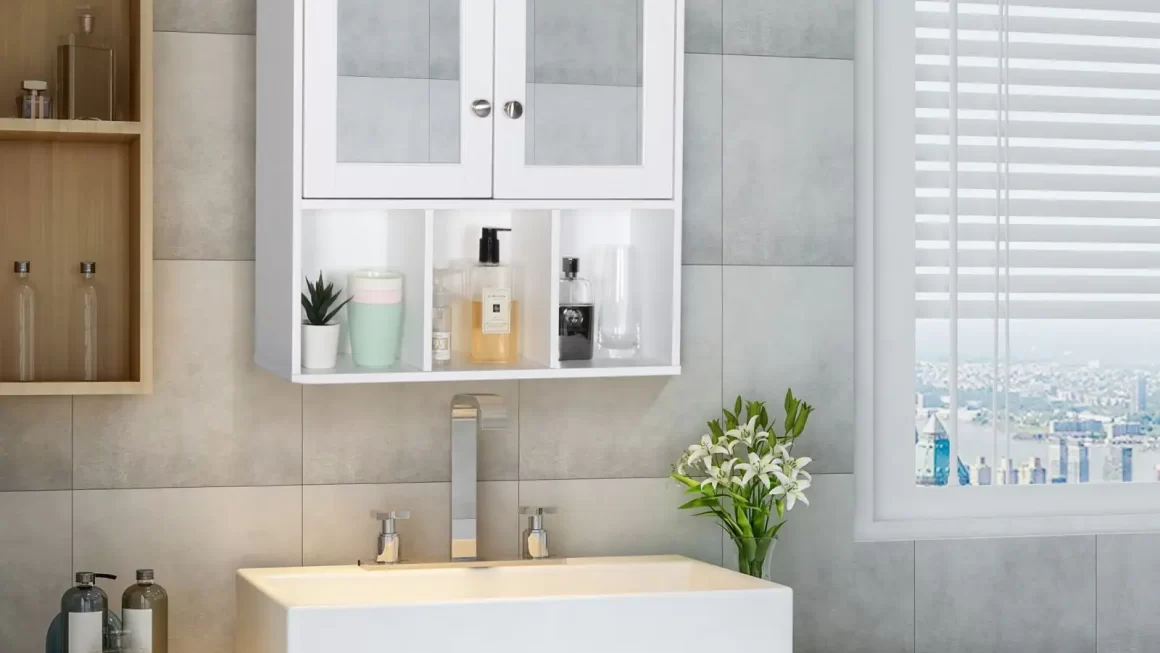
There are several types of medicine cabinets to consider. Recessed cabinets sit flush with the wall, creating a sleek look and saving space. Surface-mounted cabinets are easier to install but protrude from the wall. Corner cabinets are ideal for small bathrooms, and mirrored cabinets offer a dual function. Select a type that blends with your bathroom decor and meets your storage needs.
Considerations for Size and Space
Size matters when it comes to installing a medicine cabinet. Ensure it’s proportional to your vanity and the wall space available. Take into account the height and depth as well to prevent obstructions with existing fixtures. Leave enough clearance for doors and drawers to open without interference. Also, remember that a cluttered cabinet is hard to manage, so choose a size that will help you stay organized. With these tips, you can select the perfect medicine cabinet for your bathroom renovation.
Tools and Materials Needed
Before you start the project of how to install a medicine cabinet, ensure you have the necessary tools and materials. Gathering everything ahead of time will make the installation process smoother and more efficient.
Essential Tools
To install a medicine cabinet, you will need a variety of tools. These include:
- A drill for making pilot holes and driving screws.
- A level to ensure your cabinet is even and properly aligned.
- Measuring tape to accurately measure distances and placement.
- A stud finder to locate wall studs for secure mounting.
- Screws and anchors appropriate for your cabinet and wall type.
- Screwdriver or a drill bit for driving screws.
Equip yourself with these tools to avoid interruptions once you begin the installation.
Optional Accessories
While the following items aren’t strictly necessary, they can enhance the installation process:
- A pencil for marking drill spots on the wall.
- A hammer in case you need to gently tap any fixtures into place.
- Wall patching kit for correcting any accidental marks or holes on the wall.
- Silicone caulk to seal the edges of the cabinet for a finished look and to prevent moisture ingress.
- Safety goggles to protect your eyes from dust and debris while drilling.
With these additional items at your disposal, you’ll be well-prepared to install your medicine cabinet with a professional touch.
Preparing the Installation Area
Before you begin to install your medicine cabinet, proper preparation of the area is essential. This preparation ensures that the installation goes smoothly and the cabinet is mounted securely.
Measuring and Marking
Start by measuring the area where you want to install the medicine cabinet. Use a measuring tape for precision. Check the width, height, and depth. Make sure it fits the dimensions of the cabinet. Mark the wall with a pencil where the cabinet will go. These marks will guide you during installation. Double-check your measurements to avoid errors.
Checking for Studs and Wires
Next, use a stud finder to locate the studs in the wall. Attaching the cabinet to studs is crucial for stability. Once you find the studs, mark their locations on the wall. Also, check for any electrical wires or plumbing behind the wall where you plan to place the cabinet. It’s important to avoid these to prevent damage and ensure safety. If you find wires or pipes, you might need to slightly adjust the cabinet’s position.
Installation Steps
After preparing the installation area, you’re ready for the actual installation of your medicine cabinet.
Mounting the Cabinet
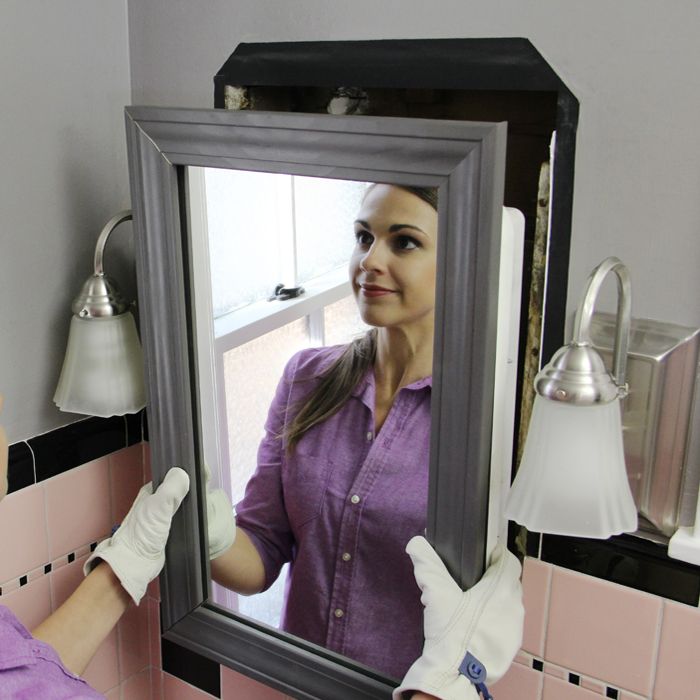
Begin by lining up the cabinet with the marks you made earlier. Ensure you hold the cabinet level. If it’s a recessed model, fit it into the pre-cut opening. For surface-mounted units, align it with the marks on the surface.
Now, making sure the cabinet is still level, mark the spots for the drilling holes. Drill pilot holes where you’ve marked. This helps to prevent the wood from splitting when you insert the screws. Next, if necessary, position any mounting brackets that came with the cabinet.
Attach the cabinet to the wall by driving screws into the pilot holes. For recessed cabinets, make sure they fit snugly into the wall cavity. If you’re working alone, use props to support the cabinet while you secure it.
Securing the Cabinet Safely
Once the cabinet is in place, check its stability. It should not wobble or tilt. If it does, readjust the screws to make it firm. For additional security, especially for heavy cabinets, ensure at least two screws are anchored into a stud. This will hold the weight of the cabinet when it’s full.
If your wall does not allow for stud mounting, use heavy-duty wall anchors. These anchors spread the load across a wider area of the wall, providing a secure hold. After securing, gently pull on the cabinet to ensure it is firmly attached to the wall.
Remember, safety comes first. If you’re ever unsure or the job seems too complex, don’t hesitate to seek help from a professional. With these steps, you’re well on your way to having a new, securely installed medicine cabinet ready to use.
Finishing Touches
After installing your medicine cabinet, there are a few finishing touches to attend to. These final steps will ensure your cabinet looks great and functions well.
Adjusting Doors and Shelves
Once your cabinet is securely mounted, you might need to adjust the doors and shelves. For doors, check that they open and close smoothly. If not, tighten or loosen the hinges until the movement is right. For shelves, position them at the heights you desire. This is simple if your cabinet has adjustable shelves. Simply slot them in at the preferred notches. Ensuring your doors are aligned and shelves are evenly spaced will provide you with a clean, organized look.
Cleaning and Maintenance Tips
Keep your new medicine cabinet clean and in good shape with regular maintenance. To clean, use a gentle cleanser and a soft cloth. Wipe the interior and exterior. Avoid harsh chemicals that can damage the finish. Clean the mirror with a glass cleaner for a streak-free shine. Check the cabinet periodically for loose screws or hinges, and tighten as needed. By doing these small tasks, you maintain the appearance and longevity of your cabinet.
Implement these finishing touches to make the most out of how to install a medicine cabinet. With the right care, your medicine cabinet will serve you well for years to come.
Common Mistakes to Avoid
While learning how to install a medicine cabinet, it’s essential to be aware of common pitfalls.
Misalignment Issues
Misalignment can lead to a number of problems. Doors may not close properly. Items inside might fall out unexpectedly. To avoid this, always use a level when installing. Double-check measurements before drilling. Ensure that each screw is tightened equally.
Ignoring Safety Precautions
Safety must be a top priority during installation. Wear safety goggles to protect your eyes. Be cautious of electrical wiring and plumbing inside the walls. Use correct wall anchors for non-stud areas to prevent cabinet falls. If you’re not confident, seek professional help. Following these safety tips will help prevent accidents and ensure a secure installation.


