Preparing for Cabinet Handle Installation
How to install cabinet handles? Proper preparation is key to a smooth cabinet handle installation process. Ensuring everything is in order before you start can save time and prevent mishaps.
Assessing the Condition of Your Cabinets
Before you begin, examine your cabinets closely. Look for any damage, wear, or inconsistencies that could affect the installation of new handles. Make sure your cabinets are sturdy and the surface is clean, so the new handles adhere well.
Tools and Materials Needed for Handle Installation
You will need the right tools and materials to install your cabinet handles effectively. Gather a tape measure, screwdriver, drill, drill bits, marking pencil, and possibly a level. Also, have your new handles, screws, and any additional hardware ready. Do not forget a jig for consistent placement, which you can make yourself or purchase. Wood filler may be necessary if you’re dealing with old holes that need covering.
Removing Old Hardware
Before installing new cabinet handles, you must first remove the old ones. This step sets the stage for a successful update to your cabinets’ appearance and functionality.
Steps to Safely Remove Outdated Handles and Knobs
To begin, loosen the screws that hold the old hardware in place using a screwdriver. Take care as you do this to avoid scratching or damaging the cabinet doors. Once the screws are removed, gently pull the handles or knobs away from the door. If they are stuck due to paint or sealant, carefully wiggle them back and forth until they come free. It’s important not to force them, as this could harm the surface of your cabinets. Collect all the old screws and hardware in a container to prevent loss or injury from sharp edges.
Filling Old Holes with Wood Filler
Once you have removed the old hardware, assess the holes left behind. If your new handles won’t cover these holes, they will need to be filled with wood filler. Apply the wood filler according to the product instructions, ensuring it matches the cabinet’s color for a seamless look. Allow the filler to dry completely, which may take several hours. Once dry, you can sand down the filled areas to create a smooth, flat surface that’s ready for the new hardware. This step is crucial for a polished finish and sturdy handle installation.
Measuring and Planning Handle Placement
How to install cabinet handles? Proper measurement and planning pave the way for a flawless cabinet handle installation. It is critical to determine the exact spots for your handles. This ensures ease of use and a polished look.
Finding the Perfect Position for New Handles
To find the ideal location for new handles, start by identifying the center point of your drawer or cabinet door. For precision, use a tape measure to mark this spot. Remember, the handle’s position should feel natural to your touch and eye. Make a template if you’re installing many handles. This helps maintain uniformity across all cabinet doors.
Differences in Placement for Drawers and Doors
Drawers and doors have different handle placement guidelines. Typically, for drawers, you center the handles both horizontally and vertically. For cabinet doors, handle placement varies depending on whether the cabinet is above or below the countertop. On upper cabinets, handles are generally placed 2 to 3 inches from the bottom. On lower cabinets, they’re placed 2 to 3 inches from the top. This spacing ensures ease of reach and uniformity in appearance. Mark these points before drilling to avoid errors and rework.
Creating a Custom Jig for Consistent Handle Placement
Achieving symmetry in handle placement on cabinets is crucial for both aesthetics and functionality. The key to uniformity is using a custom jig. A jig helps replicate exact positioning across multiple doors and drawers, saving time and reducing errors. Below are instructions for creating jigs that you can tailor to your specific hardware requirements.
Materials and Instructions for a Drawer Jig
To make a drawer jig, you’ll need a few simple materials: scrap wood, wood glue, a measuring tape, and a drill with drill bits. Here’s how to construct it:
- Cut the Scrap Wood: Start with pieces of wood; they can be any kind that’s strong and straight.
- Measure and Mark: Decide on the ideal position for the handle on a drawer and mark it on the wood.
- Assemble the Jig: Glue the pieces together to create a ‘T’ or ‘L’ shape. This will guide your drill on each drawer.
- Drill Pilot Holes: Drill holes in your jig that correspond to the handle screws.
With this simple jig, you can ensure every handle on your drawers is in the ideal spot without having to measure each time.
Constructing a Door Jig for Right and Left Swinging Doors
How to install cabinet handles? Creating a door jig is similar but includes a few tweaks to fit door specifics:
- Select Your Wood: Again, any sturdy scrap wood will do.
- Design for Door Orientation: Make two jigs if necessary, one for right-swinging and one for left-swinging doors.
- Include Secure Edges: Add ‘shoes’ or stops on the jig that hook onto the door edge to keep it in place.
- Mark and Drill: Measure the handle’s position, mark it on the jig, and drill the required holes.
By using this jig, you can speed up the installation process and achieve consistent placement of handles on all doors, whether right or left-swinging. Remember, for the best results, your jig’s measurements must be precise and tailored to your cabinet’s dimensions and the handle’s specifications.
Drilling and Installing New Handles
Drilling correct holes is crucial for handle installation. Accurate drilling ensures the handles are securely fixed and function well.
Techniques for Precise Drilling
For precise drilling, follow these steps:
- Use a Marking Pencil: Mark the spot where you plan to drill.
- Apply Masking Tape: Place tape over the area to prevent splintering.
- Measure Twice, Drill Once: Confirm measurements before drilling to avoid errors.
- Start with a Pilot Hole: Drill a small guide hole to ensure accuracy.
- Use the Right Drill Bit: Choose a bit slightly smaller than your screws.
- Drill Perpendicularly: Keep the drill at a 90-degree angle to the cabinet.
Correctly measuring and marking where to drill minimize mistakes. A pilot hole helps guide the actual drilling, leading to cleaner, more precise holes.
Tips to Avoid Common Mistakes While Drilling
To avoid common drilling mistakes, keep these tips in mind:
- Do Not Rush: Take your time to align everything.
- Check the Drill Bit: Ensure it’s the right size and type for the job.
- Clamp the Jig: Secure the jig firmly to prevent it from moving.
- Keep the Drill Steady: Apply steady pressure for a clean drill.
- Avoid Deep Drilling: Stop as soon as the hole is the right depth.
It is essential to go slow and be methodical when drilling. Clamping the jig helps stabilize your setup, reducing the risk of misaligned holes. Moreover, applying steady, even pressure, and stopping at the correct depth will ensure your cabinets are ready for new handles. Careful drilling leads to clean holes and a professional-looking installation.

Attaching the Handles
Once your cabinets have the right holes, it’s time to attach the new handles.
Ensuring Proper Alignment and Tightness
To ensure your handles align and are tight, follow these steps.
- Align the Handle: Place the handle over the holes you drilled.
- Insert Screws: From the back of the door or drawer, insert screws through the pre-drilled holes.
- Check Alignment: Before tightening, check that the handle is straight.
- Tighten Gradually: Using a screwdriver, tighten the screws gradually. Alternate between the top and the bottom screw to keep the handle even.
- Double-Check Tightness: Once aligned, give each screw a final turn to make sure they’re secure.
Remember to avoid over-tightening as it can strip the screws or damage the cabinet.
Finishing Touches for a Professional Look
After installing the handles, inspect each one to ensure they match up.
- Clean the Area: Wipe away any debris or fingerprints from installation.
- Stand Back and Review: Step back and check that all handles are level and aligned.
- Adjust if Necessary: If any handle is off, loosen the screws slightly, adjust, and retighten.
- Test the Handles: Open and close the doors and drawers to ensure the handles are comfortable to grip.
Taking the time for these final steps will make sure your cabinet handle installation looks professional and functions well.
Cabinet Aesthetics and Functionality Upgrades
Improving the look and function of your cabinets isn’t just about adding new handles. It can involve a complete visual refresh.
Considering the Overall Look with New Paint or Stain
Before you add new handles, think about the cabinet’s overall color scheme. A new coat of paint or stain can make a huge difference. Bright colors can refresh your kitchen. A dark stain adds sophistication. Test a small area first to find the right shade. With the right color, new handles will pop and give your cabinets a modern feel.
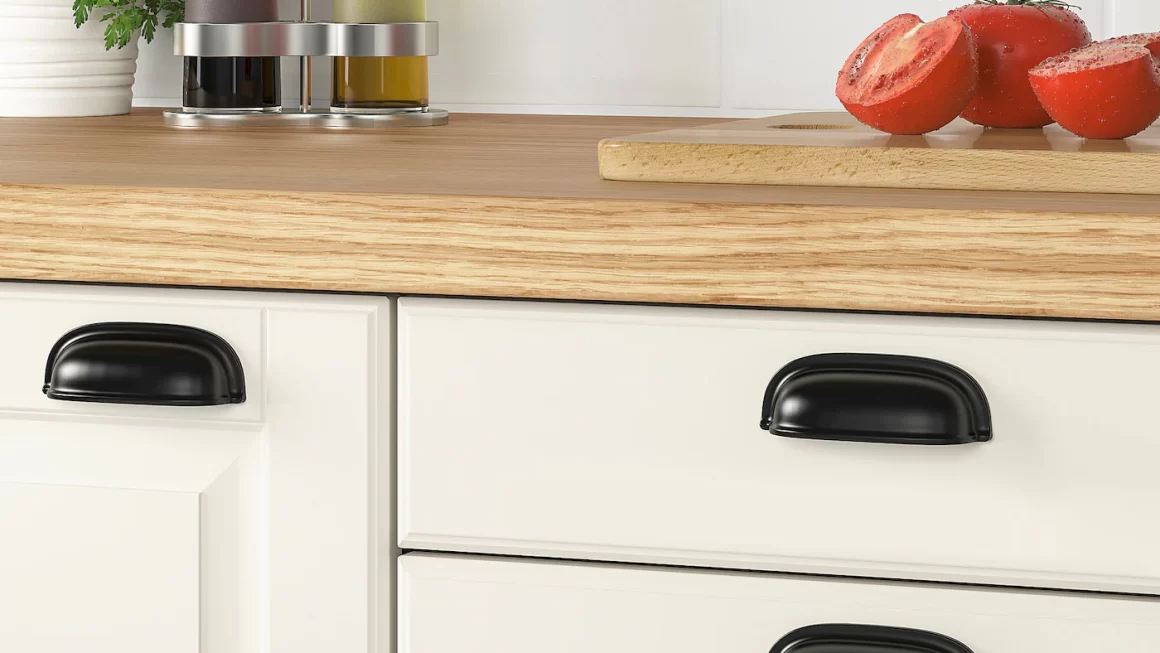
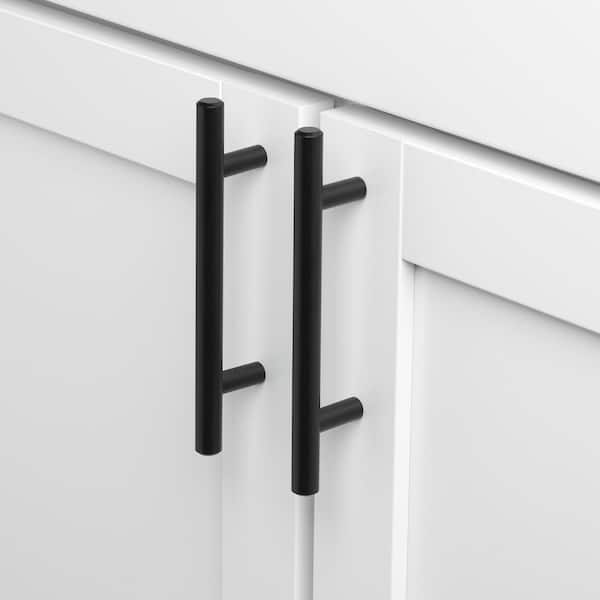
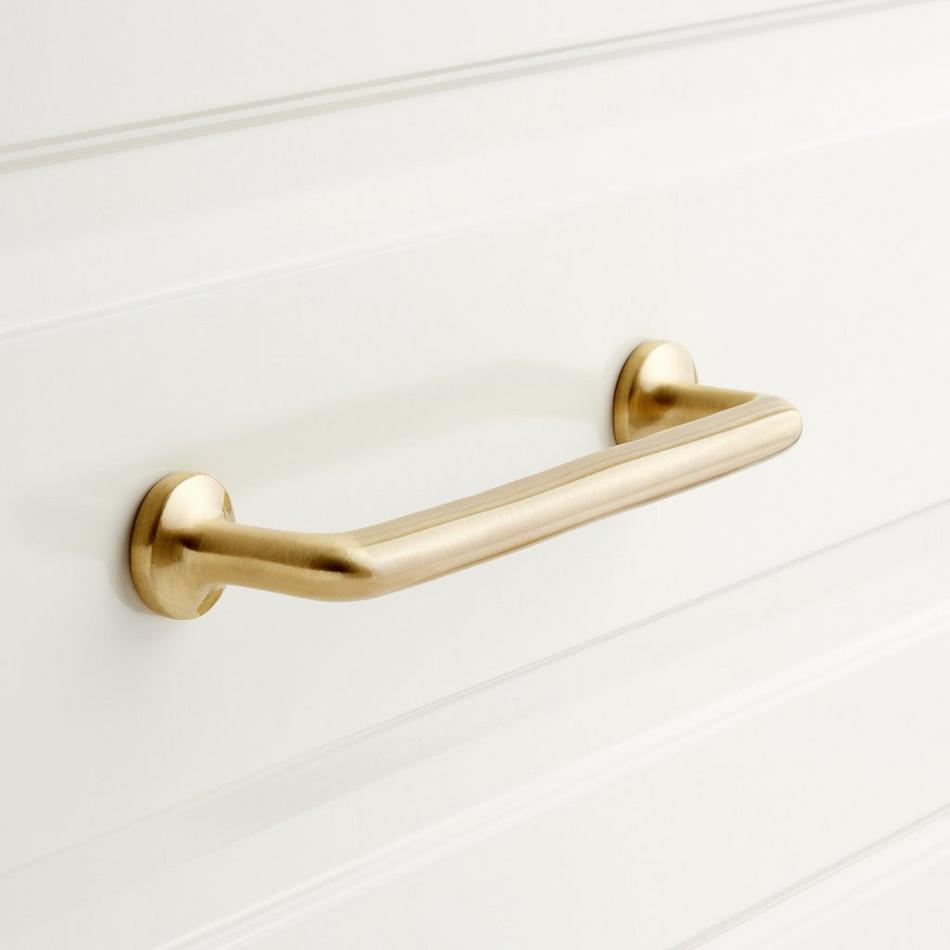
The Impact of Handle Design on Kitchen Style
How to install cabinet handles? Choosing the right handle design is crucial. It can define your kitchen’s style. Sleek, simple handles offer a modern look. Ornate handles give a classic vibe. Think about the style you want before you buy. Remember, the handle should complement not just the cabinet, but the whole kitchen style. Practicality also matters. Make sure the handle is comfortable to use and fits your hand well.