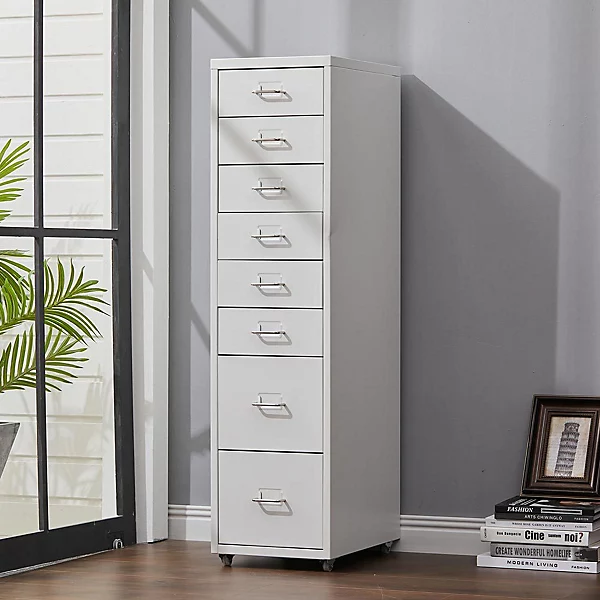
Types of Bookcases for Different Uses
How to build a bookcase? There are many bookcases to choose from. They can hold books, display items, or store things. Here are some common types:
- Freestanding bookcases are common. You can move them around.
- Built-in bookcases look like part of the room. They’re fixed to walls.
- Corner bookcases save space. They fit in room corners.
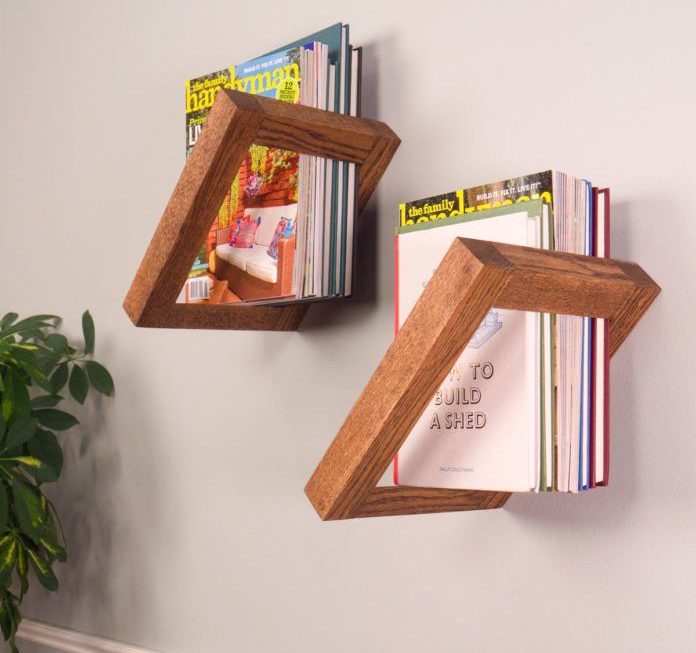
- Ladder and leaning bookcases have a unique design. They lean against the wall.
- Modular bookcases can change shape. You can mix and match units.
- Children’s bookcases are for kids. They’re lower and safer.
- Barrister bookcases have glass doors. They protect books from dust.
Choose a type that suits your room and needs. Measure your space before picking one.
Considerations Before Building a Bookcase
Before diving into your bookcase project, take a moment to plan. Here are key things to consider:
- Room Layout: Identify where the bookcase will go. Consider doorways, windows, and furniture placement.
- Bookcase Size: Measure your space. Decide on height, width, and depth. Big bookcases could need more support.
- Use: Think about what you’ll store. Books need different shelf space than knick-knacks.
- Budget: Consider how much you can spend. Material choice will affect cost.
- Materials: Choose between hardwood, softwood, plywood, or MDF. Each has pros and cons.
- Tools: Make sure you have the right tools. You might need saws, drills, or sanders.
- Design: Choose a style. Do you want adjustable shelves or a fixed design?
- Skills: Assess your skill level. Some designs are more complex than others.
- Time: Be realistic about the time you can commit. Some bookcases take longer to build.
Planning makes your project smoother. So, take your time and do it right.
Selecting the Right Wood for Your Bookcase
How to build a bookcase? Selecting the right wood is crucial for building a sturdy and long-lasting bookcase. Here are factors to consider when choosing wood for your DIY bookcase project:
- Purpose and Use: Think about what items the bookcase will hold. Heavier items need stronger wood.
- Wood Type: Hardwoods like oak and maple are durable but pricey. Softwoods like pine are cheaper but less sturdy.
- Appearance: For a natural finish, choose wood with a grain you like. If painting, seek smooth, paintable surfaces.
- Plywood or Solid Wood: Plywood is cost-effective and stable. Solid wood is higher quality but expands with humidity.
- Budget: Your budget impacts your wood choice. Hardwoods cost more than softwoods or manufactured wood like MDF.
- Availability: Check wood availability in your area. Some woods may be hard to find or require special order.
- Tools: Ensure you have tools that can cut your chosen wood type. Some woods are harder to work with.
Choose wisely to ensure your bookcase meets your needs and lasts for years.
Designing Your DIY Bookcase Plans
When crafting your bookcase plans, personal needs and room specifics guide the design. How to build a bookcase? Start by considering the following elements:
- Dimensions: Measure your space to determine the booksize bookcase. Match the height, width, and depth to where you’ll place it.
- Shelf Spacing and Number: Decide how many shelves you need and their spacing. Consider the items you plan to store.
- Style Choices: Think about whether you want a fixed or adjustable shelf system. Each has benefits depending on your flexibility needs.
- Sketch a Draft: Draw a rough sketch of your bookcase. Use grid paper for proportionate dimensions.
- Stability and Support: Plan for extra support if your shelves will bear heavy loads. This might mean thicker wood or additional bracing.
With these factors in mind, your design will take shape and become a blueprint for your unique bookcase. Each choice affects not only the look but also the functionality. Efficient planning ensures the end result serves its purpose effectively.
Creating a Cut List for Your Bookcase Project
Creating a cut list is key for a DIY bookcase. Here’s how to build a bookcase with the right pieces:
- Gather Measurements: Measure your space again. Double check the height, width, and depth for accuracy.
- Plan Shelf Sizes: Decide on shelf lengths and widths. Remember, the thickness of the wood or plywood will affect the final size.
- Count Your Shelves: Determine how many shelves you need. Include extra pieces for any bottom or top sections.
- Consider Wood Width: If using wooden planks, remember each plank’s width will vary. Account for this in your measurements.
- List All Parts: Write down each part needed, like sides, top, bottom, back, and shelves. Don’t forget any trim or face frames.
- Account for Cuts: Remember saw cuts—called kerf—remove material. So, add a little extra to each measurement.
- Use Planning Tools: Software or graph paper can help arrange and visualize parts. This reduces waste.
With a detailed cut list, you’ll buy the right amount of wood. It will also guide your project and minimize mistakes. Each piece plays its part in creating the sturdy bookcase you envision.

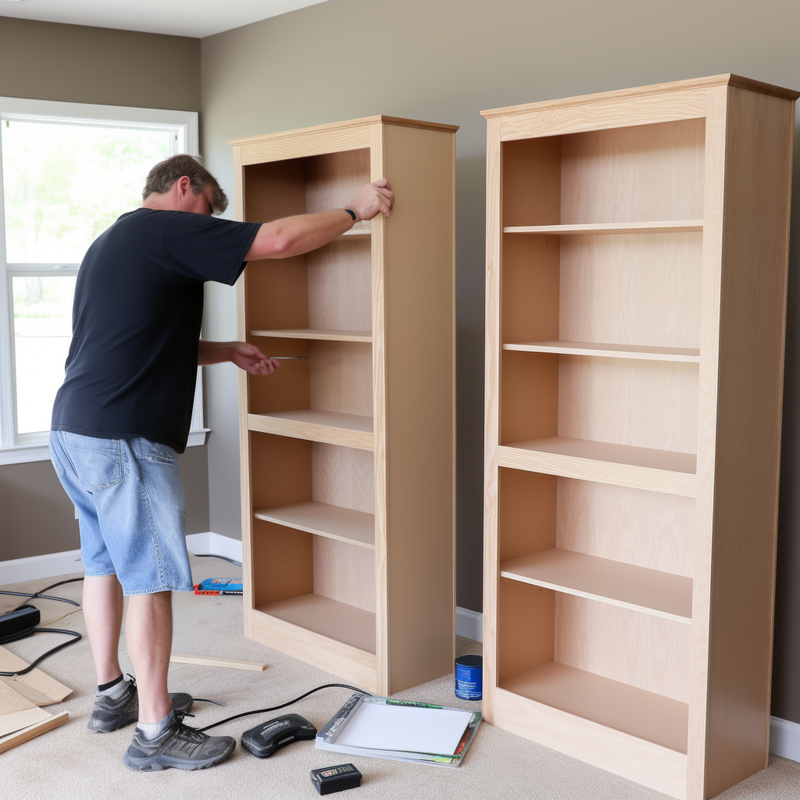
Assembling the Bookcase Step-by-Step
Building a bookcase is not as hard as it might seem. Here’s a guide to help you through the process step by step.
- Gather Your Tools: You’ll need saws, drills, screws, nails, glue, and clamps.
- Cut the Wood: Use your cut list to measure and cut each piece of wood.
- Build the Frame: Start with the sides, then add the top and bottom pieces.
- Attach the Shelves: Secure the shelves at your chosen heights, using screws or nails.
- Assemble the Back: A back panel adds stability. Nail or screw this on last.
- Stand it Up: Once assembled, carefully stand your bookcase up in place.
- Add Extra Support: If it’s a tall or wide bookcase, add more support where needed.
- Check for Square: Make sure all angles are 90 degrees for a straight, sturdy bookcase.
- Final Touches: Install any additional trim or details for a finished look.
By following these steps, you’ll have a solid, custom bookcase in no time!
Options for Customizing Your Bookcase
After building the basic structure of your bookcase, you can customize it. How to build a bookcase? Here are some ways to make it unique:
- Add Trim and Moldings: Choose from a variety of trim styles to add character.
- Use Paint or Stain: Select colors or stains to match your decor.
- Adjustable Shelving: Create flexibility with movable shelves for different sized items.
- Decorative Back Panel: Add a patterned back panel for a distinctive look.
- Install Lighting: Attach LED strips or puck lights to highlight items on display.
- Incorporate Doors: Add doors to conceal storage or display select items.
- Attach Legs or Feet: Elevate your bookcase with stylish legs or feet.
- Apply Wallpaper: Line the back of shelves with wallpaper for a pop of color.
By personalizing your bookcase, you make it not only functional but also a reflection of your style.
Finishing Touches: Sanding and Painting/Staining
Once your bookcase is built, finishing touches make it shine. Here’s a quick run-through:
- Sanding: Smooth all surfaces with sandpaper. Start with coarse grit and move to fine.
- Cleaning: Dust off all sawdust. Use a tack cloth for best results.
- Testing: On a small wood piece, test paints or stains. Choose what looks best.
- Painting: Apply paint with a brush or roller. For no brush marks, spray paint works.
- Staining: If staining, use a cloth or brush. Wipe off excess stain fast.
- Sealing: Use clear varnish or sealant. It protects the wood and extends the bookcase’s life.
- Drying: Let everything dry well. Check product labels for drying times.
These steps ensure your bookcase looks great and lasts long. Pick colors or finishes that match your room’s style.
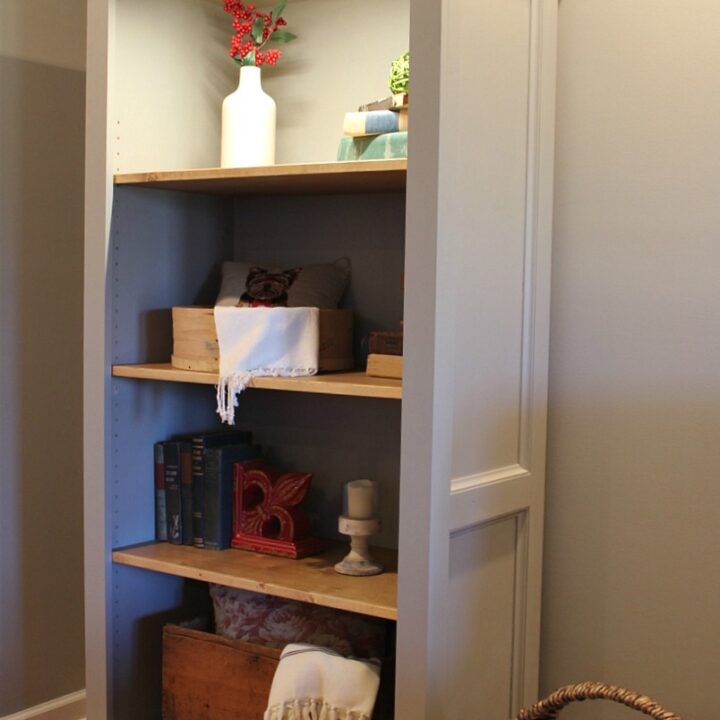
How to Turn Your Bookcase into a Built-In
Transforming your bookcase into a built-in creates a seamless look. Here are steps to make your bookcase look like part of the room:
- Empty the Bookcase: Clear all items from your bookcase before starting.
- Measure the Space: Measure the area where the bookcase will sit. Ensure it fits snugly.
- Secure the Bookcase: Attach the bookcase to wall studs for stability. Use brackets or screws.
- Add Molding: Install molding at the top and bottom. This blends the bookcase with the room.
- Caulk Gaps: Fill any gaps between the bookcase and walls with caulk.
- Paint or Stain: Paint or stain the bookcase to match the room’s trim.
- Reattach Trim: Put baseboards and trim around the bookcase for a built-in look.
How to build a bookcase? Once your bookcase is assembled and finished, you can place it in your desired location and start filling it with books and other items. Enjoy your new handmade piece of furniture! With these steps, your bookcase will become a permanent feature in your room.
Safety Tips: Securing Your Bookcase and Preventing Tipping
Ensuring your bookcase is safe is just as important as its design and assembly. Here are practical tips to secure your bookcase and prevent it from tipping:
- Anchor it to the Wall: Use furniture anchors or L-brackets to attach your bookcase securely to wall studs. This is especially crucial in homes with children and pets.
- Distribute Weight Evenly: Place heavier items on lower shelves. This stabilizes the bookcase and reduces the risk of tipping.
- Avoid Overloading: Do not exceed the recommended weight limit for each shelf. Check the specifications of your materials to know the limits.
- Install Anti-tip Devices: These devices can help prevent furniture from falling over. They are easily found at hardware stores or online.
- Educate Your Family: Teach family members not to climb on shelves or pull on the bookcase. This can prevent accidents and ensure everyone’s safety.
How to build a bookcase? By following these safety measures, you ensure that your custom DIY bookcase is not only a beautiful addition to your home but also a safe one.