Introduction
Transform your living space with a TV lift cabinet DIY that conceals your screen when not in use. In this blog, we take on the exciting challenge of creating a DIY project that blends technology and design to elevate the functionality and aesthetics of your living room. Whether you are a seasoned DIY enthusiast or just looking to tackle a new project, we provide a comprehensive guide to crafting a beautiful TV lift cabinet from scratch. From selecting the right materials to the final touches, we’ll walk you through each step to ensure your DIY venture is a success. Get ready to add a touch of magic to your home with a TV lift cabinet that impresses and delights. Join us as we explore the rewarding process of building your own bespoke furniture piece.
Reasons to Build Your Own TV Lift Cabinet
Embarking on a TV lift cabinet DIY project comes with several appealing benefits. Let’s explore some compelling reasons why crafting your own cabinet is a worthwhile pursuit.
Customization and Personal Style
Creating your own cabinet lets you tailor it to your home’s style. You can choose materials and colors that blend with your existing decor or stand out as a statement piece. Your DIY effort translates into a unique furniture piece that reflects your personality and design preferences.
Cost-Effectiveness
Buying a ready-made TV lift cabinet can be expensive. Building your own allows for significant savings, especially if you shop smartly for materials. Instead of spending big on high-end options, you can achieve a custom look and functionality at a fraction of the cost.
Space Maximization
A TV lift cabinet frees up room and declutters your space. It hides the TV when not in use, opening up the area for other activities. By designing it yourself, you can make sure the dimensions perfectly fit your living area, making the most of your space.
Pride of Craftsmanship
There’s a deep sense of satisfaction that comes from creating something with your own hands. Completing a DIY TV lift cabinet imbues you with pride and allows you to showcase your crafting skills to friends and family.
Adaptive Features
With DIY, you can include specific features to meet your needs. For example, you can build in extra storage, customize the lift’s height, or incorporate a swivel mechanism to maximize viewing angles. The adaptability of a homemade cabinet is unmatched.
Problem-Solving Fun
Building your TV lift cabinet presents an enjoyable challenge. It encourages problem-solving and critical thinking, which are great exercises for the mind. It’s also an opportunity to learn new skills and improve your DIY capabilities.
In conclusion, choosing the DIY route for your TV lift cabinet offers a host of advantages, from the freedom of customization to cost savings and personal fulfillment. With the right approach, it can become a standout feature in your home, combining elegance with practicality.
Choosing the Right Materials and Tools
When setting out to create your DIY tv lift cabinet, choosing the right materials and tools is crucial. Here’s a checklist to help ensure you have everything you need:
Selecting Quality Materials
Look for durable woods like oak or maple for a sturdy cabinet that lasts. If painting is part of your plan, plywood or MDF is suitable and more budget-friendly.
Finding the Right TV Lift Mechanism
Invest in a reliable tv lift mechanism. Ensure it supports your TV’s size and weight and comes with a warranty for peace of mind.
Gathering Essential Tools
Prepare a list of needed tools. Generally, you will need a circular saw, drill, screwdriver, and possibly a miter saw for precise cuts.
Measuring Devices
A tape measure and a level are must-haves. Precise measurements and alignments are key to a successful build.
Safety Equipment
Don’t forget safety goggles, gloves, and ear protection. Safety is paramount when working with power tools.
Additional Supplies
Get wood glue, screws, nails, and sandpaper. These will help assemble the parts firmly and finish the surfaces smoothly.
Remember, using the correct materials and tools can determine the outcome’s quality and durability. Take time to source quality items and confirm you have all you need before starting your project.
Cutting and Assembling the Cabinet Framework
To kickstart the DIY tv lift cabinet process, cutting and assembling the framework is your first step.
- Outline Your Plan: Begin by sketching a detailed outline of your cabinet with precise dimensions.
- Measure Twice, Cut Once: Using a tape measure, ensure accuracy in your measurements before cutting.
- Select Durable Woods: Choose sturdy materials like oak, maple, or budget-friendly plywood or MDF.
- Safe Cutting Practices: Utilize your circular saw and miter saw cautiously, adhering to safety guidelines.
- Assemble the Framework: With the pieces cut, join them using wood screws, glue, and ensure everything is level.
- Solid Structure: Reinforce the assembly with additional supports, if necessary, to ensure stability.
- Check Alignments: Always verify that the components are aligned correctly, making adjustments as needed.
This stage requires attention to detail and patience, but building a sturdy framework is crucial for the overall success of the project.
Installing the TV Lift Mechanism
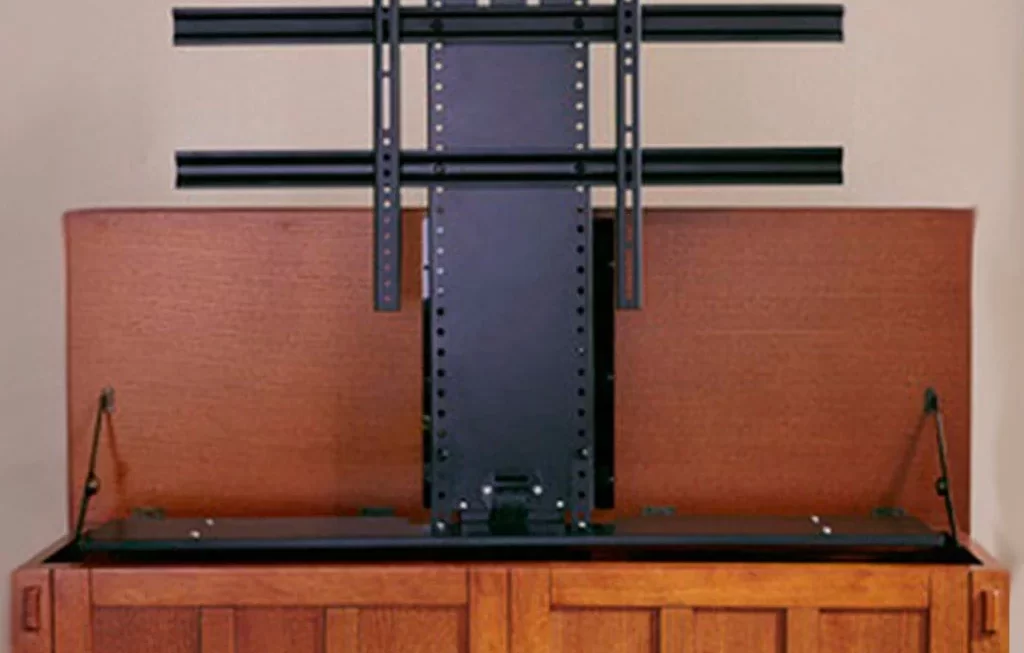
After constructing the solid framework for your TV lift cabinet, the exciting next step is installing the TV lift mechanism. Here’s how to do it effectively.
- Check Compatibility: Confirm that the TV lift model matches your TV’s size and weight.
- Placement Position: Decide whether you’ll floor-mount the lift or attach it to the back of the cabinet.
- Prepare the Base: If floor-mounting, reinforce the base to support the lift securely.
- Secure the Lift: Depending on the model, fasten the lift using provided brackets and screws.
- Connect to Power: Ensure there’s an outlet nearby and plug in the lift.
- Test the Lift: Before progressing, do a trial run to check the lift functions smoothly.
- Align and Adjust: Make any needed adjustments to ensure the TV rises and lowers correctly.
- Cable Management: Plan for cord placement to keep them hidden and organized.
By carefully following these steps, your TV lift mechanism will be set up to operate seamlessly within your new cabinet. The sensation of witnessing your TV smoothly elevate at a button’s push is truly rewarding and enhances your living room’s sophistication.
Building and Attaching the Cabinet Doors
After installing the TV lift mechanism, the next step in your DIY project is crafting the cabinet doors. This segment is essential since doors impact the cabinet’s overall look and functionality. Here’s a step-by-step guide to building and attaching your cabinet doors.
Choose Door Material:
Select a material that complements your cabinet’s style. Opt for plywood, MDF, or solid wood based on your design and budget.
Cut to Size:
With precise measurements, cut your door panels to the desired dimensions using a circular saw or miter saw. Ensure all edges are straight and even.
Door Style Decision:
Decide if you want a plain front or a more decorative style like shaker or panel doors.
Assembly:
Join the pieces using wood glue and screws or nails. For shaker or panel doors, create frames and insert panels before securing.
Sand Edges:
Smooth out rough edges and surfaces with sandpaper. Pay special attention to corners.
Attach Hinges:
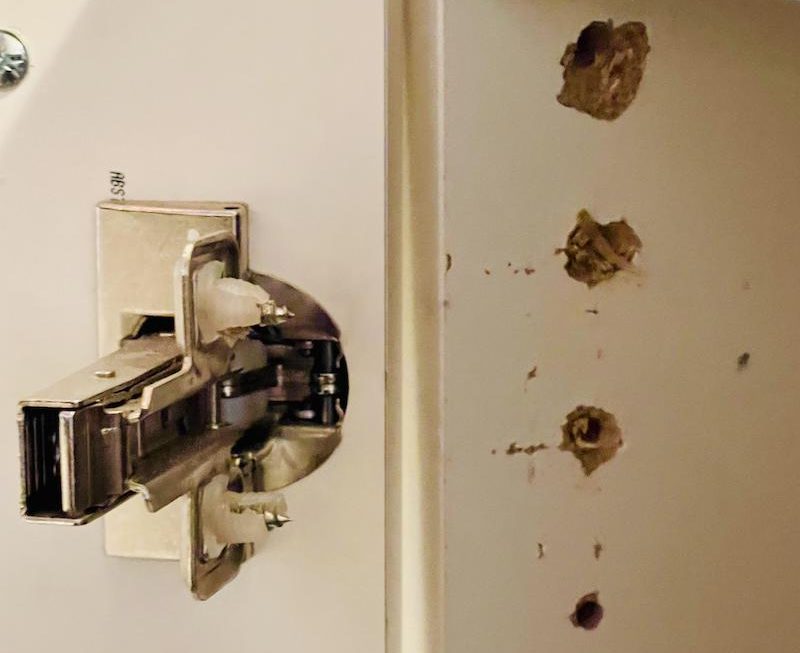
Choose hinges that match your door weight and cabinet design. Attach them to the door first, then to the cabinet frame, ensuring proper alignment.
Test Door Swing:
Before the final attachment, check that doors open and close without interference.
Install Door Handles or Knobs:
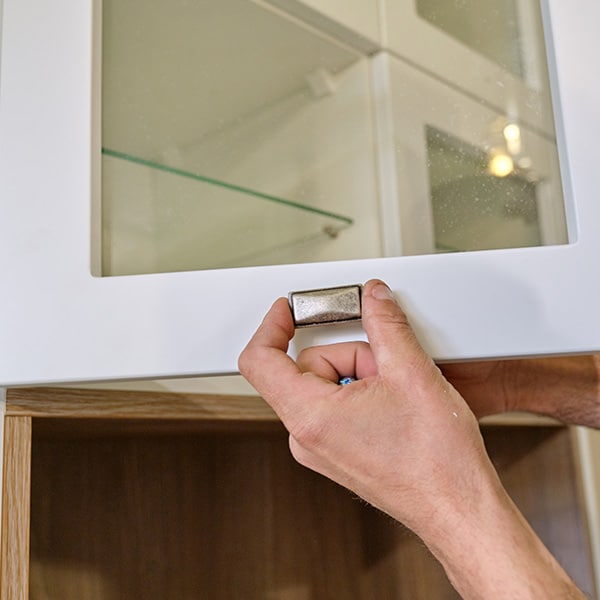
Mark the spot for your hardware, drill holes, and fix handles or knobs in place.
Adjust for Gaps:
Make fine adjustments to ensure there is even spacing around all edges of the doors.
Building your own doors allows personalization and ensures they fit perfectly with your new TV lift cabinet. With the doors in place, your project will begin to resemble a complete piece of furniture.
Adding Finishing Touches and Hardware
Once your TV lift cabinet is assembled, it’s time to add the final touches. These give your cabinet its polished and complete look. Let’s dive into the steps to get this done.
- Add Trim or Molding: For a more refined look, consider adding trim or molding. Measure the edges and cut to fit. Attach with nails or wood glue.
- Sand Surfaces: Ensure the whole cabinet is smooth. Use fine-grit sandpaper to remove any rough spots.
- Stain or Paint: Choose a stain or paint that matches your room decor. Apply evenly and allow to dry completely between coats.
- Protective Finish: To protect the paint or stain, apply a clear coat. This also adds a sleek shine to your cabinet.
- Install Hardware: Screw in handles or knobs that complement the cabinet’s style. Place them evenly on doors or drawers.
- Fix Felt Pads: Stick felt pads on the bottom corners. This helps to avoid scratching the floor when moving the cabinet.
- Position the TV: Attach your TV to the TV lift mechanism. Follow the manufacturer’s instructions carefully.
- Hide the Wires: Use clips or ties to secure power cords and cables behind the cabinet for a clean look.
- Test the Cabinet: Try the lift mechanism with the TV. Ensure everything works smoothly.
- Clean Up: Wipe down the cabinet to remove dust or fingerprints.
- Enjoy: Place your remote control in an accessible spot and sit back. Your DIY TV lift cabinet is now ready to use.
Remember the main goal: create a functional, stylish piece that hides your TV when not needed. Enjoy the satisfaction of having built it yourself. Your DIY project is complete!
Final Steps for Your DIY TV Lift Cabinet
With the cabinet doors attached and the TV lift mechanism in place, you’re nearing the finish line. Here are the final steps to complete your DIY TV lift cabinet and bring it to life in your living room.
- Check All Functions: Test the lift with the TV mounted. Ensure it moves smoothly without snags.
- Secure Loose Wires: Tidy up cables with clips. Keep them out of sight for a clean look.
- Apply Touch-ups: Examine the cabinet for any scuffs or bare spots. Touch up with paint or stain.
- Add Soft Closing: For a luxurious feel, consider installing soft-closing hinges on the doors.
- Install Ventilation: Prevent overheating by adding ventilation to the back of the cabinet.
- Place the Cabinet: Move the cabinet to its final spot. Be careful not to scratch the floor.
- Load Testing: Put on a few movies or shows. Watch for any issues with the lift mechanism.
- Final Cleaning: Give the entire cabinet a gentle wipe down. Remove any dust or fingerprints.
- Accessorize: If desired, decorate the top of the cabinet with items. Do not obstruct the TV’s path.
- Relax and Enjoy: Grab the remote, take a seat, and indulge in your newly upgraded living room setup!
Your DIY TV lift cabinet project is now complete. Enjoy this perfect blend of style and technology that you’ve created for your home.
Safety Measures and Precautions
When undertaking a DIY tv lift cabinet project, safety must be your top priority. Here’s how to stay safe:
Use Protective Gear
Always wear safety goggles, gloves, and ear protection. Prevent injuries from sawdust, noise, and potential mishaps.
Read All Manuals
Before using tools and installing the tv lift mechanism, read the instructions. Know how they work to avoid misuse.
Secure Workspace
Keep your work area tidy and tools organized. Reduce tripping hazards and the chance of accidents.
Handle Tools with Care
Operate saws and drills with care. Power tools can cause serious harm if not handled correctly.
Ventilate the Area
When painting or staining, ensure good airflow. Fumes from chemicals can be dangerous.
Disconnect Power When Not in Use
Unplug tools when they’re not needed. This reduces the risk of electric shock or inadvertent activation.
Lifting Techniques
Use proper lifting methods. A bad lift can lead to back injuries, especially when moving a bulky cabinet.
Ask for Help
Don’t hesitate to get assistance. Some steps may need an extra pair of hands for safety and precision.
Keep a First Aid Kit Nearby
Be prepared for minor injuries. A kit should be within easy reach throughout your project.
Regular Breaks
Take breaks to rest and refocus. Fatigue can lead to mistakes and injuries.
By following these precautions, you’ll make your tv lift cabinet DIY experience both enjoyable and safe. Remember, no project is worth compromising your well-being.
Conclusion
As we wrap up our DIY tv lift cabinet journey, let’s reflect on what we’ve achieved. We’ve navigated through crafting a custom cabinet, tailored precisely to fit our living spaces and personal style. We’ve balanced cost and craftsmanship, creating a furniture piece that’s both economical and filled with pride. Our tutorial has guided you from selecting materials to the final installation—each step taken with safety and precision in mind.
By taking on this project, you’ve embraced the challenge of marrying form and functionality. The result is a living room centerpiece that conceals your TV elegantly and provides a conversation starter. This cabinet not only hides your electronic device but also reveals your ability to create and construct.
We encourage you to share your finished tv lift cabinet DIY with others. Inspire friends and family with your handiwork. Let your living room upgrade serve as a testament to what can be accomplished with a little imagination, some tools, and the drive to learn.
If ever there were doubts about undertaking such a task, you’ve now put them to rest. Truly, your home is transformed with a piece that meshes technology and design in a seamless dance of innovation.
Thank you for following along, and may your new DIY tv lift cabinet bring joy and utility to your home for years to come.


