Introduction to Medicine Cabinet Replacement
How to replace medicine cabinet? Replacing a medicine cabinet can refresh your bathroom’s look. It also ensures you have a safe place for storing health essentials. Before starting, it’s important to know what steps to take. This guide walks you through the entire process, from removing the old cabinet to installing a new one. You will learn how to replace a medicine cabinet with ease.
First, gather all the necessary tools and materials. Double-check that your new medicine cabinet fits the existing space. Understand safety precautions to prevent injuries. Follow a step-by-step method to ensure proper removal and installation. Finally, discover how to give the finishing touches for a professional look.
Whether you’re a seasoned DIY enthusiast or a first-timer, this blog will help. We make the task manageable, ensuring you’re equipped with the right knowledge. Keep reading to learn how to replace a medicine cabinet and enhance your bathroom today.
Tools and Materials Needed for the Job
Before you start the process of how to replace a medicine cabinet, make sure you have the right tools and materials. A successful replacement requires more than just a new cabinet. You will need the following items:
- Tape Measure: To measure the dimensions of your old cabinet and the space where the new one will fit.
- Level: To make sure your new cabinet is perfectly horizontal.
- Drill: For any screws or anchors you’ll need to install.
- Screwdriver: To remove and secure screws.
- Stud Finder: To locate wall studs for a secure installation.
- Saw: In case you need to adjust the opening in the wall.
- Wall Anchors or Screws: Depending on the type of wall and weight of the cabinet.
- Caulk or Sealant: For sealing edges and gaps after installation.
- Pencil and Notepad: To mark where you will be working and take notes.
- Safety Gear: Such as goggles and gloves to protect yourself.
Gather these items beforehand to avoid any disruptions during the replacement process. Check that the tools are in good condition and the materials are the right fit for your cabinet and wall type. This preparation will help ensure a smooth installation of your new medicine cabinet.
Preparing for the Removal of the Old Medicine Cabinet
To ensure the success of replacing your medicine cabinet, preparation is key. Here’s how to prepare for the removal of the old cabinet:
- Clear the Area: Empty the medicine cabinet and clear any items on or around the vanity. This gives you room to work and keeps items safe.
- Turn Off Power: If your cabinet has lights or an outlet, turn off the electrical power at the circuit breaker to avoid shock.
- Measure Again: Double-check the measurements of your existing cabinet and the new one. Confirm that the new cabinet will fit without major modifications.
- Inspect the Wall: Look for signs of damage or issues with the wall where the cabinet is mounted. Plan to address any problems you find.
- Set Up Your Workspace: Lay down a drop cloth or old towels to protect the sink and floor from debris. Have your tools and materials within reach.
- Review Removal Steps: Go over the steps for cabinet removal so you’re familiar with the process. This can help prevent mistakes.
By taking these preparatory steps, you’ll create a safer work environment and pave the way for a smoother removal of the old medicine cabinet. Remember, how to replace medicine cabinet efficiently often depends on how well you prepare for the task at hand.
Step-by-Step Guide to Removing the Existing Cabinet
Ready to remove your old medicine cabinet? Follow these straightforward steps. Make sure to proceed carefully and safely.
- Cut the Caulk Seam: Using a utility knife, cut through the caulk around the cabinet edges. This will free it from the wall.
- Remove the Screws: Locate the screws holding the cabinet. A screwdriver helps you take them out. Keep the screws in case you need them later.
- Check for Adhesive: Some cabinets have adhesive backing. If yours does, gently pry the cabinet away using a putty knife.
- Pull the Cabinet Free: After removing screws and cutting the caulk, gently pull the cabinet out. It may need a slight wiggle to loosen it.
- Inspect the Wall Cavity: Look inside the wall for any leftover adhesive or debris. Check the condition of the wall for future steps.
Take your time during each step. All actions should focus on keeping the wall intact and ready for the new install. Always wear your safety gear. This includes gloves and goggles. Safety first!
By following this simple guide, you will have your old medicine cabinet out in no time. This will pave the way to install your shiny new cabinet. Remember, knowing how to replace medicine cabinet starts with successful removal. Now, you’re set for the next stage!
Choosing the Right Replacement Medicine Cabinet
When you’re ready to replace your medicine cabinet, make sure to choose wisely. The right cabinet differs for every bathroom. Here are the steps to help you find the perfect one:
- Measure Your Space: First, measure the area for the new cabinet accurately. This ensures it will fit the designated spot.
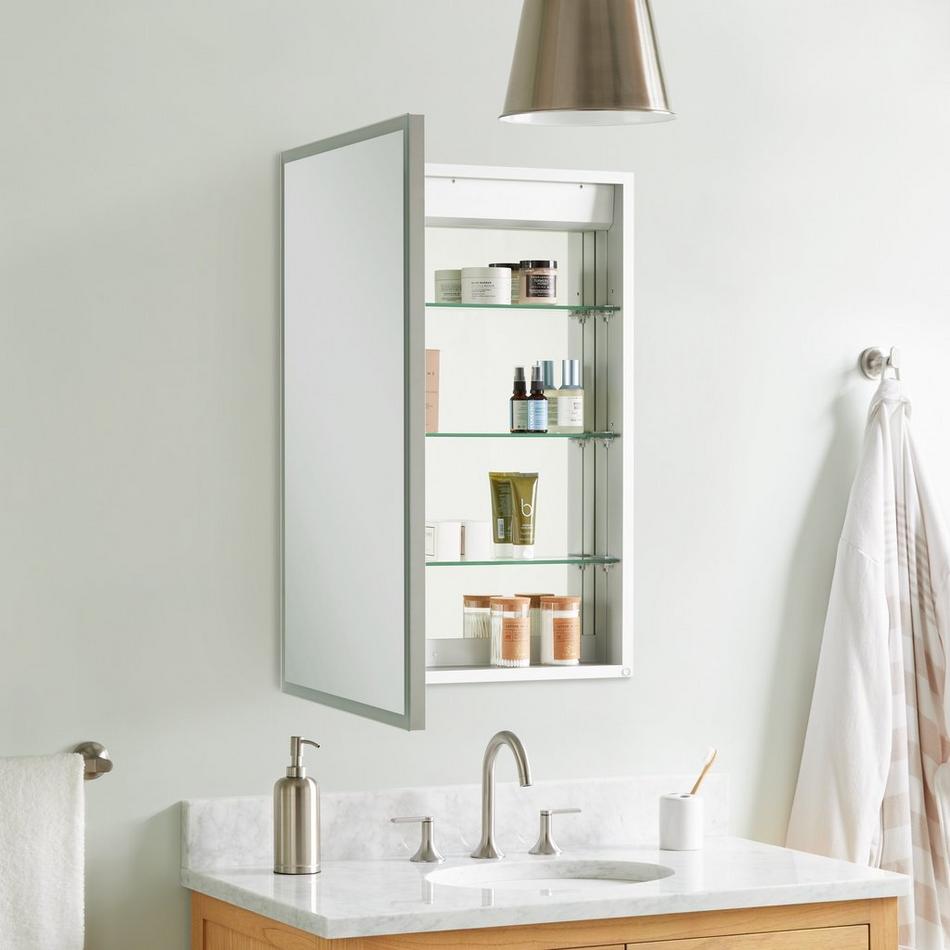
- Consider the Style: Think about the bathroom’s decor. Pick a cabinet that matches or enhances the room’s look.
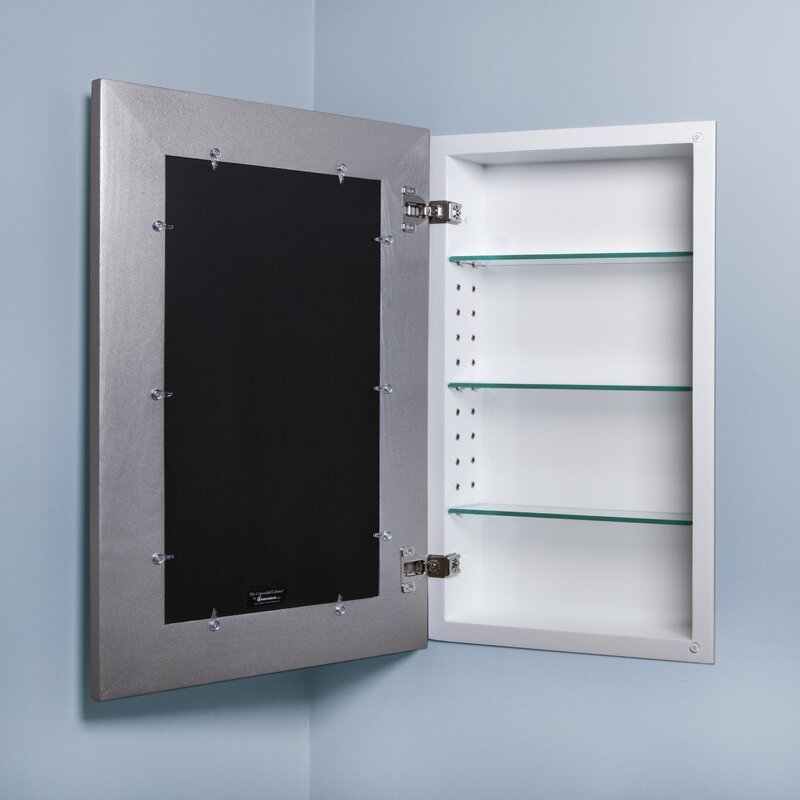
- Check for Features: Do you want shelves? A mirror? Think about what features are important to you.
- Think about Functionality: How much storage do you need? Choose a cabinet that meets your needs.
- Quality Matters: Invest in a cabinet made of durable materials. It should withstand the moisture common in bathrooms.
- Ease of Installation: Check if the cabinet is easy to install. It should work with your wall type.
- Budget: Don’t forget your budget. There are options in various price ranges. Stick to what you can afford.
Take your time as you choose a new medicine cabinet. It is an important part of your bathroom. A good selection will make sure you’re pleased with the outcome for years to come.
Installing the New Medicine Cabinet
After the old cabinet is out, it’s time to install the new one. Follow these steps to ensure a solid and level installation. Keep the task straightforward to prevent errors and meet safety standards. Remember, a well-installed medicine cabinet can provide stability and long-term use.
- Check the Fit: Before attaching anything, hold the new cabinet up to the wall. Make sure it fits the space and no wires or pipes are in the way.
- Mark Mounting Points: Use your level and pencil to mark where to drill. Accurate marks will help keep the cabinet straight and secure.
- Drill Pilot Holes: Carefully drill holes at the marks you’ve made. These will be for your screws or wall anchors.
- Attach Wall Anchors: If your wall requires, put in wall anchors. They provide a secure grip for the screws.
- Secure the Cabinet: Align the cabinet’s mounting holes with your pilot holes. Use screws to fix the cabinet onto the wall.
- Double-Check Level: After securing, check with your level again. A level cabinet prevents items from falling out and looks better.
- Add Shelves and Doors: If your cabinet has separate parts, fit them now. Make sure every piece fits well and functions as it should.
With these steps complete, your new medicine cabinet should be firmly in place. It’s ready to use but remember to seal any gaps and edges for a neat finish. Next, we’ll move on to perfecting those final touches for a professional look.
Finishing Touches and Clean Up
Once your new medicine cabinet is securely installed, focus on the finishing touches. It’s important to seal any gaps between the cabinet and wall. Use caulk or sealant for a tight seal. This step is crucial to prevent moisture from getting behind the cabinet. Pick a sealant that matches your bathroom wall to keep it looking clean and cohesive.
Clean up the work area next. Ensure no tools or materials are left behind. Vacuum any dust and debris from the drilling. Wipe down the sink, countertop, and new cabinet with a damp cloth to remove any remaining dirt. Keep safety in mind and turn the power back on at the circuit breaker if you had turned it off.
Inspect your work one last time. Make sure no screws are loose and that the cabinet door opens and closes smoothly. Adjust any hinges if needed for perfect alignment. It’s these small details that contribute to a professional-grade outcome.
Remember to dispose of the old cabinet responsibly. Check if it can be recycled or needs to be taken to a waste disposal facility. By doing so, you adhere to eco-friendly practices.
Congrats on completing the replacement! Your bathroom now has a fresh feature that’s both functional and stylish. To ensure the cabinet serves you well, move on to the final section on maintenance tips.
Maintenance Tips for Your New Medicine Cabinet
Now that you’ve learned how to replace a medicine cabinet, keeping it in top condition is important. Here are some straightforward maintenance tips:
- Regular Cleaning: Wipe down your cabinet weekly. Use a mild cleaner and a soft cloth to keep it spotless.
- Check for Moisture: Bathrooms can be damp. Look for signs of moisture and wipe dry immediately.
- Tighten Hardware: Every few months, check hinges and knobs. Tighten them if they’re loose.
- Avoid Overloading: Don’t put too much weight in the cabinet. Overloading can damage shelves and the door.
- Inspect Seals: Check the sealant occasionally. If it cracks or peels, reapply it to keep moisture out.
- Organize Contents: Keep items neatly arranged. This prevents the door from becoming jammed.
By following these tips, you’ll ensure your new medicine cabinet lasts for years. Regular upkeep is easy and keeps your cabinet functional and looking great. Remember, good maintenance starts with good habits.


