Introduction to Painting Bathroom Cabinets
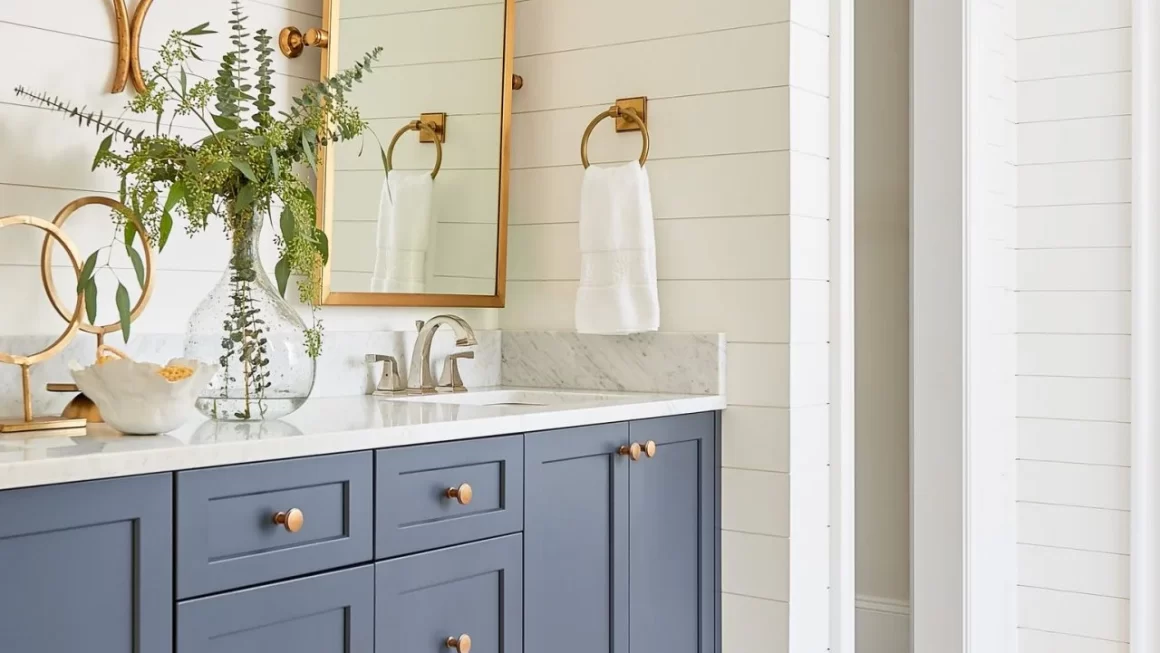
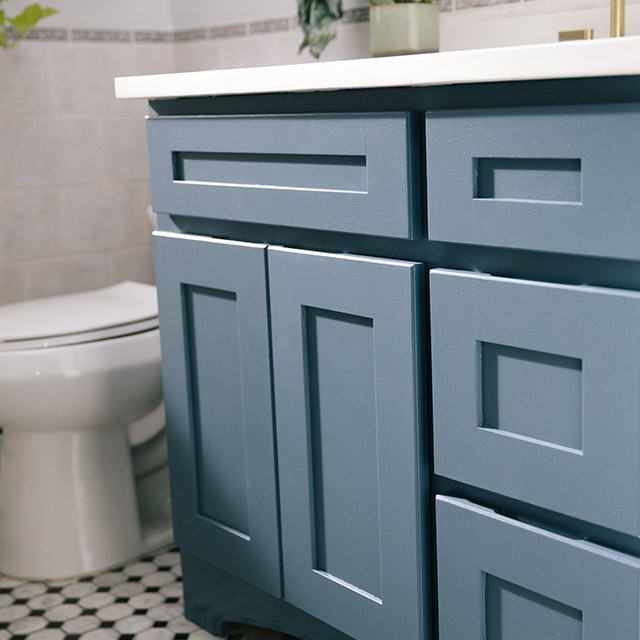
Painting bathroom cabinets can transform a tired space into something fresh and exciting. It’s a cost-effective way to update your bathroom without the expense of a full renovation. Before learning how to paint a bathroom cabinet, understand the process is not just about slapping on a coat of paint. It involves preparation, choosing the right paint, and proper finishing. This guide will walk you through each step, ensuring your painted cabinets look professional and last long. With the right approach, your bathroom cabinets will have a durable and flawless finish.
Materials and Tools Needed
Before you start the project on how to paint a bathroom cabinet, make sure you have all necessary materials and tools. Proper preparation will save you time and help you achieve a professional-looking finish.
Materials:
- Sandpaper (fine-grit for smoothing surfaces)
- Tack cloth (to remove dust after sanding)
- Primer (specifically for cabinetry or glossy surfaces)
- Acrylic or oil-based paint (choose a semi-gloss or high-gloss finish)
- Protective topcoat or sealant
Tools:
- Screwdriver (for removing hardware)
- Drop cloths (to protect surfaces)
- Painter’s tape (for clean edges)
- Paintbrushes and/or foam rollers (for a smooth application)
- Paint tray
Gather these items before beginning your bathroom cabinet makeover. The next step will focus on the preparation of the cabinets, ensuring they are ready to be painted.
Preparing Your Bathroom Cabinets for Painting
Proper preparation is key when learning how to paint a bathroom cabinet. Begin by emptying the cabinets and removing any hardware. Use a screwdriver to take off handles and knobs. Next, clean the surfaces. Use a mild detergent or a degreaser to wipe away any grime or oils that might prevent the primer and paint from adhering properly. After cleaning, sand the surfaces with fine-grit sandpaper. Sanding helps the primer stick and smoothens any imperfections.
Ensure to wipe down sanded areas with a tack cloth. This step removes all dust, providing a clean canvas for painting. Apply masking or painter’s tape along the edges where cabinets meet the wall or countertop. This will protect those surfaces and ensure a clean, straight line of paint. Lastly, lay drop cloths to protect flooring and countertops from any accidental spills or drips. With your cabinets now ready, you’ll move on to selecting the best type of paint for a bathroom cabinet’s unique requirements.
Choosing the Right Type of Paint
When it comes to learning how to paint a bathroom cabinet, selecting the appropriate type of paint is crucial. The bathroom’s high moisture levels make it necessary to choose a paint that can withstand frequent temperature changes and humidity. For this task, acrylic or oil-based paint with a semi-gloss or high-gloss finish is your best option. Such paints are durable, easy to clean, and less likely to peel or develop mold.
Consider the following when choosing your paint:
- Durability: High-gloss paints are more durable and resistant to moisture. They also tend to show fewer brush marks, making them ideal for bathroom cabinets.
- Ease of Cleaning: Semi-gloss paints are easier to clean, an important feature for spaces exposed to makeup, soap, and water splashes.
- Aesthetics: Choose a color that complements your bathroom’s style. Light colors can make a small space seem larger, while bold hues can add a striking visual impact.
- Safety: Look for paints that are low in volatile organic compounds (VOCs) to ensure better air quality in your bathroom.
Take the time to sample a few colors before making your decision. It’s important that the paint color not only looks good in the store but also under the lighting in your bathroom. Always opt for high-quality paint; it may cost more upfront, but it will save you time and money in the long run due to its longevity.
Step-by-Step Painting Process
Once you’ve selected the right type of paint, follow these steps for a flawless finish:
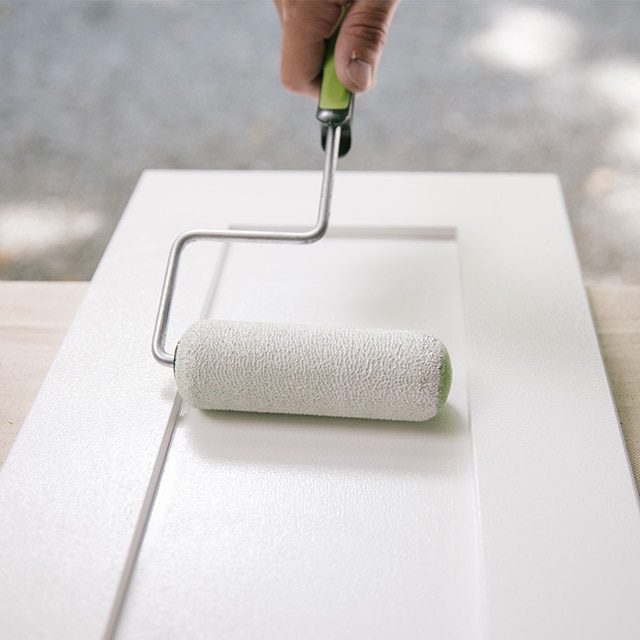
- Primer Application: Start by applying a coat of primer. This helps the paint adhere better and provides a consistent base. Use a brush or roller to apply evenly. Allow it to dry completely as per manufacturer’s instructions.
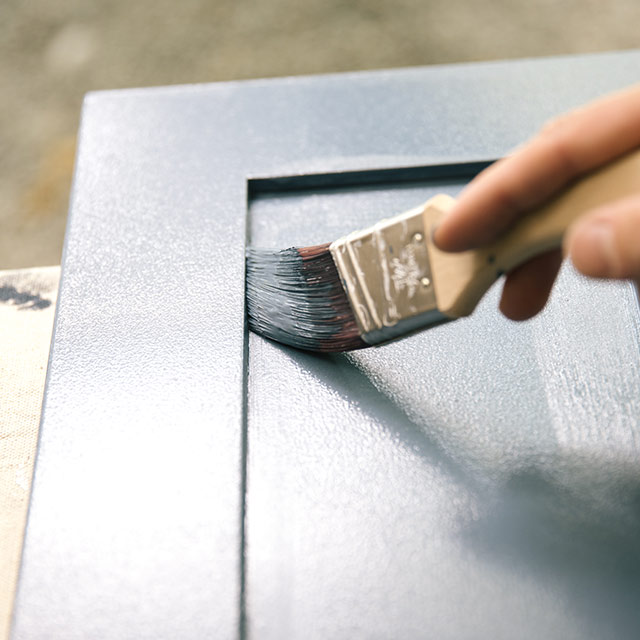
- First Coat of Paint: After the primer has dried, apply the first coat of paint. Use a paintbrush for corners and edges and a foam roller for larger surfaces. This provides a smoother finish. Let the paint dry for the time specified on the paint can.
- Second Coat of Paint: Once the first coat is dry, apply the second coat. This ensures full coverage and a more robust finish. Again, allow adequate drying time before moving to the next step.
- Touch-Ups: Check for any missed spots or uneven areas. Use a small brush to touch-up as needed. Be meticulous for a polished look.
- Clean Up: Remove painter’s tape before the paint is completely dry to avoid peeling. Clean brushes and rollers with soap and water (for acrylic paint) or mineral spirits (for oil-based paint).
By following this step-by-step painting process, you’ll achieve a durable and professional-looking finish on your bathroom cabinets. Remember to work in a well-ventilated area and to take your time with each step for the best results.
Finishing Touches: Sealing and Reassembling
Once you have applied the final coat of paint and allowed it to dry fully, it’s time to add the finishing touches to your bathroom cabinets. First, you’ll want to seal your cabinets with a protective topcoat. This will help guard them against moisture and make them easier to clean. Apply the sealant using a clean brush or roller, ensuring even coverage. Allow the sealant to dry as per the product’s instructions.
After the sealant has set, start reassembling your cabinets. Begin by removing any painter’s tape from the edges. If you peel it off while the paint isn’t fully dry, you might take some paint with it. So, be patient and remove the tape at the right time. Next, reattach the hardware, such as handles and knobs, using a screwdriver. Take care not to scratch the fresh paint as you work.
Lastly, slide the shelves back in place if they were removed and restock your freshly painted cabinets with your bathroom items. Step back and admire your work—it’s now complete, presenting a professional and refreshed look that will enhance your bathroom’s overall aesthetic. Adhering to these steps ensures that your newly painted cabinets are as functional as they are beautiful.
Maintenance Tips for Painted Cabinets
Maintaining your newly painted bathroom cabinets will ensure they stay looking fresh and clean for years to come. Here are some essential tips to keep in mind to preserve the finish and lustre of your cabinets:
- Regular Cleaning: Wipe cabinets frequently with a soft, damp cloth to remove dust and splatters. Avoid using harsh chemicals that can damage the paint.
- Avoid Moisture Damage: Minimize direct water contact. Promptly dry any spills or splashes to prevent paint from peeling or bubbling.
- Gentle Products: Use cleaners that are specifically meant for painted surfaces. Opt for mild soap and water for routine cleaning.
- Touch-Up Paint: Store leftover paint for small touch-ups. Cover tiny chips or scratches quickly to avoid further damage.
- Avoid Excessive Heat: Protect cabinets from prolonged exposure to heat, which can soften paint and lead to discolouration or loss of sheen.
- Periodic Inspections: Regularly check for signs of wear and tear. Addressing issues early can save you from a bigger repainting job.
- Hardware Care: When cleaning hardware, be gentle. Harsh scrubs can scratch both the metal and the cabinet paint.
By following these straightforward maintenance steps, your bathroom cabinets will remain durable and vibrant. Remember, the key to longevity is regular care and prompt attention to any small issues that may arise.
Common Mistakes to Avoid
When embarking on how to paint a bathroom cabinet, some pitfalls can hinder your project. Avoid these common mistakes to ensure a smooth and successful cabinet transformation.
- Skipping Preparation: The prep work might seem tedious, but it’s a step you can’t skip. Ensure you clean, sand, and prime your cabinets before painting.
- Using the Wrong Tools: Don’t compromise on tools. Quality brushes, rollers, and painters’ tape can make a big difference in the finish.
- Ignoring the Primer: A primer is key for paint adhesion. It helps the topcoat stick better and last longer. Always use a good primer.
- Rushing the Process: Take your time between coats. Rushing could lead to drips and a sloppy finish. Let paint dry completely before applying the next coat.
- Choosing Low-Quality Paint: High-quality paint may cost more but pays off in the long run. It resists moisture and wear better, saving you future work.
- Neglecting Ventilation: Good air flow is crucial for drying and reducing paint fumes. Keep the bathroom well-ventilated during and after painting.
- Not Testing Colors: Test paint colors in your bathroom’s lighting. What looks good in store may not suit your bathroom’s light.
- Forgetting a Topcoat: A protective topcoat is vital for durability. It shields against moisture and wear, so don’t skip this step.
- Improper Clean-Up: Clean your tools right after use. Paint can ruin brushes and rollers if not washed out promptly.
By dodging these blunders, you’re on track for a professional finish on your bathroom cabinets. Take care, be precise, and your efforts will yield long-lasting results.
