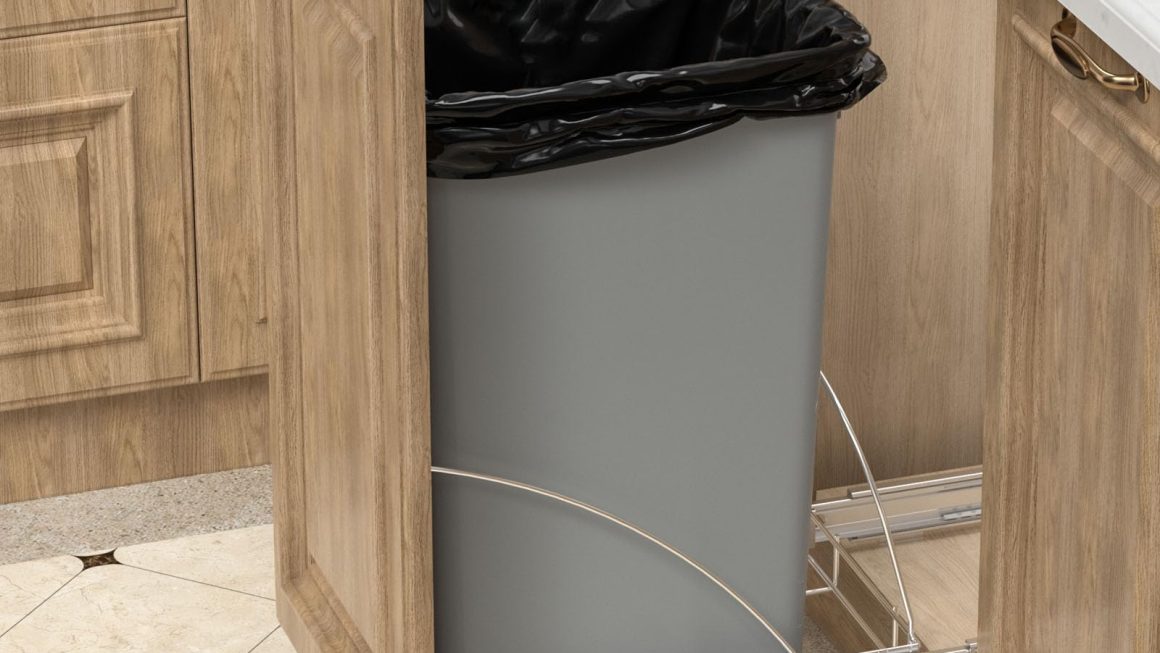
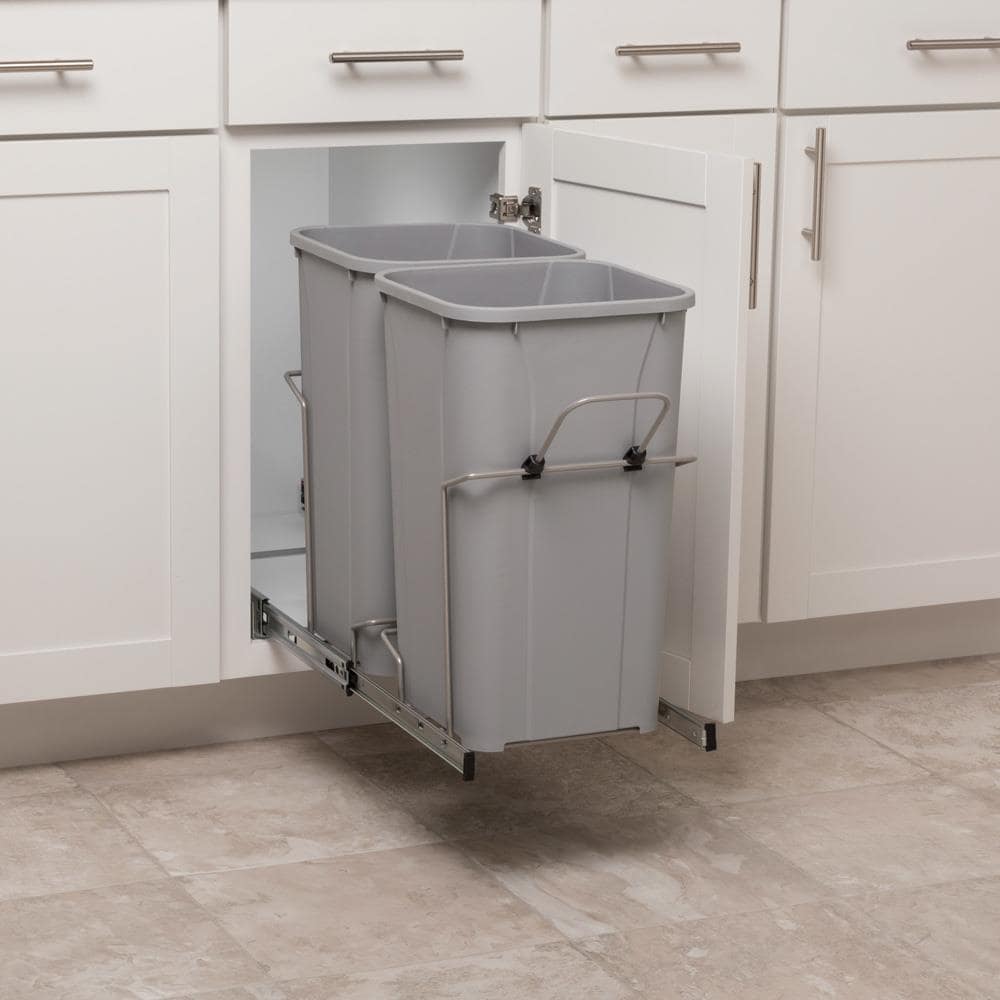
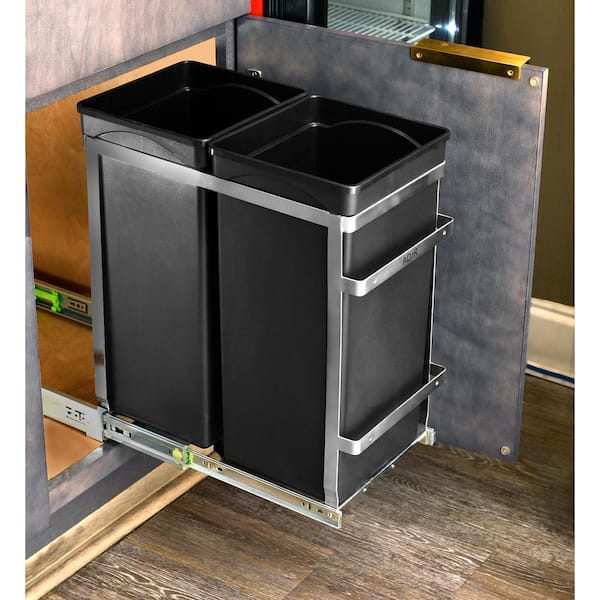
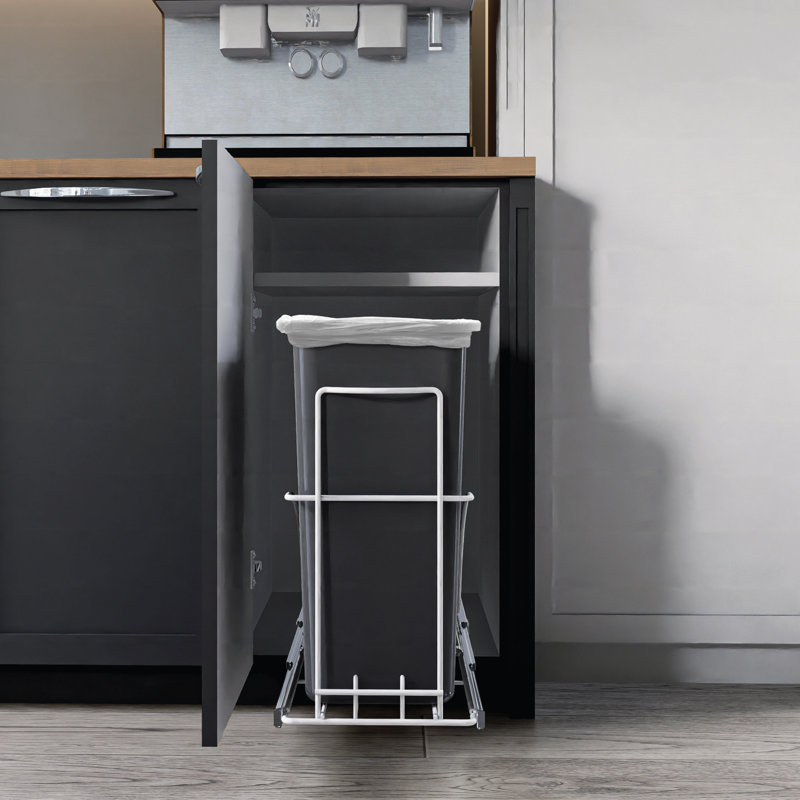
The Benefits of Hidden Trash Storage Solutions
Hiding your trash can inside a cabinet has several advantages. First, it keeps your kitchen looking neat. An out-of-sight trash can doesn’t disrupt the flow of your kitchen’s design. Second, hidden storage solutions minimize odors. When your bin is closed away, smells are less likely to spread. Third, it’s practical for hygiene. Tucking your trash away reduces the risk of pets or pests getting into it. Fourth, it frees up floor space. This is especially useful in smaller kitchens. Finally, a built-in trash system can enhance your home’s value. Homebuyers appreciate clever, built-in solutions that save space and streamline the look of a kitchen.
An organized kitchen is a happy kitchen. Converting a cabinet to a pull-out trash can bring simplicity and satisfaction to your daily routine. Imagine no more stumbling over a free-standing bin! Plus, installing a pull-out system is a DIY project you can tackle over the weekend. With the right tools and a bit of patience, you’ll have a custom trash storage solution that fits seamlessly with your kitchen’s style.
Assessing Your Cabinet Space for Pull-Out Trash Can Installation
Before converting a cabinet to a pull-out trash system, assess your space carefully.
- Measure the available cabinet area. Ensure the chosen kit fits your cabinet’s dimensions.
- Check for plumbing or electrical lines that may interfere with the installation.
- Consider the cabinet’s location for easy access while using the kitchen.
- Think about the door opening direction, whether it’s practical for pull-out functionality.
Decide which cabinet to convert. Base cabinets under the sink are common choices, but any cabinet with enough space can work. Take accurate measurements, noting width, depth, and height. Remember to leave clearance for the drawer slides and hardware. Move any obstacles, such as shelves or built-in organizers, from the chosen cabinet.
Fit your pull-out trash system close to your work area but out of the foot-traffic flow. Keep in mind the ease of taking the trash out when choosing the location. If you’re planning to add recycling or composting bins, make sure there’s enough room for a multi-bin system.
In conclusion, careful assessment ensures a successful conversion from cabinet to pull-out trash storage. Accurate measurements and practical placement contribute to a functional and efficient kitchen.
Choosing the Right Pull-Out Trash Can Kit for Your Cabinet
When you decide to convert a cabinet into a pull-out trash can, the right kit is vital. Here’s how to choose one:
- Measure Twice: Before buying, double-check your cabinet’s inside dimensions. This avoids sizing mishaps.
- Kit Size Options: Look for kits that match your cabinet’s width, depth, and height. These come in single or double bin options.
- Hardware Quality: Good hardware means smooth operation. Opt for durable drawer slides with easy-close features.
- Door Attachment: Some kits include door-mounting hardware. This creates a seamless look when the cabinet door becomes the drawer face.
- Load Capacity: Choose a kit that can handle the weight of your trash. Sturdiness is key to longevity.
- Easy Installation: Look for kits with user-friendly instructions. Some pre-assembled options can save time.
- Material: Consider metal or heavy-duty plastic. Both are cleanable and resist damage.
- Brand Reputation: Research brands for reliability and customer satisfaction. Reviews are helpful.
Pick a kit that’s functional, fits your space, and enhances your cabinet’s usability. With smart selecting, your pull-out trash can will be a lasting improvement.
Essential Materials and Tools for the DIY Conversion
To convert cabinet to pull out trash, you need the right tools and materials. Here’s a list to help you get started:
- Pull-Out Trash Can Kit: Choose a size that fits your cabinet’s dimensions. Make sure it’s sturdy and comes with a warranty.
- Measuring Tape: You’ll need this to measure your cabinet and ensure the kit will fit perfectly.
- Drill: A power drill is essential for making holes for the drawer slides and hardware.
- Screwdriver Set: For manual adjustments and to secure the drawer slides and door mount kit.
- Pliers: These are handy for bending or adjusting metal components if needed.
- Clamps: Clamps hold pieces in place while you work, making the job easier.
- Level: To make sure your trash can slides out smoothly, everything should be level.
- Saw: If you need to resize any materials, a saw will be necessary.
- Pencil: Mark where you’ll be drilling to avoid mistakes.
It’s also wise to have protective gear like gloves and safety glasses. Plan out each step before you begin. This will save you time and trouble as you go. With these essential tools and materials, you’re ready to start the conversion!
Step-by-Step Guide to Assembling Your Pull-Out Trash Can
Transforming a regular kitchen cabinet into a pull-out trash can system is straightforward. Here’s a quick step-by-step guide to make the process smooth and hassle-free.
1. Measure and Order Kit
First, confirm the cabinet’s inner measurements. Then, order a pull-out trash can kit that suits those dimensions.
2. Gather Tools
Next, collect all necessary tools. You’ll need a drill, screwdriver, pliers, clamps, a level, a saw, and a pencil.
3. Empty the Cabinet
Clear out the chosen cabinet. Remove any shelves or obstacles.
4. Install Drawer Slides
Attach the drawer slides inside the cabinet. Follow the kit’s instructions. Ensure they are level.
5. Assemble Kit
Put together the trash can kit according to the provided guide.
6. Secure Kit in Cabinet
Place the assembled trash can holder in the cabinet. Use screws to attach it firmly to the base.
7. Adjust for Level
Check that the kit is perfectly horizontal. Adjust as needed for smooth operation.
8. Attach Cabinet Door
If applicable, install the door mount kit. Then, fix the cabinet door to the front of the pull-out unit.
Remember to take your time and double-check each step. With patience and attention to detail, you’ll soon have a fully functional pull-out trash can. Congrats on DIYing your way to a neater kitchen!
Tips for Attaching and Aligning the Cabinet Door
Properly attaching and aligning the cabinet door is crucial for a sleek pull-out trash system. Follow these tips:
- Align the Door: Before fastening, ensure the cabinet door is level with adjacent doors.
- Check Hinges: If your kit includes hinges, they should allow precise adjustments.
- Use Clamps: Clamps can hold the door in place while you attach it, making alignment easier.
- Mark Holes: Mark the drill points on the door and cabinet frame with a pencil before drilling.
- Secure Firmly: Use the right screws to attach your door to the mounting brackets. Check the kit’s recommendation.
- Test Movement: After securing the door, test the pull-out function to ensure smooth operation.
- Adjust if Necessary: If the door isn’t perfectly aligned, loosen screws slightly, readjust, and retighten.
Taking the time to properly align the cabinet door ensures a tidy finish to your pull-out trash cabinet conversion.
Customizing Your Storage: Options for Recycling and Composting
Creating a pull-out trash can that also handles recycling and compost is smart. It maximizes your cabinet’s function. Here’s how to customize your pull-out system.
Choose Multi-bin Kits
For recycling, pick kits that include multiple bins. They keep recyclables sorted. Ensure bins have labels or different colors for quick identification.
Compost Bin Consideration
If you compost, include a bin with a tight-sealing lid. This controls odor and deters pests. Some kits offer compartments specified for compost.
Adjustable Dividers
Select kits with adjustable dividers. This way, you can alter bin sizes as needed. Change your setup when your recycling or composting needs shift.
Bin Placement
Place less-used bins, like compost, at the back. Daily recyclables should be in front for easy access.
By customizing with these options, you sustain a commitment to the environment. Your cabinet space becomes a multi-purpose waste system. Recycling and composting are now convenient tasks in your daily routine.
Maintaining and Cleaning Your Pull-Out Trash Can System
Keeping your pull-out trash system clean is essential. Regular maintenance prevents odors and maintains hygiene. Here’s what to do:
- Schedule Regular Cleaning: Set a time each week to wipe down the trash can system.
- Remove and Clean Bins: Take out the bins and wash them with soap and water.
- Wipe Down Interior: Use a damp cloth to clean the cabinet’s interior and the door.
- Check for Wear: Look for signs of wear on the drawer slides and hardware.
- Lubricate Slides: Apply a silicone-based lubricant to the slides for smooth operation.
- Tighten Screws: Ensure all screws are tight to prevent wobbling or noise.
- Inspect for Damage: Check the bins for cracks or damage. Replace as necessary.
- Deodorize: Place a baking soda box inside the cabinet to neutralize odors.
- Liner Replacement: Change trash bag liners often to keep the area clean.
By following these steps, convert cabinet to pull-out trash to stay fresh and functional. Clean regularly to enjoy a hygienic kitchen environment.
