Preparing to Hang Your Cabinets
How to hang a cabinet on the wall? Preparing to hang cabinets involves a few crucial steps to ensure a safe and appealing installation. Careful planning and the right tools can make the process smoother. Let’s go through the essentials for prepping to hang your cabinets on the wall.
Choosing the Right Cabinets for Your Space
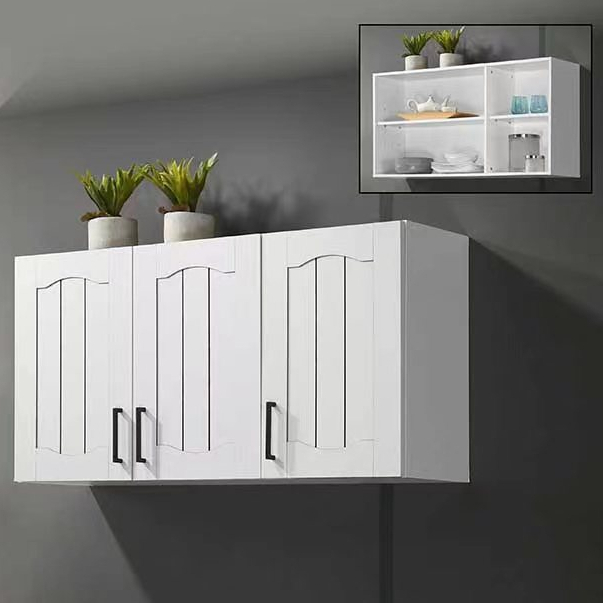
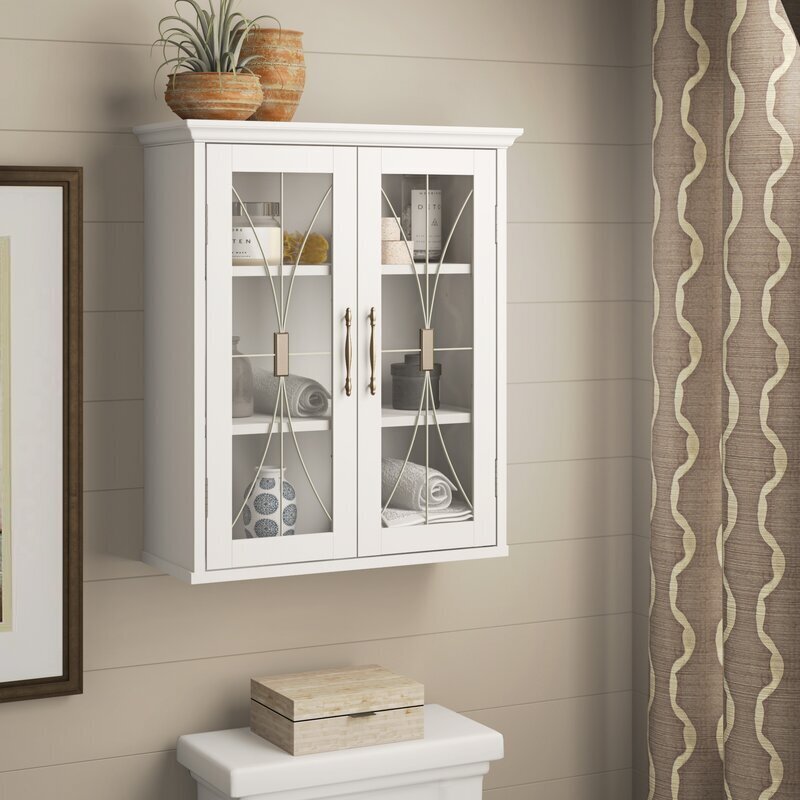
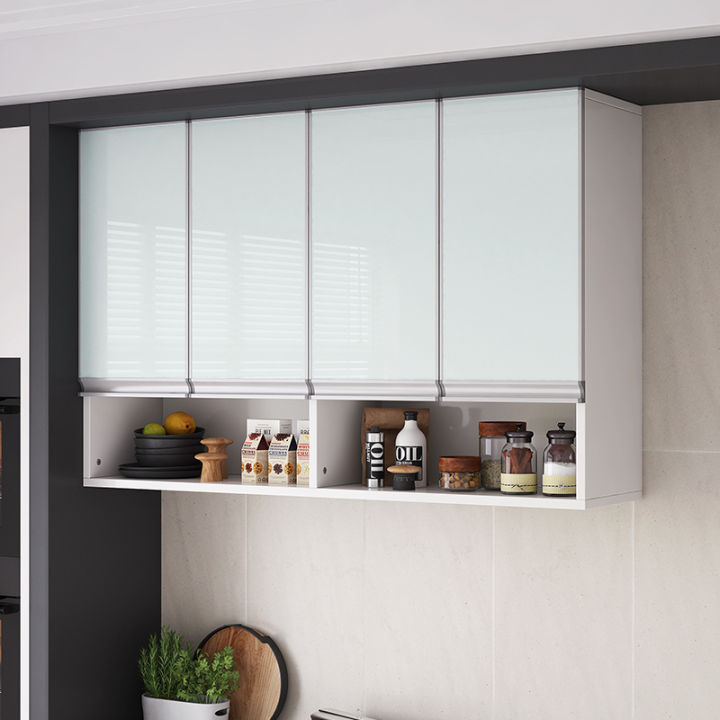
When selecting cabinets, consider the size and style of your room. Measure the space to determine the maximum cabinet size it can accommodate. Keep in mind the cabinet’s depth, height, and width. Choose materials and colors that match your decor. Ensure the cabinets you pick are designed for wall mounting and can support the items you plan to store.
Tools and Materials Needed
To hang a cabinet on the wall, gather your tools and materials first. You will need a tape measure, level, drill, drill bits, stud finder, screws, anchors, and a pencil. Make sure your screws are the correct length and type for your wall material. A ladder or sturdy step stool may also be necessary for higher installations.
Understanding Wall Studs and Layout Planning
Identifying the wall studs is key for a secure cabinet installation. Use a stud finder to locate and mark the studs in your wall. Take the cabinet’s dimensions and the location of the studs into account when planning your layout. Sketch a rough diagram to visualize the placement. Remember the layout should not only look good but also be practical for your everyday use.
Measuring and Marking the Wall
Once you have chosen the right cabinets and gathered your tools, the next step in learning how to hang a cabinet on the wall is to measure and mark your wall accurately. This phase is crucial for ensuring your cabinets hang straight and securely.
Locating Studs and Outlining Cabinet Placement
Start by using a stud finder to locate the studs in the wall where you want to hang the cabinet. Mark the stud locations with a pencil. Hold the cabinet against the wall to decide on the exact placement. Keep in mind accessibility and aesthetic balance. Outline the cabinet’s position on the wall, marking the corners and edges.
Leveling and Creating a Reference Line
Once you have your outline, use a level to draw a horizontal reference line along the wall. This line will ensure that your cabinets are aligned correctly and remain level after installation. It’s also a good idea to create vertical lines to mark where the sides of the cabinet will align. Double-check that these lines are plumb, using the level to make any necessary adjustments.
Mounting the Hanging Rails or Cleats
After measuring and marking the wall, the next step in learning how to hang a cabinet on the wall involves mounting hanging rails or cleats. They provide a stable surface to support the weight of the cabinet and ensure it stays secure.
Securing the Rails or Cleats to the Studs
Begin by aligning the top edge of the rail or cleat with the reference line you drew on the wall. Check that it is level before proceeding. Use a drill to create pilot holes where the rail or cleat will attach to the wall studs. Attach the rail or cleat to the stud using screws of the proper length for your wall material. Usually, at least two screws per stud ensure a firm hold. Make sure each rail or cleat is secured to multiple studs across the wall to distribute the cabinet’s weight evenly. After installation, give a gentle tug to ensure the rails or cleats are mounted securely before hanging the cabinets.
Attaching the Cabinets to the Wall
Once your hanging rails or cleats are in place, the next step in learning how to hang a cabinet on the wall is to attach the cabinets.
Aligning and Clamping Cabinets Together
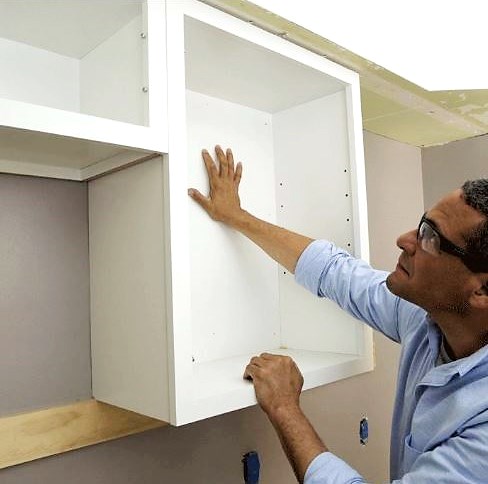
Now, align your cabinets along the support rails or cleats. Take care to adjust them so that the faces are flush and level with each other. Use clamps to hold the cabinets together firmly. This step is critical for ensuring that the cabinets appear as a single, seamless unit once installed. Check again with a level to confirm that everything is perfectly horizontal before you proceed to the next step.
Fastening Cabinets to the Rails and Each Other
With the cabinets clamped and aligned, you’ll need to secure them in place. Begin by drilling pilot holes into the cabinet’s back, being careful not to puncture through to the interior. Drive screws through these pilot holes into the rails or cleats. Ensure each cabinet is fastened at multiple points along the rail for stability. Next, fasten cabinets to one another. Use screws appropriate for the cabinet material to join sides where they meet. This not only unifies the structure but also prevents gaps and misalignment.
Adjusting Doors and Hardware
After your cabinets are hung, the next critical step is to adjust the doors and hardware. This step is essential for functionality and aesthetics. Properly adjusted doors should open and close smoothly without rubbing or misaligning.
Ensuring Proper Alignment and Operation
Check each door by opening and closing it. Observe any resistance or misalignment. Use a screwdriver to tweak the hinge screws slightly until the doors hang evenly and gaps are uniform. Ensure that all hardware, like knobs and handles, are tightened and aligned.
Confirm the operation of any soft-close mechanisms or magnetic latches. Make final adjustments as needed to ensure smooth operation. This is how to hang a cabinet on the wall that not only looks good but works perfectly too.
Finishing Touches
Once you’ve securely hung your cabinets on the wall, it’s time to add finishing touches.
Adding Trim or Molding
Trim or molding elevates the look of your installed cabinets. Here’s how to add these details:
- Measure the perimeter of the cabinet installation for trim or molding.
- Cut the trim or molding to size with a saw, ensuring cuts are at appropriate angles for corners.
- Attach trim or molding using a nail gun or adhesive, depending on the wall surface.
- Fill any gaps or seams with caulk, then paint or stain the trim for a cohesive look.
By adding trim or molding, your cabinets will have a polished and custom-made appearance.
Cleaning and Maintenance Tips
To keep your cabinets looking great, follow these cleaning and maintenance tips:
- Dust regularly with a soft cloth to prevent buildup.
- Clean spills and smudges with a mild detergent and water, then dry with a soft cloth.
- Check hinges and hardware periodically, and tighten them if necessary.
- Avoid using harsh chemicals that could damage the cabinet’s finish.
Regular upkeep ensures that your cabinets remain stunning and functional for years. Remember, caring for your cabinets is just as important as how to hang a cabinet on the wall correctly. Keep them clean and in good repair, and they’ll look as good as the day you hung them.
Safety Tips and Best Practices
When you are learning how to hang a cabinet on the wall, it’s crucial to follow safety guidelines and best practices. This ensures the job is not only done well but also keeps you safe during the process.
Avoiding Common Mistakes
To prevent common errors:
- Double-check your measurements before drilling or cutting. Making sure everything is accurate can prevent misalignment.
- Ensure you use the proper tools for specific tasks. This might seem basic, but using the wrong tool can lead to poor results and safety issues.
- Avoid overloading the cabinets. Even if they are mounted well, too much weight can cause them to become unstable.
- Do not skip securing cabinets to studs. This can cause an insecure installation that might fail under the weight of stored items.
Ensuring a Secure and Durable Installation
To make sure the installation lasts:
- Use high-quality screws and materials for mounting. This will support the cabinet weight effectively over time.
- Regularly check the fittings. Doing so can help catch any loosening early, before it becomes a problem.
- Apply appropriate sealants or finishes. This can protect the cabinet surfaces and help maintain their look and durability.
- Make sure the wall condition is suitable for installation. Check for dampness or weaknesses that could affect the mounting.
By adhering to these best practices, you can ensure that your wall-mounted cabinets remain secure and attractive for many years.
