Introduction
Cabinet fillers are often an overlooked component in kitchen design, but they play a crucial role in maximizing space and ensuring that every inch of the kitchen is utilized efficiently. In this article, we will explore the various types of the cabinet filler, their functions, and how they can be utilized to improve the functionality and aesthetics of your kitchen.
Part 1: Understanding Cabinet Fillers
Level 1: What are Cabinet Fillers?
Cabinet fillers are narrow strips of wood or decorative elements that are used to fill the gaps between cabinets or between a cabinet and a wall. They are typically used to create a seamless and uniform look in kitchen cabinetry, especially when there are irregular spaces that cannot accommodate a standard-size cabinet.
Level 2: Types of Cabinet Fillers
There are various types of cabinet fillers, including spacer fillers, scribe fillers, and decorative fillers. Spacer fillers are plain strips of wood that are used to fill gaps between cabinets, while scribe fillers are used to cover gaps between a cabinet and a wall. Decorative fillers, on the other hand, are designed to add a decorative touch to the kitchen cabinetry.
Part 2: Functions of Cabinet Fillers
Level 1: Filling Gaps and Uneven Spaces
One of the primary functions of cabinet fillers is to fill gaps and uneven spaces between cabinets and walls. This helps to create a seamless and uniform appearance in the kitchen, as well as preventing dust and debris from accumulating in these hard-to-reach areas.
Level 2: Concealing Imperfections
Cabinet fillers can also be used to conceal imperfections in the kitchen cabinetry, such as gaps, seams, or joints that are not perfectly aligned. By strategically placing fillers in these areas, you can achieve a more polished and professional look in your kitchen.
Part 3: Utilizing Cabinet Fillers for Efficiency
Level 1: Maximizing Storage Space
Cabinet fillers can be utilized to maximize storage space in the kitchen. By using fillers to fill narrow spaces between cabinets or to extend the reach of a cabinet, you can create additional storage for items such as spices, cutting boards, or baking sheets.
Level 2: Customizing Cabinetry
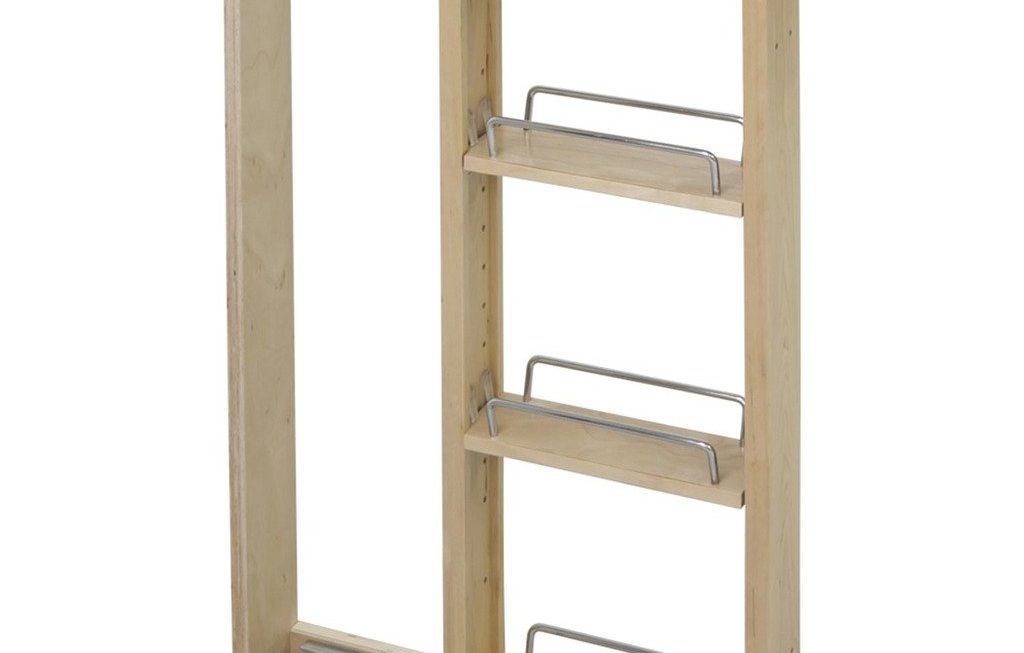
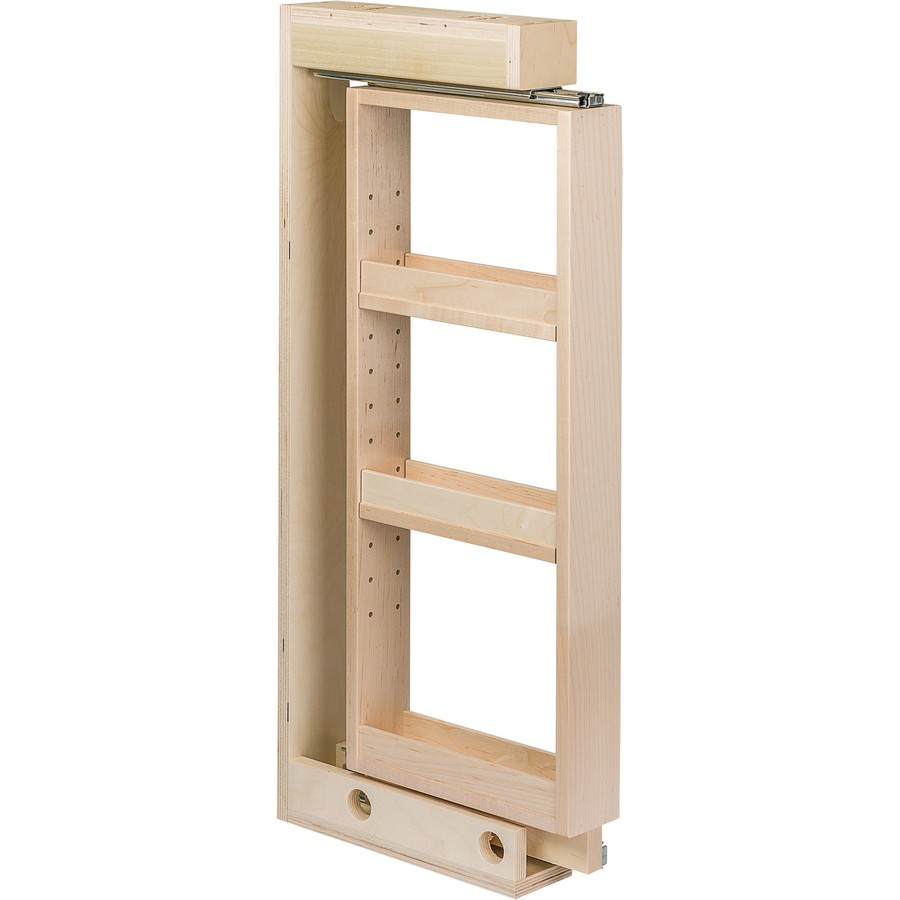
Fillers can also be used to customize cabinetry to accommodate specific needs or preferences. For example, a filler can be used to create a pull-out spice rack, a wine rack, or a vertical tray storage in a narrow space that would otherwise go unused.
Part 4: Design Considerations and Aesthetics
Level 1: Choosing the Right Material and Finish
When selecting cabinet fillers, it’s important to consider the material and finish that will complement the overall design of the kitchen. Fillers can be made from the same material as the cabinets, such as wood or laminate, and can be finished to match the color and style of the cabinetry.
Level 2: Incorporating Decorative Fillers
In addition to their functional purposes, cabinet fillers can also be used to enhance the aesthetics of the kitchen. Decorative fillers, such as fluted or beaded designs, can add visual interest and elegance to the cabinetry, creating a custom and upscale look.
Part 5: Installation and Maintenance
Level 1: Professional Installation vs. DIY
Installing cabinet fillers may require professional expertise, especially when it involves cutting and fitting fillers to specific dimensions. While some fillers can be installed as a DIY project, it’s important to assess the complexity of the installation and seek professional assistance if necessary.
Level 2: Care and Maintenance
Once cabinet fillers are installed, they require minimal maintenance. Regular cleaning with a damp cloth and mild detergent is usually sufficient to keep fillers looking their best. It’s also important to check for any signs of wear or damage, such as warping or splitting, and address these issues promptly to ensure the longevity of the cabinet fillers.
Part 6: Installing Cabinet Fillers
Once you have measured and cut the cabinet fillers to size, it’s time to install them. Start by aligning the filler with the edge of the cabinet, ensuring that it is flush with the front face frame. Use a clamp to hold the filler in place to prevent it from moving while you secure it.
Next, pre-drill holes through the face frame of the cabinet and into the filler. This will prevent the wood from splitting when you insert the screws. Use a screwdriver to drive the screws through the pre-drilled holes and into the wood filler, attaching it securely to the cabinet.
After securing the filler in place, use a wood putty or filler to fill in any gaps between the filler and the cabinet. This will create a seamless transition and ensure a professional-looking finish. Once the putty has dried, sand it down to create a smooth surface.
Lastly, you can finish the filler to match the rest of the cabinet. This can be done by painting or staining the filler to match the color of the cabinet. Once the filler is installed and finished. It will blend in seamlessly with the rest of the cabinetry, giving it a cohesive and polished look.
Part 7: Benefits of Using Cabinet Fillers
Using cabinet fillers in your kitchen or bathroom can offer several benefits. Firstly, fillers help to create a seamless and finished look for your cabinets. Especially in spaces where there may be gaps or uneven surfaces. Fillers can also help to provide structural support and prevent damage to the cabinets over time.
Additionally, cabinet fillers can be used to create a custom look for your cabinetry. By using fillers, you can modify and customize the size and shape of your cabinets. To better fit your space and design preferences. This flexibility allows for a more personalized and unique cabinet layout.
Fillers can also be an effective way to maximize storage space in your cabinets. By using fillers, you can fill in any empty gaps between cabinets. Creating additional storage space for items that would otherwise be unusable. This can help to optimize the functionality of your kitchen or bathroom layout.
Overall, using cabinet fillers can provide a polished and professional finish to your cabinetry, while also offering customization and functionality benefits.
Part 8: Common Mistakes to Avoid When Using Cabinet Fillers
While using cabinet fillers can offer many benefits, there are also some common mistakes to avoid when installing them. One of the most common mistakes is failing to measure and cut the fillers accurately. This can result in ill-fitting fillers that do not seamlessly integrate with the rest of the cabinetry.
Another mistake to avoid is using the wrong type of filler material. It’s important to choose a durable and high-quality filler material that matches the rest of the cabinets. Using a low-quality filler can result in a shoddy finish and may not hold up well over time.
In addition, failing to secure the fillers properly can lead to issues down the line. It’s essential to use the correct tools and techniques to secure the fillers in place. And create a strong and stable attachment to the cabinets.
Lastly, neglecting to finish the fillers to match the rest of the cabinets can result in a less-than-professional appearance. Be sure to paint or stain the fillers to blend in seamlessly with the rest of the cabinetry for a polished finish.
By being mindful of these common mistakes, you can ensure that your cabinet fillers are installed effectively and enhance the overall look and functionality of your cabinetry.
Conclusion
Cabinet fillers are an essential component in kitchen design, offering both functional and aesthetic benefits. By understanding the various types of fillers, their functions. And how to utilize them efficiently, you can maximize space and efficiency in your kitchen while achieving a polished and custom look in your cabinetry. Whether you’re renovating an existing kitchen or designing a new one. Cabinet fillers are worth considering as a valuable addition to your kitchen design.


