Preparing for the Installation
How to install cabinet pulls without a template? Before you learn how to install cabinet pulls without a template, proper preparation is crucial. This lays the groundwork for a smooth, error-free installation. You’ll feel more confident and equipped to tackle the task ahead. Let’s start by gathering what you’ll need and taking some important measurements.
Gather the Necessary Tools
To install cabinet pulls effectively, you need the right set of tools. Ensure you have a tape measure, pencil, drill, screwdriver, and level on hand. A masking tape can also come in handy to mark drill points without leaving permanent marks. A fine drill bit is essential, too, for starting holes easily. Gather these tools before you get to work to avoid any interruptions once you start.
Measure the Cabinet Handles
Now, measure the cabinet pulls you’ve chosen. Note the distance between the screw holes, also called the ‘center to center’ measurement. This will guide where you’ll need to drill on the cabinet doors or drawers. Don’t forget to consider the pull’s length and how it will look in proportion to the cabinet. Write down these measurements to refer back to during the installation process.
Marking the Cabinet Without a Template
Properly marking the cabinet is a major step when you learn how to install cabinet pulls without a template. First, determine the position where you want your cabinet pulls to go. Are you placing them in the center of the drawer or at the top of the cabinet door? Once you’ve decided, it’s time to mark the spots carefully.
Finding the Center Point
To find the center point, use your tape measure to find the height and width of the cabinet drawer or door. Next, draw a line vertically and horizontally across the midpoint. This cross-hair marks the spot where you’ll align the handles. Keep your pencil lines light; you can erase them later or cover them with paint.
Ensuring Alignment and Precision
Using a level, check that the point you marked is straight and level. The precision here is crucial for proper hardware installation. No one wants crooked cabinet pulls! Make small adjustments until you’re sure that the mark is aligned properly. This might take a few tries, but taking time to ensure accuracy pays off. Repeat this process for each drawer and cabinet, always double-checking measurements for consistency.
Drilling the Holes
Once you’ve marked where your cabinet pulls will go, it’s time to drill the holes. Drilling cleanly is crucial to prevent damage to your cabinets and to ensure the pulls fit perfectly. Here’s how to proceed with caution and precision.
Selecting the Correct Drill Bit
Choosing the right drill bit is important for a clean hole. Use a bit that matches the size of the screws from your cabinet pulls. A slightly smaller bit size helps create tight fittings for the screws. For example, if your screws are 3/16 inches, use a bit that is just under this size. This ensures a snug fit and strong hold.
Drilling Techniques to Avoid Splintering
When you’re ready to drill, start with a small pilot hole. A pilot hole guides your larger bit and prevents the wood from splitting. Keep your drill at a 90-degree angle to the cabinet for a straight hole. Drill slowly and apply steady pressure to avoid splintering the wood’s surface. If your cabinets have a delicate finish, place a piece of masking tape over the drilling area. This reduces splintering and protects the surface. After drilling the pilot hole, switch to your actual-size bit and repeat the process. Always check the hole to ensure it’s clean and free of wood chips.
Installing the Pulls
After drilling the holes, you’re ready to install the cabinet pulls. This step requires attention to ensure that the handles are both functional and visually appealing. Follow these pointers to secure the pulls properly.
Attaching the Screws
Start by aligning the screw with the hole from inside the cabinet door or drawer. If the screw is too long, you might need to use a washer. Hold the handle in place on the outer side, then twist the screw until it’s snug. Don’t over-tighten as this could strip the screw or damage the wood. Use a screwdriver for better control over the pressure you apply.
Aligning the Handles
Before you fully tighten the screws, check that the handle is aligned. Use your level to verify that the pull is straight and horizontal. Adjust as necessary before the final tightening. Once aligned, finish securing the screws. Repeat this process with all your cabinet pulls, ensuring uniformity. Remember to step back and inspect the handles from a distance to confirm consistent alignment.
Tips for Perfect Placement
Achieving the perfect placement of cabinet pulls can seem daunting without a template. But with a few clever tricks, you can ensure your handles are positioned just right. Use these tips to guide your installation for a flawless finish.
Using Makeshift Guides
If you don’t have a template, makeshift guides can be lifesavers. Try using a piece of cardboard or stiff paper. Cut it to match the height and width of your drawer. Poke holes where the screws should go, based on your measurements. Hold this guide against the drawer or door to mark the drill points. This can mimic a template and offer a visual aid for proper alignment. For longer handles, a strip of tape can act as a straight edge. Align the edges of the tape with your marked points to ensure a straight line.
Double-Checking Measurements
Accuracy is your best friend when installing cabinet pulls without a template. Always measure twice before you mark or drill. Mistakes can misalign handles or create extra work. After marking your points, grab your measuring tape once more. Verify the distance is correct from edge to handle and between screw holes. Remember, consistent precision is key for a professional look. Check that each handle matches the others in placement and spacing. Taking time to double-check can save you from potential errors and ensure that all handles are installed perfectly.
Common Mistakes to Avoid
When learning how to install cabinet pulls without a template, certain pitfalls can cause frustration. These common errors can mar the look of your cabinets or even lead to damage. Here are top mistakes to keep on your radar and ways to sidestep them for a flawless installation.
Avoiding Uneven Installation
The number one mistake is uneven handle placement. It’s easy to drill holes that aren’t level or aligned, leaving you with a lopsided look. To avoid this, always use a level when marking your drill points. Double-check the distance from each handle to the edge of the cabinet, ensuring uniformity. Remember, patience is key. Take extra time to measure and position everything accurately before drilling.
Preventing Damage to the Cabinets
Another frequent mishap is cabinet damage during the drilling process. This can occur if the drill bit is too large or the drilling is too forceful. To prevent this, choose the right drill bit size—slightly smaller than the screws. Drill carefully, starting with a pilot hole and progressing slowly. Use masking tape to shield the area you’re drilling into. This will help protect the cabinet’s finish from damage. When attaching screws, tighten them securely but gently to avoid stripping the wood or screw threads.
Finishing Touches
After you’ve installed the cabinet pulls, it’s crucial to give everything a final once-over. This ensures that all components are secure and look as intended. Here are a few steps to wrap up your installation project smoothly.
Inspecting the Pulls
First, inspect each pull to make sure it is firmly attached and aligned properly. Check from different angles to ensure they all look uniform. Move any loose handles now, so they don’t become a problem later. This simple check can prevent future issues with usability and appearance.
Cleaning and Maintenance
After installation, clean the cabinet surfaces and the new pulls. Use a soft cloth and a mild cleaner to wipe away any fingerprints and dust. For ongoing maintenance, tighten the screws occasionally and keep the pulls clean. This will help maintain both their function and their shine over time. Regular care keeps your cabinetry looking its best and ensures long-lasting use of the handles.
Alternative Methods for Installing Without a Template
For those who prefer a more guided approach to installing cabinet pulls without a template, alternative methods exist. These can offer added precision and can be just as effective.
Using a Jig
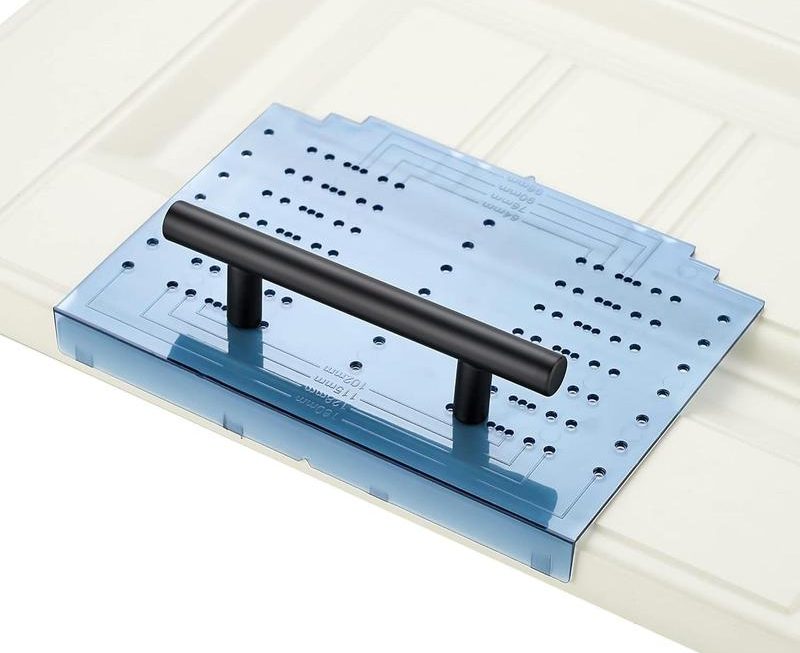
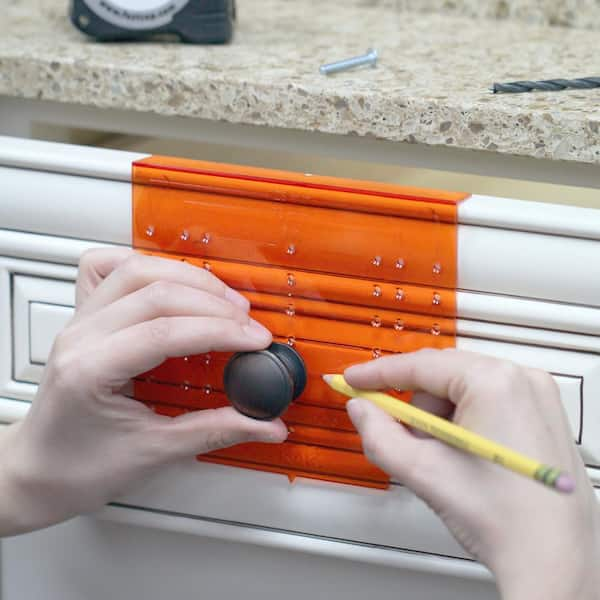
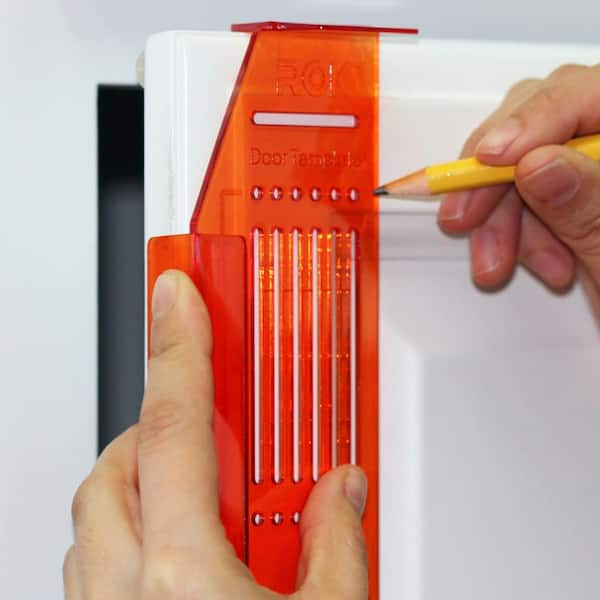
A jig is a tool that helps guide your drill bit to the precise location for your cabinet pulls. To use a jig, first adjust it to match the ‘center to center’ measurement of your handles. Then, clamp the jig to your drawer or door. The jig holes guide where to drill, ensuring consistent placement for all your pulls. While jigs are an additional expense, they save time and boost precision.
DIY Templates from Household Items
If you don’t want to buy a jig, you can make a DIY template. Look for items like stiff card, old credit cards, or wood scraps. Cut the item to the size of the pull’s ‘center to center’ measurement. Then, punch or drill holes where the screws will go. Now, you’ve got a homemade template! Hold it against the cabinet, mark your drill points, and start drilling. This method is cost-effective and can be just as accurate as a store-bought jig.
By using a jig or creating your own template from household items, you still achieve the goal of how to install cabinet pulls without a standard template. These approaches provide stability and ensure your success with uniform handle installation.
