Introduction to Under Cabinet Lighting
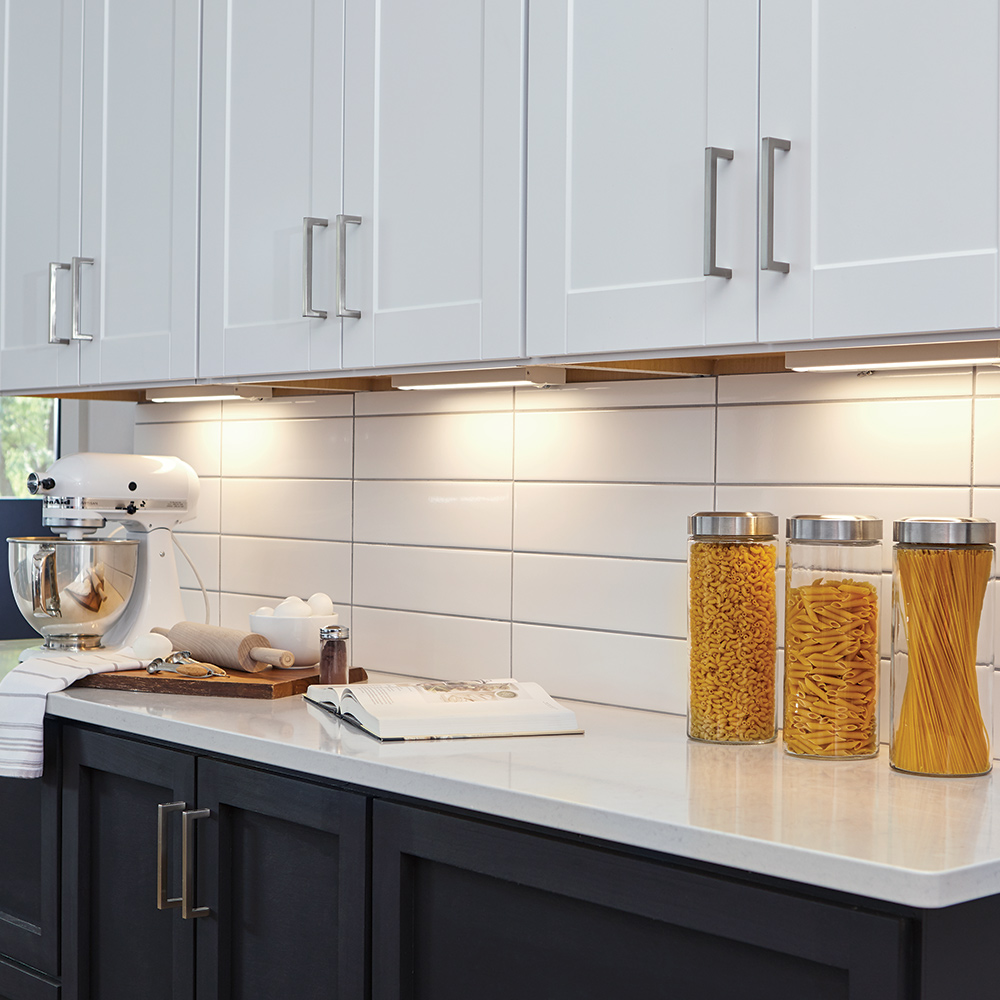
How to wire under cabinet lighting? Under cabinet lighting adds function and charm to kitchens or workspaces. It provides needed task lighting while enhancing the overall ambiance. By installing these subtle yet powerful lights, you can achieve a modern and well-lit environment.
Types of Under Cabinet Lighting
When considering how to wire under cabinet lighting, first understand the types available. There are various forms:
- Puck Lights: Small, circular lights that create pools of light on the countertop.
- Strip Lights: These offer continuous, even illumination and can be cut to size.
- Tape Lights: Low-profile, adhesive-backed strips that are flexible and easy to install.
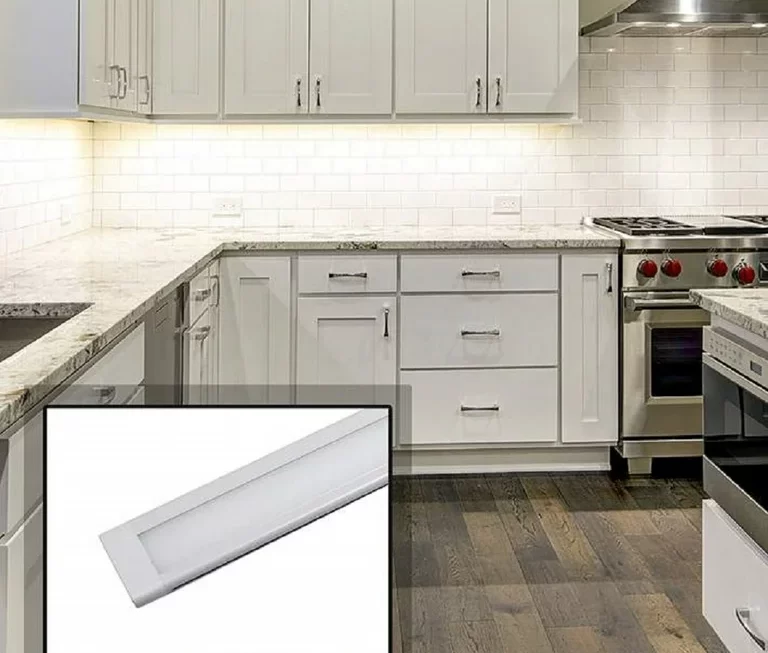
- Linear Lights: Typically, these are hardwired and provide a clean, seamless look.
Choose the type that aligns with your lighting goals and kitchen aesthetics.
Benefits of Installing Under Cabinet Lighting
Installing under cabinet lighting comes with several benefits:
- Enhances Visibility: Ideal for task areas, it improves visibility for food prep and cooking.
- Energy Efficiency: LED options consume less energy, reducing power bills.
- Improves Home Value: A well-lit kitchen can increase your home’s appeal and resale value.
- Customizable Moods: With dimmable options, easily adjust the light intensity to suit any occasion.
Next, we will discuss the tools and materials needed to wire under cabinet lighting efficiently.
Tools and Materials Needed
Before starting the process of how to wire under cabinet lighting, gathering all necessary tools and materials is crucial. Proper preparation ensures a smooth installation and helps avoid interruptions. You will need specific wiring and a set of tools to complete this project effectively.
Choosing the Right Wiring
The type of wiring you choose for your under cabinet lighting is essential for both safety and functionality. For most under cabinet lighting scenarios, low-voltage wires are preferred due to their ease of handling and safety features. Ensure the wiring is compatible with the lighting type you select—puck, strip, tape, or linear lights. Also, consider the length of wire required based on the size and configuration of your kitchen cabinets.
Essential Tools for Installation
Here’s a list of essential tools you’ll need:
- Wire Strippers: To strip and prepare the wires for connections.
- Screwdrivers: Both flat-head and Phillips-head screwdrivers are useful.
- Drill: A power drill helps in making holes for routing wires and securing fixtures.
- Pliers: Useful for bending wires and holding components firmly.
- Wire Connectors: Ensure a secure connection between wires.
- Electrical Tape: To insulate and protect wire connections.
- Measuring Tape: For precise measurements of light placement and wire lengths.
- Voltage Tester: To safely check for live wires before working on electrical connections.
Assemble these tools and have them within reach before beginning the installation to ensure an efficient and uninterrupted workflow. Remember to also have your under cabinet lights and any additional accessories specified by the manufacturer ready.
Pre-Installation Planning
Before you embark on the wiring journey, a solid pre-installation plan is a must. It will guide your steps and ensure a smooth project flow. Let’s delve into some critical measuring and layout tips and safety precautions that are imperative during planning.
Measuring and Layout Tips
Measuring correctly is the key to an efficient installation. Start by determining the length of the under cabinet space where lights will go. Add a few extra inches to your wire length, to accommodate any unexpected turns or corners. Sketch a simple diagram of your kitchen layout. Mark the position of each light fixture on this diagram. Consider uneven surfaces or obstacles that might affect the light placement.
When planning, keep in mind these points:
- Measure each cabinet section accurately.
- Take note of power sources and their proximity to the lighting zones.
- Decide on the spacing of each light for uniform illumination.
- Remember to leave some slack in the wiring for stress-free installation and future adjustments.
Safety Precautions
Safety cannot be compromised when dealing with electricity. Here are some precautions to keep you safe:
- Turn off the main power supply before starting. Use a voltage tester to ensure no live wires are present.
- Read the manufacturer’s instructions for the light fixtures carefully.
- Wear protective gear – safety glasses and gloves, especially when drilling or cutting.
- Keep a fire extinguisher nearby, in case of electrical sparks or short circuits.
- If you’re unsure about any part of the installation process, consult with a professional electrician.
With these tips and precautions, you’re now set to proceed to the next stage – the actual installation process of how to wire under cabinet lighting.
Step-by-Step Installation Process
The installation of under cabinet lighting can be straightforward if you follow these steps closely. Make sure your work area is clear and that you’ve taken all safety precautions outlined in the pre-installation planning phase.
How to Connect the Lights to Power Source
Connecting your under cabinet lighting to a power source is crucial. Here’s how to do it:
- Locate your power source and ensure it’s turned off.
- Use wire strippers to prepare the ends of the wires.
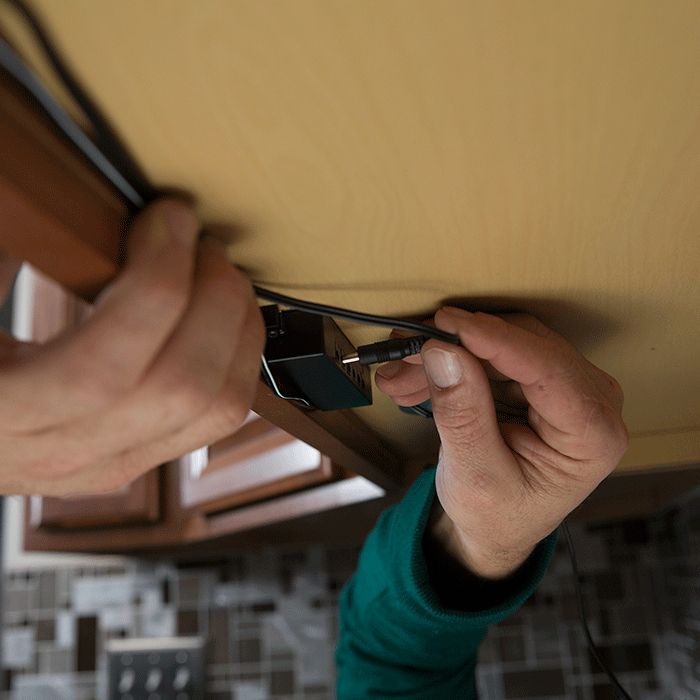
- Connect the lighting’s wires to the power source using wire connectors.
- Ensure the connections are tight and secure with electrical tape.
- Test the connection with a voltage tester before turning the power on.
Remember, the type of lights you have, whether puck, strip, tape, or linear, may affect the connection method.
Securing the Lights and Managing Wires
Once your lights are hooked to a power source, securing them properly is next:
- Position each light fixture in its planned spot.
- Use screws, clips, or adhesive pads to secure the lights under the cabinet.
- Route the wires neatly to avoid visible clutter. Use clips or adhesive straps to manage the wires.
- Check for any loose wires and secure them with connectors or electrical tape.
- Double-check that all lights are securely fastened and aligned.
Managing the wires neatly contributes to both safety and aesthetics. With careful attention to detail, you’ll achieve professional-grade under cabinet lighting.
Tips for a Professional Look
Achieving a professional look for your under cabinet lighting requires attention to detail. When the installation is neat and tidy, it enhances your kitchen’s overall appeal. Follow these tips to ensure your lighting project has that polished finish.
How to Hide the Wiring
Hiding the wiring is the key to a clean, professional appearance. Here are practical ways to conceal wires:
- Use Wire Channels: Attach plastic wire channels underneath cabinets. Paint them to match the cabinetry.
- Route Behind Features: Run wires behind cabinet features or appliances where possible.
- Use Adhesive Clips: Secure wires with clips that stick to the underside of cabinets. Choose clips that blend with the surroundings.
- Opt for Wireless Options: Consider battery-operated lights to completely avoid wiring.
Carefully hidden wires will not only look better but will also reduce the chance of damage or accidental disconnection.
Aligning the Lights for Optimal Illumination
Correct alignment ensures even, effective lighting. Here’s how to position your lights for the best results:
- Even Spacing: Space fixtures evenly to avoid dark spots. Use measuring tape for precise alignment.
- Direct the Light Downward: Aim puck or spot lights directly onto countertops for targeted lighting.
- Consider Reflective Surfaces: If your countertop is glossy, position lights to minimize glare.
- Consistent Overhang: Make sure fixtures extend uniformly beyond the cabinet edges for a cohesive look.
By aligning the lights properly, you create an even, shadow-free workspace that’s both functional and aesthetically pleasing.
Troubleshooting Common Installation Issues
During and after installing under cabinet lighting, you might face some challenges. Common issues can often be fixed with a few straightforward steps. Let’s look at how to tackle these problems.
Dealing with Flickering Lights
Flickering lights can be a sign of loose connections or incompatible dimmer switches. To fix flickering:
- Check all wire connections between the lights and power source are tight.
- Confirm that all bulbs or strips are correctly seated in their fixtures.
- If using dimmers, ensure they are compatible with LED lighting.
- Replace any faulty bulbs or hardware that may cause flickering.
A steady light source is crucial for task lighting, and following these tips should help you maintain consistent under cabinet lighting.
Resolving Wiring Errors
Mistakes in wiring can lead to more than just flickering lights; they can be dangerous. To resolve wiring errors:
- Turn off the main power supply before checking any wiring.
- Use a voltage tester to ensure no current is running through the wires.
- Double-check that you have connected wires in the correct configuration.
- Ensure that wire connectors are appropriate for the wire gauge.
- If errors persist, consult the wiring diagram or seek help from a professional electrician.
By addressing these common issues promptly, your under cabinet lighting will not only look great but will function safely and efficiently as well.
Maintenance and Care
Maintaining your under cabinet lighting is key to its longevity and effectiveness. Regular care ensures that the lights continue to provide optimal illumination and remain an attractive feature in your kitchen.
Cleaning and Upkeep
Keep your under cabinet lights clean and well-maintained with these simple steps:
- Turn Off the Lights: Always turn off the power before cleaning.
- Dust Regularly: Use a soft cloth or duster to remove surface dust.
- Clean Light Covers: Wipe transparent covers with a mild cleaner to avoid buildup.
- Check Connections: Inspect wires and connectors for signs of wear or damage.
- Tighten Fixtures: Secure any loose fixtures to prevent accidents.
- Replace Bulbs: Change any burnt-out bulbs or damaged LEDs promptly.
By following these upkeep tips, your under cabinet lighting will remain both functional and visually appealing.
When to Seek Professional Help
Sometimes, you might encounter issues that require expert attention. Seek professional help if you notice:
- Electrical Faults: If lights flicker or don’t turn on, you may need an electrician.
- Visible Wire Damage: Exposed or damaged wires are a safety risk.
- Malfunctioning Switches: An expert should check faulty dimmers or switches.
- Installation Concerns: If you’re uncertain about the initial setup, consult a pro.
Remember, tackling complex electrical issues alone can be dangerous. Calling in a professional ensures safety and preserves the quality of your lighting installation.
