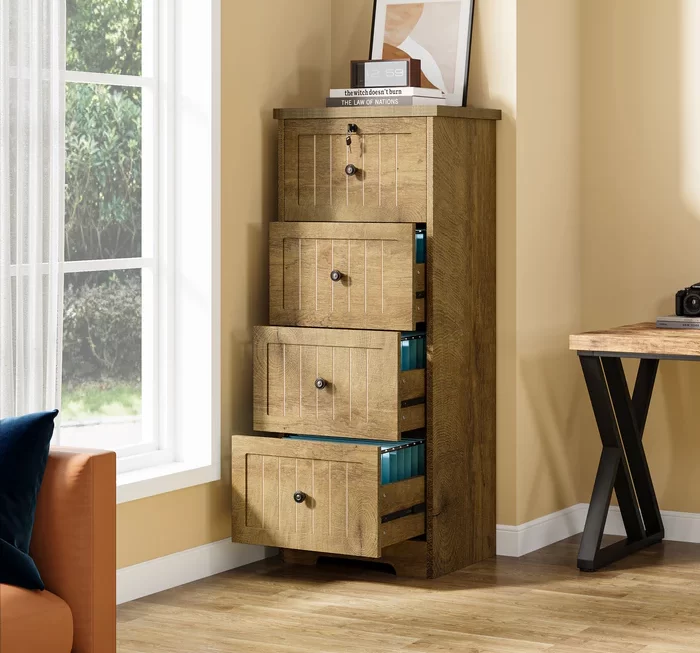
Installing cabinet hinges
Cabinet hinges are the unsung heroes of kitchen and bathroom design. These seemingly simple components are the backbone of smooth-operating doors, ensuring easy access to your belongings and maintaining a sleek aesthetic. However, installing cabinet hinges correctly can be a daunting task for the uninitiated. This comprehensive guide aims to demystify the process, equipping you with the knowledge and skills to achieve professional-looking results.
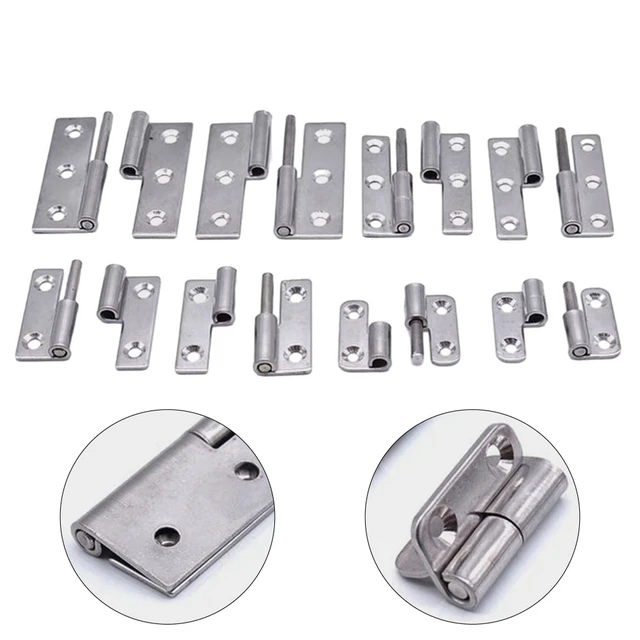
 Understanding Cabinet Hinges: A Primer
Before embarking on the installation journey, it’s crucial to understand the different types of hinges and their unique features. This knowledge will guide you in selecting the most appropriate hinge for your specific needs:
- Full Overlay Hinges: These hinges are the most common type, offering a sleek and modern look by concealing the entire door within the cabinet frame.
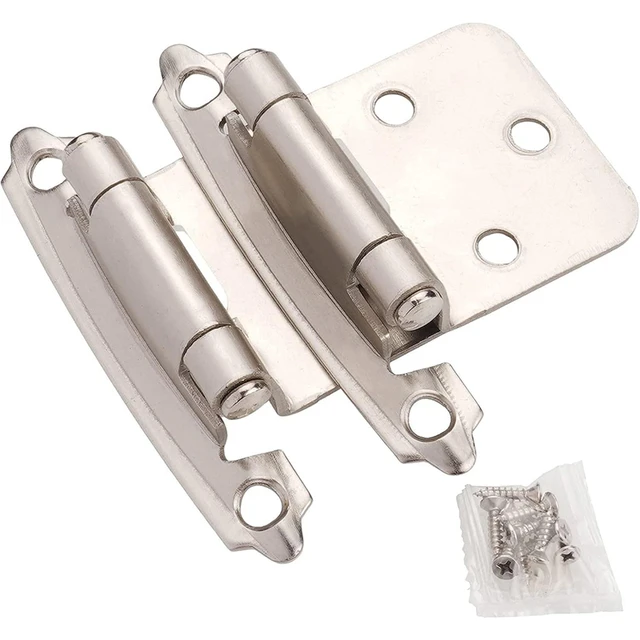
- Semi-Overlay Hinges: These hinges partially overlap the cabinet frame, creating a more traditional aesthetic.
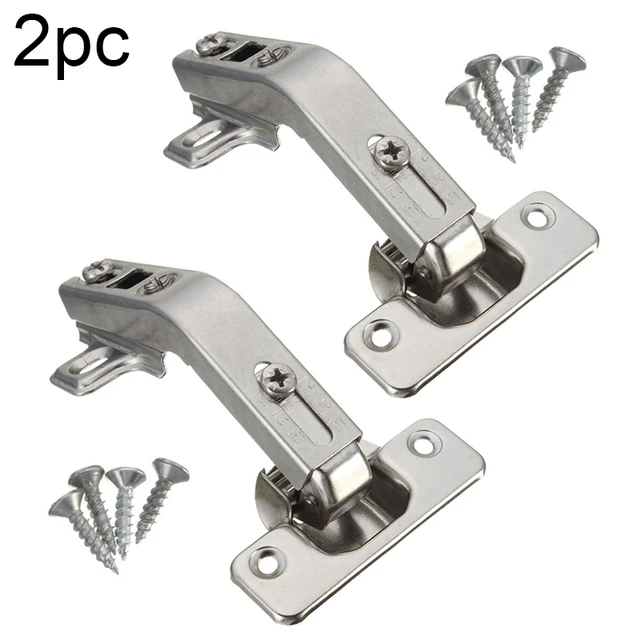
- Inset Hinges: These hinges are designed for cabinets with doors that sit flush with the frame, creating a minimalist and sophisticated look.
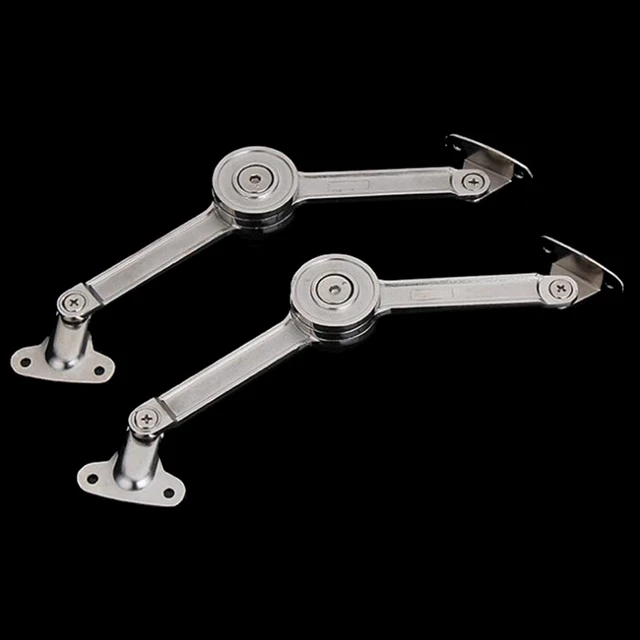
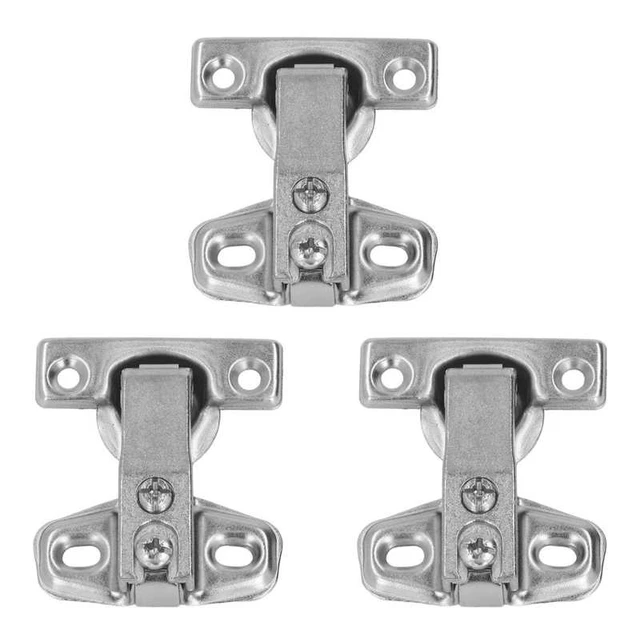
- Euro-Style Hinges: These hinges feature a concealed design with a clip-on mounting system, providing a streamlined appearance and enhanced durability.
- Soft-Close Hinges: These ingenious hinges incorporate a mechanism that slows down the door’s closing motion, preventing loud slams and protecting delicate items stored within.
The type of hinge you choose will determine the overall look and functionality of your cabinets. It’s essential to consider your existing cabinet design and personal preferences when making your selection.
Essential Tools for the Job
To ensure a successful hinge installation, equip yourself with the following tools:
- Screwdriver: A standard screwdriver with interchangeable bits will handle most hinge installation tasks.
- Drill: A cordless drill with a variety of drill bits is indispensable for precise drilling.
- Level: Essential for ensuring that your doors hang straight and level.
- Measuring Tape: Accurate measurements are crucial for precise hinge placement.
- Pencil: For marking hinge positions and drill locations.
- Countersinking Tool: Creates countersinking holes for screws, ensuring a flush surface.
- Safety Glasses: Always protect your eyes when working with tools.
Preparing for Installation: The Foundation for Success
Proper preparation is key to achieving a seamless and accurate installation. Follow these steps to ensure a smooth process:
- Choose the Right Hinge: Select the appropriate hinge type based on your cabinet design and personal preference.
- Measure Accurately: Precise measurements are essential for proper hinge placement. Use a measuring tape to determine the exact location for each hinge.
- Mark the Hinge Positions: Use a pencil to mark the hinge positions on both the cabinet door and the cabinet frame.
- Pre-Drilling Holes: To prevent wood splitting, pre-drill holes slightly smaller than the screw size at the marked hinge locations.
- Countersinking: Use a countersinking tool to create countersinking holes for the screws, ensuring a flush surface and a professional finish.
 Installing Cabinet Hinges: A Step-by-Step Guide
With the preparations complete, you’re ready to embark on the hinge installation process. Follow these steps for a successful outcome:
- Attaching the Hinge to the Door: Align the hinge plate with the marked position on the cabinet door. Secure it using the provided screws. Ensure the hinge is level and centered.
- Marking the Cabinet Frame: Open the cabinet door and place it against the frame. Use a pencil to mark the corresponding hinge position on the frame.
- Attaching the Hinge to the Frame: Align the hinge plate with the marked position on the frame. Secure it using the provided screws. Ensure the hinge is level and centered.
- Adjusting the Door: Once both hinges are attached, adjust the door for proper alignment. Use the hinge’s adjustment screws to fine-tune the door’s position, ensuring it opens and closes smoothly.
- Testing and Refinement: Open and close the cabinet door several times to ensure smooth operation. Make any necessary adjustments to the hinge screws for a perfect fit.
Tips and Tricks for Professional Results
Here are some helpful tips to elevate your cabinet hinge installation skills:
- Use a Pilot Hole Drill Bit: Use a pilot hole drill bit to prevent wood splitting when drilling the screw holes.
- Check for Level: Use a level to ensure that your door hangs straight and even.
- Adjust as Needed: Don’t be afraid to make adjustments to the hinge screws for a perfect fit.
- Clean Up After Installation: Wipe away any sawdust or debris from the installation process.
- Enjoy Your New Hinges: Stand back and admire your handiwork. Your cabinets will look and function like new!
Troubleshooting Common Installation Challenges
Even with careful preparation and meticulous execution, you may encounter some common challenges during the installation process. Here’s a guide to addressing those challenges:
- Door is Uneven: If your door is hanging unevenly, adjust the hinge screws until it is level.
- Door is Too Tight: If the door is too tight, loosen the hinge screws slightly to create more clearance.
- Door is Too Loose: If the door is too loose, tighten the hinge screws to create a tighter fit.
- Door Doesn’t Close Properly: If the door doesn’t close properly, check the alignment of the hinges and adjust accordingly.
- Screws Stripping: If the screws are stripping, try using a longer screw or a screw with a larger diameter.
 Beyond Installation: Maintaining Your Hinges
Proper maintenance is key to prolonging the life of your cabinet hinges. Here are some simple steps to keep your hinges in top shape:
- Lubrication: Periodically lubricate the hinge mechanisms with a light oil or grease to prevent squeaking and ensure smooth operation.
- Cleaning: Clean the hinges with a damp cloth to remove dust and debris.
- Tighten Loose Screws: If any screws loosen over time, tighten them to maintain a secure fit.
- Replace Worn Hinges: If hinges become damaged or excessively worn, replace them with new ones to ensure proper operation.
Some current trends in cabinet hinges:
Here are some current trends in cabinet hinges:
 1. Soft-Close Hinges:
These are the most popular type of hinge currently, as they provide a smooth, quiet closing action. They are available in a variety of styles and finishes to match any cabinet design.
2. Full Overlay Hinges:
These hinges are designed to conceal the door when closed, creating a seamless look. They are popular for modern and contemporary kitchens, and are often used with frameless cabinetry.
3. European Style Hinges:
These hinges are known for their high quality and durability.
4. Hidden Hinges:
These hinges are concealed within the cabinet, creating a sleek, minimalist look. They are popular for contemporary and modern kitchens, and are often used with frameless cabinetry.
5. Specialty Hinges:
These hinges are designed for specific applications, such as corner cabinets or cabinets with doors that open in unique ways. There are hinges for everything from glass doors to heavy doors.
6. Smart Hinges:
These hinges are connected to a smart home system and can be controlled with a smartphone app. They can be used to open and close doors, and can even track how often doors are used.
7. Sustainable Hinges:
More and more homeowners are looking for sustainable options, and cabinet hinges are no exception. Many manufacturers are now offering hinges made from recycled materials or that are designed to last longer.
8. Finishes:
The finish of your cabinet hinges can make a big difference in the overall look of your kitchen. Popular finishes include brushed nickel, satin nickel, oil-rubbed bronze, and black.
9. Color:
Popular colors include white, black, and gray.
These are just a few of the current trends in cabinet hinges. When choosing hinges for your kitchen, be sure to consider your personal style and the overall design of your cabinets.
 Conclusion: Mastering Cabinet Hinge Installation
Installing cabinet hinges is a rewarding DIY project that can elevate the appearance and functionality of your kitchen or bathroom cabinets. With careful preparation, meticulous installation, and a bit of patience, you can achieve professional-looking results. By understanding the different types of hinges, utilizing the right tools, and following the steps outlined in this guide, you can master the art of installing cabinet hinges, transforming your cabinets from ordinary to extraordinary. Remember, patience and attention to detail are your allies in this endeavor, leading to a satisfying sense of accomplishment and a beautifully functional kitchen or bathroom.