
The Shaker cabinet door is a timelessly elegant and straightforward design that continues to be popular in modern kitchens. This type of door is known for its simplicity, clean lines, and functionality. Whether you are an experienced woodworker or a beginner, creating a Shaker-style cabinet door can be a fulfilling project. This comprehensive guide will walk you through each step of the process.
 Understanding the Shaker Cabinet Door
Before diving into the construction process, it’s essential to understand what makes a Shaker cabinet door unique. A Shaker cabinet door consists of five pieces: two vertical stiles, two horizontal rails, and a flat, recessed panel in the middle. The designs are typically free of excessive ornamentation, emphasizing the craftsmanship and quality of the materials.
Materials Needed
To create a Shaker cabinet door, you will need the following materials:
- Hardwood (such as oak, maple, or cherry) for the stiles and rails
- Plywood or hardwood for the panel
- Wood glue
- Sandpaper
- Wood finish or paint
Additionally, you’ll need a set of tools including a table saw, a miter saw, clamps, and a router.
Choosing the Right Wood
Selecting the right wood is critical to a successful project. Hardwood is recommended for its durability and aesthetic appeal. Oak, maple, and cherry are excellent options, but you can choose other types based on your preference and budget.
Preparing the Wood
Cutting the Stiles and Rails
The first step in the process is to cut the stiles and rails to size.
- Measure and Mark: Measure the dimensions of your cabinet opening to determine the size of your door. Mark the lengths of the stiles (vertical pieces) and the rails (horizontal pieces) on your wood.
- Cut the Wood: Use a table saw to cut the stiles and rails to the desired length. The stiles typically run the full height of the door, whereas the rails fit between the stiles. Ensure your cuts are precise for a perfect fit.
Rabbeting the Rails
Rabbeting creates a groove in the rails where the panel will fit.
- Set up the Router: Install a rabbeting bit in your router. Adjust it to the desired depth and width of the groove.
- Rout the Rails: Secure a rail on the router table and pass it over the router bit to make the rabbet. Repeat this for all the rails required.
 Assembling the Frame
Dry Fit
Before permanently gluing any pieces together, it’s a good idea to do a dry fit. This helps ensure that everything fits perfectly.
- Lay Out the Pieces: Arrange the stiles and rails on a flat surface to create a frame. Check the fit and make any necessary adjustments.
- Check for Square: Use a carpenter square to ensure all corners are at perfect 90-degree angles.
Gluing the Frame
Now that you’re confident in the fit, it’s time to glue the frame together.
- Apply Wood Glue: Apply wood glue along the edges of the stiles and the mating ends of the rails.
- Clamp the Frame: Position the stiles and rails together to form the frame. Use clamps to hold everything tightly in place while the glue dries. Be sure to verify that the frame remains square during this process.
- Allow to Dry: Let the glue dry according to the manufacturer’s instructions before moving on to the next step.
Creating and Inserting the Panel
Cutting the Panel
The panel can be made from plywood or hardwood.
- Measure the Opening: Measure the opening in the frame where the panel will fit.
- Cut the Panel to Size: Use a table saw to cut the panel to size, ensuring it fits snugly into the groove created by the rabbets in the rails.
Panel Insertion
Now, it’s time to fit the panel within the frame.
- Dry Fit the Panel: Place the panel within the groove to ensure it fits correctly.
- Secure the Panel: Apply a bit of wood glue along the edges of the grooves before sliding the panel into place. It’s essential not to use too much glue, as it may squeeze out onto the panel surface.
- Clamp and Dry: Clamp the door again to ensure all pieces are tightly held together. Let the glue dry completely.
Finishing Touches
Sanding the Door
Sanding is an essential step to ensure a smooth and professional finish.
- Use Sandpaper: Start with medium-grit sandpaper (120 grit) and then progress to finer grits (220 grit). Sand all parts of the door, focusing on joints to create a smooth transition.
- Wipe the Dust: Use a damp cloth to remove any sanding dust from the wood surface.
Applying the Finish
The final step is to apply the finish to your Shaker cabinet door.
- Choose a Finish: Decide whether you want to paint or stain your door. Both options can highlight the natural beauty of the wood.
- Apply the Finish: Using a brush or cloth, apply the finish evenly across the entire door. If staining, you may need multiple coats to achieve the desired color. Let each coat dry according to the manufacturer’s instructions.
- Seal the Wood: Once the finish is dry, seal the wood with a clear protective coat to ensure longevity and durability. This can be a polyurethane or a similar sealant.
 Installing the Door
Adding Hinges and Handles
Now that your Shaker cabinet door is complete, it’s time to install it.
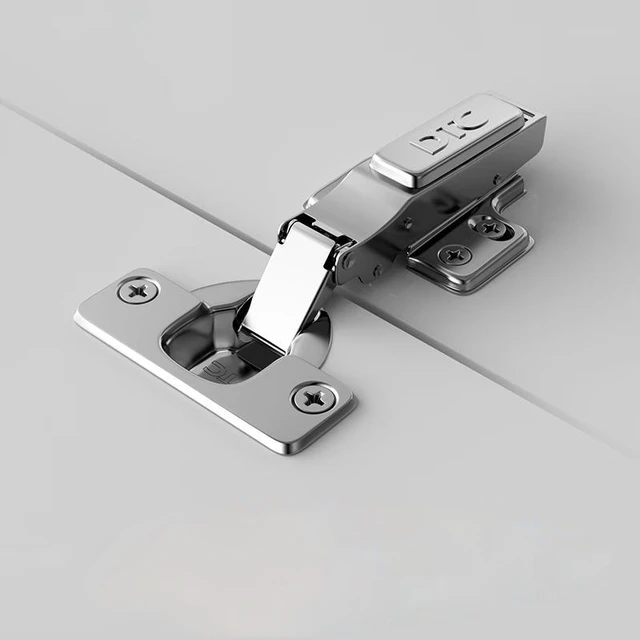
- Attach the Hinges: Position the hinges on the door and mark their placement. Pre-drill the holes to prevent the wood from splitting. Attach the hinges using screws.
- Install the Handle: Decide on the placement of the handle or knob. Mark the location, pre-drill holes, and then attach the hardware.
Mounting the Door
Lastly, mount the door onto your cabinet.
- Mark Hinge Positions on Cabinet: Hold the door up to the cabinet to mark where the hinges will attach to the cabinet.
- Pre-Drill Holes: Pre-drill screw holes on the cabinet frame.
- Attach the Door: Secure the door onto the cabinet using screws.
 Some of the current trends related to Shaker cabinet doors:
Shaker cabinet doors continue to be a popular choice in the realm of interior design, thanks to their timeless and versatile appeal. Here are some of the current trends related to Shaker cabinet doors:
- Color Variations: While classic white Shaker cabinets remain popular, there’s an increasing trend towards bolder colors. Navy blue, deep green, and even black Shaker cabinets are making a statement in many modern kitchens and bathrooms.
- Natural Wood Finishes: There’s a growing appreciation for natural wood finishes. People are leaning towards stains that highlight the wood grain, offering a warm and organic feel to the space.
- Matte Finishes: Matte finishes are becoming more popular compared to high-gloss, providing a subtle, sophisticated look that works well in both traditional and contemporary settings.
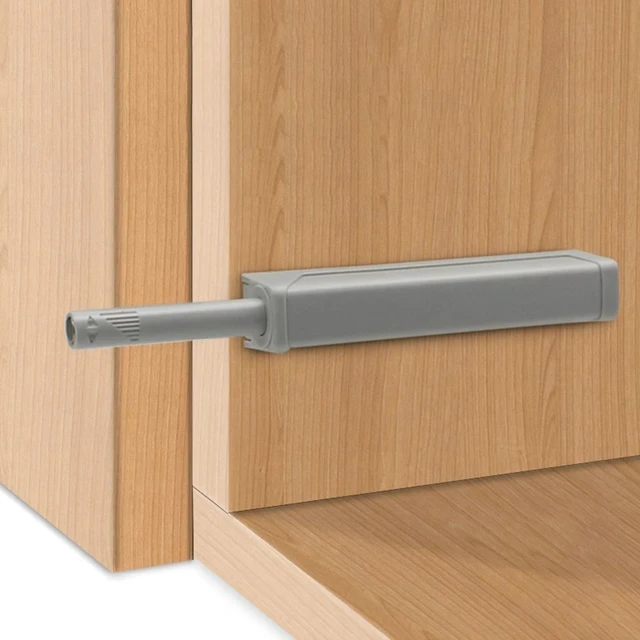
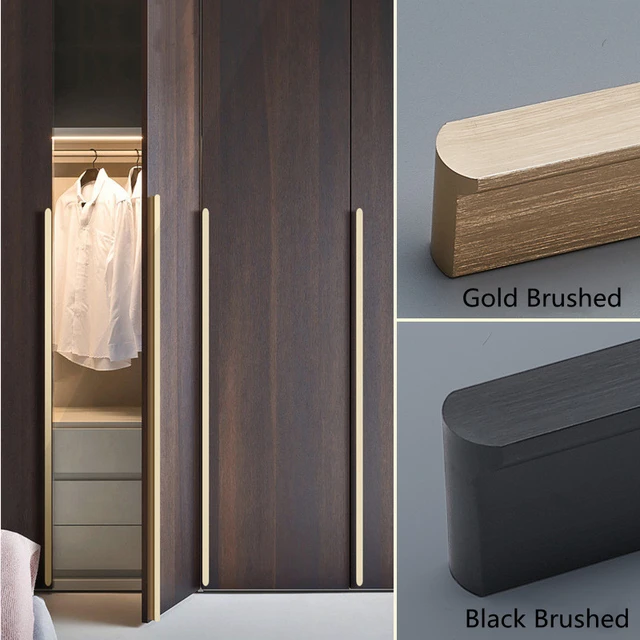
- Minimalist Hardware: Many designs are opting for minimalistic hardware or even opting for push-to-open mechanisms to maintain the clean lines of the Shaker design.
- Two-Tone Cabinets: Combining different colors or finishes in upper and lower cabinets is trending. For example, pairing white upper Shaker cabinets with darker lower cabinets adds depth and interest to a kitchen.
-
Open Shelving Integration: Mixing Shaker cabinets with open shelving is becoming a favored approach. It provides a balance between closed storage and displaying cherished items or everyday essentials within easy reach.
- Glass Inserts: Adding glass inserts to Shaker cabinet doors is a trend that brings a touch of elegance while also breaking up the monotony of solid cabinet fronts and showcasing special dishware.
- Sustainable Materials: With a growing focus on sustainability, there is an increased demand for Shaker cabinets made from eco-friendly materials and finishes.
- Custom Configurations: Customization is key. Homeowners are increasingly opting for bespoke Shaker cabinets to perfectly fit their space and personal style requirements.
These trends illustrate how the classic Shaker cabinet door design maintains its foundational principles of simplicity and functionality, while also adapting to contemporary tastes and innovations in interior design.
 Conclusion
Making a Shaker cabinet door is a satisfying project that combines both functionality and aesthetics. With straightforward steps and the right materials, you can create beautiful, custom cabinet doors that enhance the look of any kitchen or furniture. This guide has walked you through every essential step, from selecting the wood to finishing the door. Follow these steps meticulously, and you will achieve outstanding results that showcase your craftsmanship.


