Building cabinet boxes can seem like a daunting task, but with the right tools and a bit of know-how, it can be a rewarding and enjoyable project. Whether you’re looking to revamp your kitchen, add storage to your bathroom, or create custom cabinetry for any space in your home, this comprehensive guide will walk you through each step of the process. We’ll cover everything from selecting the right materials to finishing your new cabinets. Let’s get started.
 Some commonly used materials include:
Cabinet boxes can be made from a variety of materials, each offering different benefits in terms of durability, cost, and aesthetics. Some commonly used materials include:
- Plywood: Often considered one of the best materials for cabinet boxes, plywood is highly durable and resistant to warping and shrinking. It’s made from layers of wood veneer glued together, which gives it strength and stability.
- Medium-Density Fiberboard (MDF): This engineered wood product is made from wood fibers combined with resin and compressed under high pressure. MDF is smooth and consistent in texture, making it a good choice for painted finishes. However, it is less resistant to moisture compared to plywood.
-
Particleboard: Made from wood chips, sawmill shavings, and other wood byproducts, particleboard is less expensive than plywood and MDF but also less durable. It can be more prone to damage from moisture and heavy loads.
- Melamine: This is a type of particleboard or MDF that has a durable, plastic-like coating on the surface. Melamine is easy to clean and offers a wide range of colors and patterns, but it can chip more easily at the edges.
- Solid Wood: Less commonly used for the entire box due to cost and potential for warping, solid wood is often reserved for cabinet fronts and doors. However, higher-end cabinets might use solid wood frames combined with plywood panels.
- Metal: Some cabinets, particularly those used in industrial or commercial settings, may be made from metal for durability and ease of cleaning.
- High-Density Fiberboard (HDF): Similar to MDF but denser and stronger, HDF is used in applications where more strength is needed but still can’t quite match the durability of plywood.
Each of these materials can influence the overall quality, appearance, and lifespan of the cabinet boxes, so the choice often depends on the specific needs and budget of the project.
 Materials and Tools Needed
Before diving into the building process, it’s essential to gather all necessary materials and tools. Here’s a list of what you’ll need:
Materials
- Plywood or medium-density fiberboard (MDF) for the cabinet box
- Hardwood for face frames and doors
- Pocket hole screws
- Wood glue
- Sandpaper
- Wood filler
- Hinges
- Drawer slides
Tools
- Table saw or circular saw
- Miter saw
- Tape measure
- Carpenter’s square
- Pocket hole jig
- Clamps
- Drill and drill bits
- Sander
- Paintbrushes or rollers
 Step-by-Step Process
How to build cabinet boxes
Step 1: Planning and Measuring
Start by planning your cabinet design. Measure the space where the cabinets will be installed. Determine the height, width, and depth of each cabinet. Sketch out your design and make note of all measurements. This step is crucial to ensure that everything fits perfectly.
Step 2: Cutting the Plywood
Once you have your measurements, it’s time to cut the plywood or MDF for the cabinet box. Using a table saw or circular saw, cut the following pieces for each cabinet box:
- Two sides
- Top and bottom panels
- Back panel
Ensure that all your cuts are accurate. Double-check the measurements before cutting to avoid any mistakes.
Step 3: Assembling the Cabinet Box
Now that you have your pieces cut, you can start assembling the cabinet box. Begin by drilling pocket holes along the edges of the top and bottom panels using a pocket hole jig. Apply wood glue to the joints and use pocket hole screws to attach the sides to the top and bottom panels.
Next, attach the back panel. Apply wood glue along the edges and secure it with screws. Make sure the cabinet box is square by checking with a carpenter’s square. Use clamps to hold everything in place while the glue dries.
Step 4: Adding the Face Frame
The face frame gives your cabinet a finished look. It’s typically made of hardwood. Cut the pieces for the face frame to match the dimensions of the cabinet box. The face frame consists of two vertical stiles and two horizontal rails.
Attach the face frame to the cabinet box using wood glue and clamps. Ensure that it is flush with the edges of the cabinet box. Once it’s in position, secure it with pocket hole screws.
Step 5: Building and Installing Drawers
How to build cabinet boxes
If your cabinet design includes drawers, you’ll need to build and install them. Measure the interior dimensions of the cabinet box to determine the size of the drawers. Cut the sides, front, and back pieces of the drawers from plywood or hardwood.
Assemble the drawers using wood glue and pocket hole screws. Ensure that each drawer is square by measuring the diagonals. Attach the drawer bottom by gluing and nailing or screwing it into place.
Install drawer slides inside the cabinet box and on the sides of the drawers. Follow the manufacturer’s instructions for proper installation. Slide the drawers into place to ensure they fit and move smoothly.
 Step 6: Attaching Doors and Hardware
How to build cabinet boxes
Measure and cut the doors from hardwood or plywood. You can make either slab doors or frame-and-panel doors, depending on your design preference. Sand the edges and surfaces of the doors to remove any rough spots.
Attach the hinges to the doors and then to the cabinet box. Ensure that the doors are aligned and open and close smoothly. Install handles or knobs on the doors for easy access.
Step 7: Sanding and Finishing
With the cabinet box, drawers, and doors assembled, it’s time to sand and finish your project. Start with coarse-grit sandpaper to remove any rough edges. Gradually move to finer grits for a smooth finish. Pay special attention to the face frame and doors to ensure a polished look.
Once sanding is complete, apply a wood filler to any gaps or holes. Sand the filled areas once they are dry. Finish your cabinets with paint, stain, or varnish, depending on your desired look. Use a brush or roller to apply the finish evenly.
Step 8: Installing the Cabinet
How to build cabinet boxes
Finally, it’s time to install your cabinet. Lift the cabinet box into position and use a level to ensure it’s straight. Secure the cabinet to the wall studs using screws. Make sure the cabinet is stable and properly aligned.
Tips for Success
Building cabinet boxes requires careful planning and attention to detail. Here are a few tips to help you succeed:
- Measure Twice, Cut Once: Accurate measurements are crucial for a perfect fit.
- Use Quality Materials: High-quality plywood and hardwood will ensure durability.
- Take Your Time: Rushing can lead to mistakes. Take your time with each step.
- Double-Check for Square: Use a carpenter’s square to ensure your cabinet box is square.
- Practice Safety: Always wear safety gear and follow safety guidelines when using power tools.
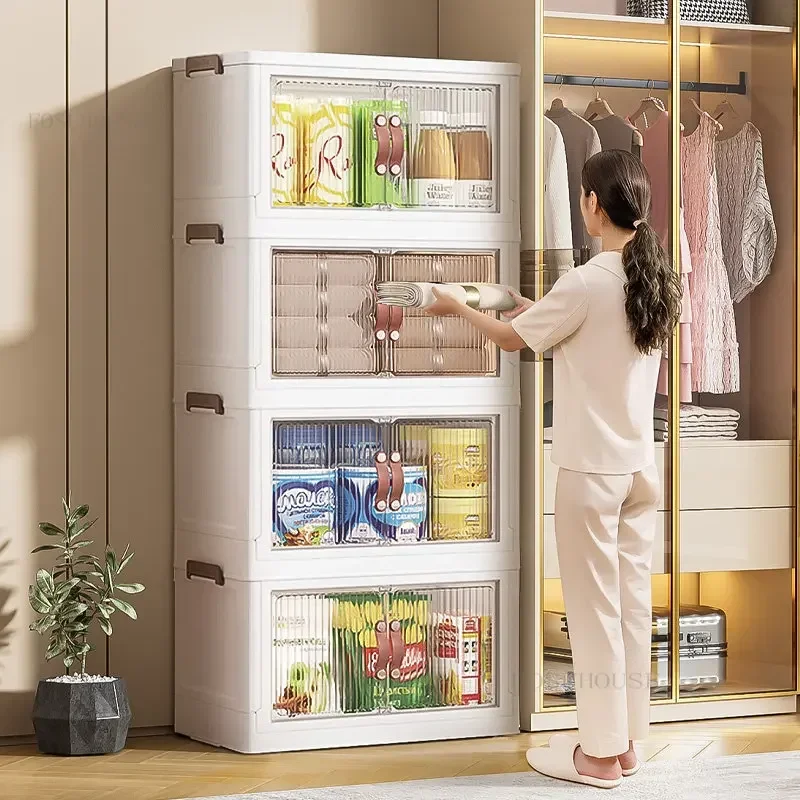 Some of the current trends in cabinet boxes:
- Minimalistic Design: Clean lines and a minimalist aesthetic are becoming increasingly popular. Homeowners are opting for simple, sleek cabinet boxes that blend seamlessly with their overall interior design.
- Customization: Personalized and custom-built cabinets are in demand. People want solutions that not only fit perfectly into their spaces but also cater to their specific storage needs and style preferences.
- Sustainable Materials: There’s a growing trend towards using eco-friendly materials. Reclaimed wood, bamboo, and other sustainable resources are being incorporated into cabinet designs to minimize environmental impact.
- Innovative Storage Solutions: Modern cabinet boxes often include smart storage solutions like pull-out shelves, adjustable compartments, and integrated organizers to maximize space and functionality.
- Mixed Materials and Textures: Combining different materials such as wood, glass, and metal within the same cabinetry is trendy. This creates a visually interesting and textural contrast.
- Bold Colors and Finishes: While neutrals remain popular, there’s a rising trend of using bold and vibrant colors for a statement look. Matte finishes, in particular, are gaining popularity for their sophisticated appeal.
- Open Shelving: Partially open shelves mixed with traditional closed cabinet boxes are trendy. This style provides a modern look and allows for decorative displays.
-
Smart Technology: Integration of technology like touch-to-open doors, built-in lighting, and smart storage solutions that adapt to the user’s needs are becoming more prevalent.
By incorporating these elements, cabinet designs can stay current and cater to modern tastes and functionalities.
Building cabinet boxes can be a fulfilling DIY project that enhances the functionality and aesthetic of your home. By following these steps and taking your time, you can create beautiful, custom cabinets that fit your space perfectly. Gather your materials, plan your design, and start building. Enjoy the satisfaction of creating something with your own hands. Happy building!


