How to hang a cabinet on the wall
Hanging a cabinet on the wall can be a daunting task, but with the right tools, materials, and a step-by-step approach, it’s a manageable DIY project. Whether you’re mounting a kitchen cabinet, a medicine cabinet, or a storage unit, this comprehensive guide will provide you with detailed instructions that ensure safety, stability, and a professional finish. We will cover everything from preparation to execution, including essential tools and materials, proper techniques, and safety tips.
Common cabinet materials:
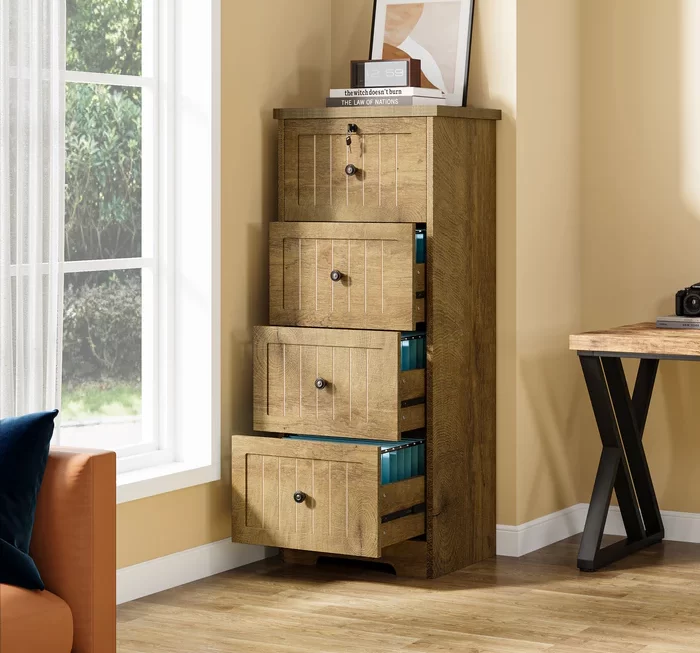
1. Solid Wood
Description: Made entirely from natural wood.
- Pros: Durable and long-lasting, classic and beautiful appearance, can be stained or painted, retains value.
- Cons: Expensive, sensitive to humidity and temperature changes, heavier than other materials, requires regular maintenance to prevent warping or cracking.
2. Plywood
Description: Consists of several layers of wood veneer glued together.
- Pros: Strong and stable, resistant to warping, holds screws and fasteners well, more affordable than solid wood, can be finished with wood veneer.
- Cons: More expensive than particleboard, exposed edges need to be finished.
3. Medium-Density Fiberboard (MDF)
Description: Made from compressed wood fibers and resin, offering a smooth, uniform surface.
- Pros: Smooth surface ideal for painting, doesn’t warp as easily as solid wood, more affordable than plywood and solid wood, consistent appearance without knots or grain.
- Cons: Heavy, less water-resistant, can swell if exposed to moisture, not as strong as plywood.
4. Particleboard
Description: Made from wood particles bonded together with adhesive, often covered with a laminate or veneer.
- Pros: Very affordable, smooth and uniform surface for finishes, lightweight.
- Cons: Less durable and prone to damage from moisture, not as strong as plywood or solid wood, can sag under heavy loads.
5. High-Density Fiberboard (HDF)
Description: Similar to MDF but denser and stronger, often used in high-end cabinetry.
- Pros: Excellent strength and durability, smooth surface ideal for finishes, resistant to warping compared to MDF.
- Cons: Heavy, can be more expensive than MDF, edges may need extra finishing.
6. Laminate
Description: Made by fusing multiple layers of materials together, often applied over particleboard or MDF.
- Pros: Wide variety of colors and patterns, easy to clean, resistant to stains, moisture, and scratches, affordable.
- Cons: Can delaminate or chip over time, less upscale appearance compared to natural wood or veneers, edges need to be properly finished to avoid water damage.
7. Thermofoil
Description: A type of vinyl coating applied to MDF or particleboard, offering a seamless and durable finish.
- Pros: Smooth, easy-to-clean surface, resistant to chips and scratches, available in a variety of colors and textures, often mimics the look of painted wood.
- Cons: Can peel if not well maintained, may discolor with prolonged exposure to heat and sunlight, less durable than real wood.
8. Veneer
Description: Thin slices of real wood applied over a core material like plywood, MDF, or particleboard.
- Pros: Provides the look of real wood at a lower cost, available in various wood species, lighter than solid wood.
- Cons: Can be less durable than solid wood, edges and corners can chip or peel, requires regular maintenance to keep wood veneer looking good.
Understanding the Basics
How to hang a cabinet on the wall
Why Hang Cabinets?
Space Saving: Wall-mounted cabinets free up floor space, making rooms look bigger and more organized.
Accessibility: Placing cabinets at eye level makes items more accessible.
Aesthetic Appeal: Properly hung cabinets can enhance the visual appeal of a room.
Types of Cabinets
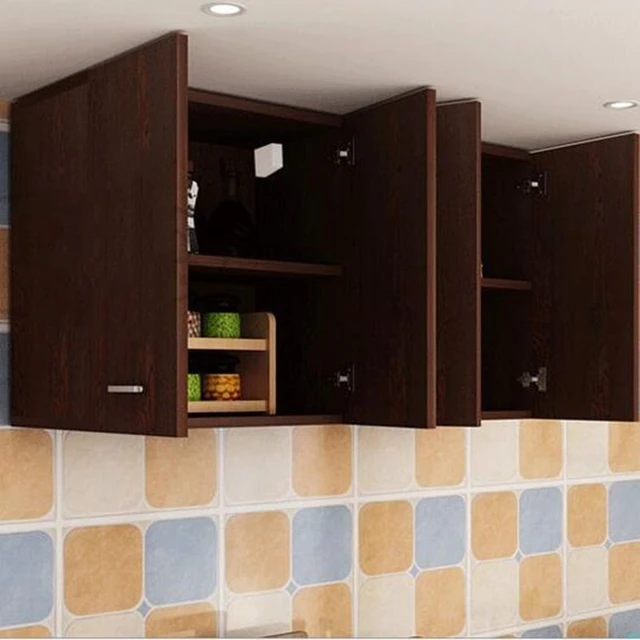
Kitchen Cabinets: Often larger and designed for heavy items such as dishes, pots, and pans.
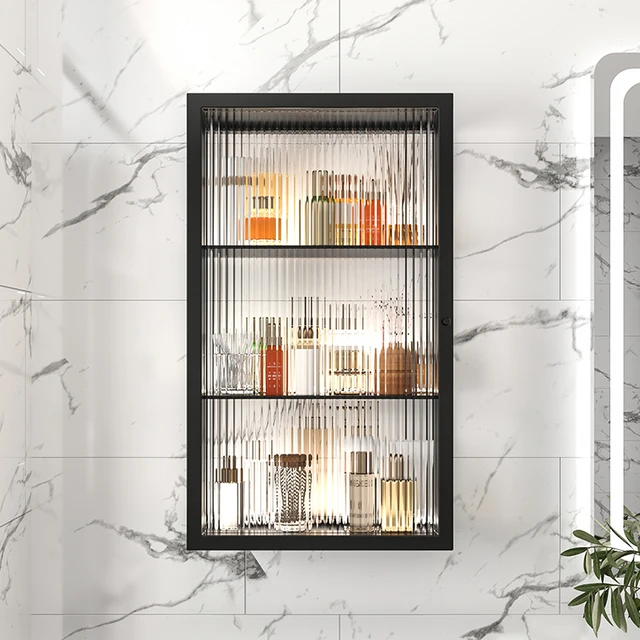
Bathroom Cabinets: Typically smaller, used for toiletries and medicines.
Storage Units: Versatile cabinets used in various rooms for additional storage.
Materials and Tools Needed
Essential Materials
Cabinet: The unit you intend to hang.
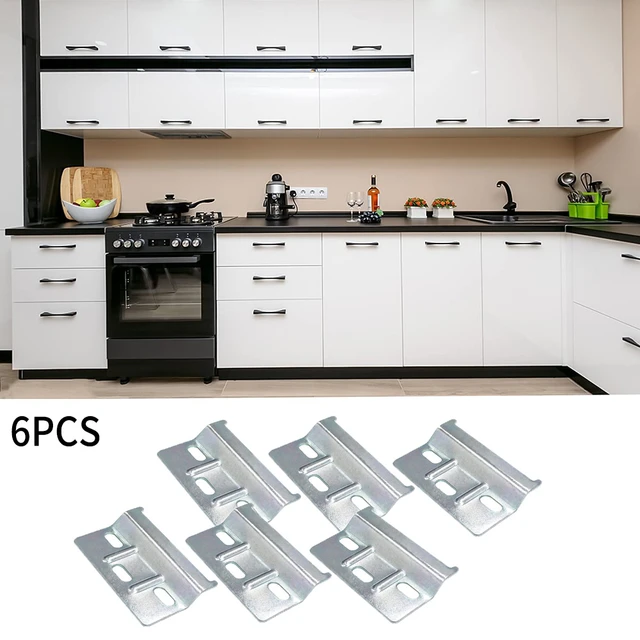
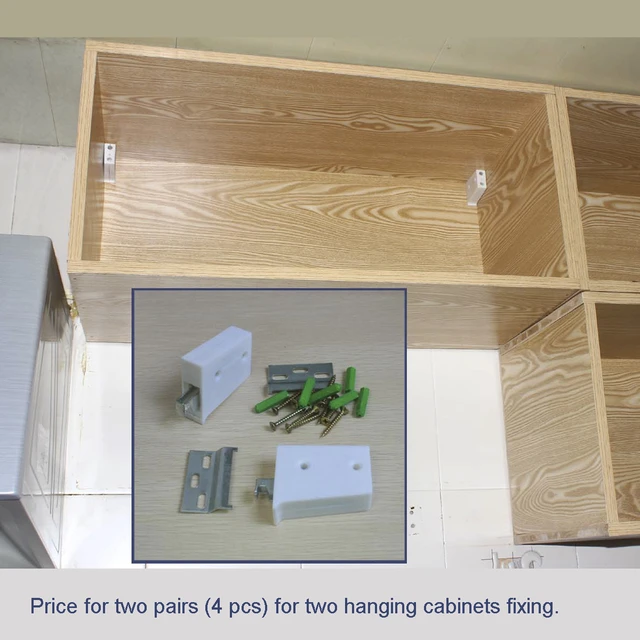
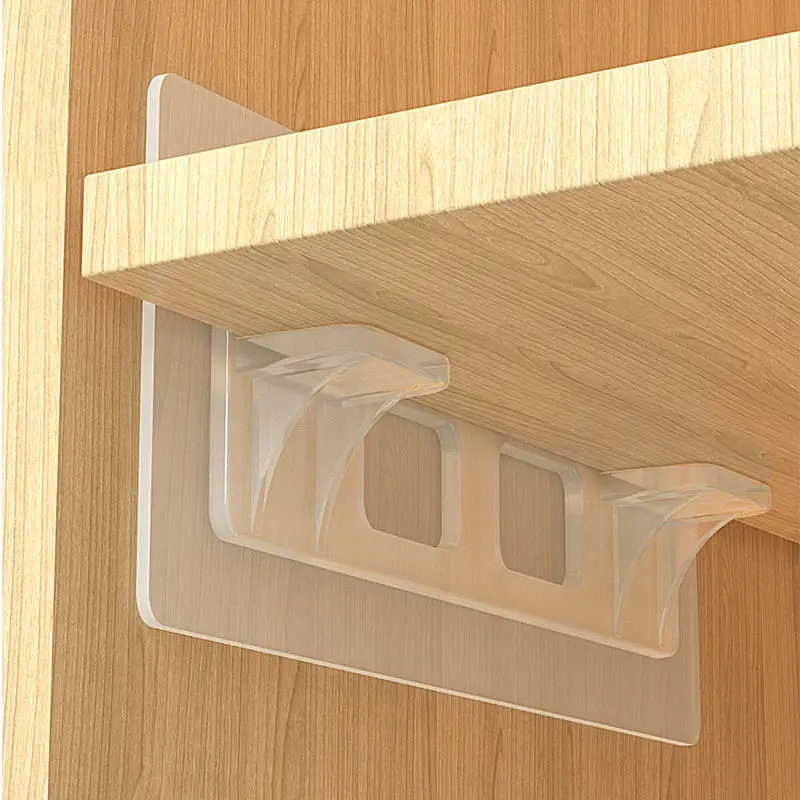
Mounting Brackets or Cleats: Provides a secure anchor between the cabinet and the wall.
Screws and Wall Anchors: Appropriate for the wall type (drywall, plaster, masonry).
Level: Ensures the cabinet is hung straight.
Stud Finder: Locates wall studs for secure mounting.
Measuring Tape: For accurate measurements.
Pencil: For marking positions.
Wood Shims: For leveling the cabinet.
 Optional Materials
Power Drill: For making holes and driving screws.
Screwdriver: For manual adjustments.
Carpenter’s Square: For precise right angles.
Painter’s Tape: To protect the wall while marking.
Caulk or Sealant: For finishing touches.
Essential Tools
Safety Glasses: To protect your eyes while drilling.
Ladder or Step Stool: To reach higher areas safely.
Clamps: To hold the cabinet in place while securing.
 Preparation Steps
Measure and Mark
Determine Placement
- Measure Wall Space: Measure the wall space where the cabinet will be hung to ensure it fits.
- Determine Height: Decide on the height at which the cabinet will be mounted. Kitchen cabinets are typically hung 18 inches above the countertop.
Mark Stud Locations
- Use Stud Finder: Run the stud finder along the wall to locate studs, marking their positions with a pencil.
- Confirm Spacing: Ensure studs are spaced adequately to support the cabinet’s weight.
Assemble Materials
- Gather Tools and Materials: Collect all necessary tools and materials, placing them within easy reach.
- Pre-Drill Holes: Pre-drill holes in the cabinet’s back panel where screws will be inserted, aligning them with the stud locations.
Prepare the Wall
- Protect Area: Use painter’s tape to protect the wall area around the cabinet.
- Clean Surface: Ensure the wall surface is clean and free from dust and debris.
 Step-by-Step Hanging Guide
Install Mounting Brackets or Cleats
Position the Bracket
- Locate Studs: Position the mounting bracket or cleat on the wall, aligning with the stud marks.
- Use Level: Ensure the bracket is level before marking drill holes.
Secure the Bracket
- Drill Pilot Holes: Drill pilot holes at the marked positions to make it easier to insert screws.
- Attach Bracket: Secure the bracket to the wall with screws, ensuring they penetrate the studs for maximum support.
Mount the Cabinet
Lift and Position
- Use Assistance: If the cabinet is heavy, have a helper lift and position the cabinet on the mounted bracket or cleat.
- Check Level: Ensure the cabinet is level before securing it in place.
Secure the Cabinet
- Drill Pilot Holes: Drill pilot holes through the pre-drilled holes in the cabinet into the wall studs.
- Insert Screws: Use a power drill or screwdriver to securely fasten the cabinet to the studs.
Fine-Tuning and Alignment
Adjust Gaps
- Use Shims: Insert wood shims between the cabinet and the wall to adjust any gaps and ensure it is level.
- Check Level: Re-check the level of the cabinet and make any necessary adjustments.
Close Gaps
- Use Caulk: Apply caulk or sealant to close any gaps between the cabinet and the wall for a seamless finish.
- Smooth Application: Use a caulking tool or your finger to smooth out the caulk for a clean look.
Safety Tips
Personal Safety
Wear Safety Glasses: Protect your eyes from dust and debris while drilling.
Use a Ladder Safely: Ensure the ladder or step stool is stable and on a flat surface.
Cabinet Safety
Verify Stud Placement: Ensure your marks for stud placement are accurate to provide a secure anchor.
Don’t Overload Cabinet: Consider the weight capacity of the cabinet and avoid overloading it.
Tool Safety
Check Electrical: Ensure no electrical wires are in the drilling area by using a wire detector.
Use Tools Correctly: Follow manual instructions for all tools and use them as intended.
Troubleshooting Common Issues
CHow to hang a cabinet on the wallabinet Not Level
Recheck Measurements: Verify the initial measurements and levels used before securing the cabinet.
Adjust Shims: Add or adjust wood shims to level the cabinet.
Weak Wall Support
How to hang a cabinet on the wall
Use Wall Anchors: If studs are not located, use heavy-duty wall anchors suitable for the wall type.
Consider Reinforcement: For heavy cabinets, consider reinforcing the wall with additional studs or backing.
Gaps and Misalignment
Reposition Bracket: If the bracket or cleat is misaligned, you may need to reposition it.
Fill Gaps: Use caulk or filler to close any small gaps between the wall and cabinet.
Enhancing Your Cabinet Installation
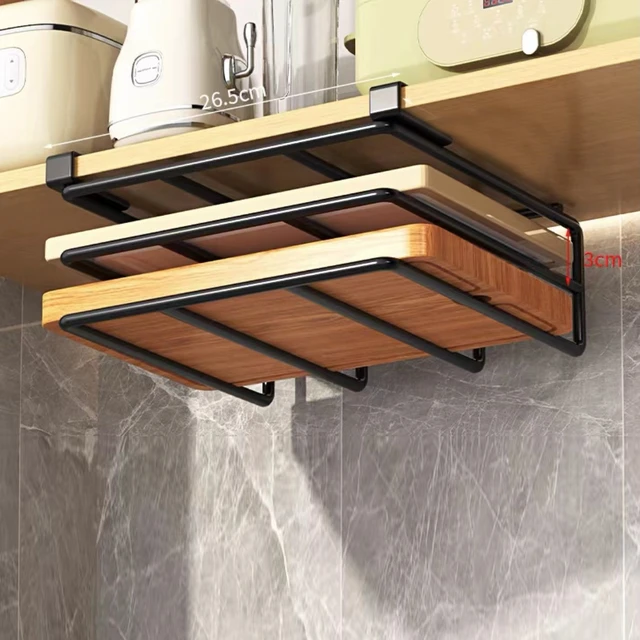
Adding Shelves
Pre-Drill Holes: Before mounting, pre-drill holes for shelves inside the cabinet.
Secure Shelves: Use brackets to secure shelves inside the cabinet for added stability.
Installing Lighting
Plan Electrical: If adding lighting inside the cabinet, plan the electrical layout before installation.
Use LED Strips: LED strips are a great option for under-cabinet or interior lighting.
Custom Finishes
Paint or Stain: Customize the cabinet with paint or stain to match your room’s decor.
Hardware: Install handles or knobs that complement your interior design.
Maintenance and Upkeep
How to hang a cabinet on the wall
Regular Checks
Inspect Screws: Periodically check the screws and brackets for any loosening or wear.
Clean Surfaces: Keep the cabinet surfaces clean to prevent damage and maintain appearance.
Adjustments
Re-Leveling: Over time, the cabinet may require re-leveling due to wall settling.
Update Hardware: Replace or update the cabinet hardware to ensure smooth operation.
 Conclusion
How to hang a cabinet on the wall
Hanging a cabinet on the wall is a practical DIY project that can significantly enhance your home’s storage and aesthetic appeal. By following this comprehensive guide, you can ensure a secure and professional installation. Begin with thorough preparation, gathering the correct tools and materials, and understanding your wall structure. Implement the step-by-step instructions carefully, paying attention to detail in leveling and securing the cabinet.
Incorporate safety measures throughout the project to protect yourself and ensure the longevity of your installation. Troubleshoot common issues effectively and consider additional enhancements for a personalized touch. With regular maintenance and updates, your wall-mounted cabinet will serve as a functional and stylish addition to your home. Happy hanging!