Introduction
Cabinet drawers are an essential part of any kitchen, bathroom, or storage space. Not only do they provide valuable storage, but they also enhance the functionality and aesthetics of your cabinets. Making your own cabinet drawers can be a rewarding project that allows for customization and precision. Whether you are a seasoned woodworker or a novice, this comprehensive guide will take you through the step-by-step process of making cabinet drawers.
Some common materials used for cabinet drawers
Cabinet drawers come in a variety of materials, each offering different advantages in terms of durability, aesthetics, and cost. Here are some common materials used for cabinet drawers along with simple descriptions:
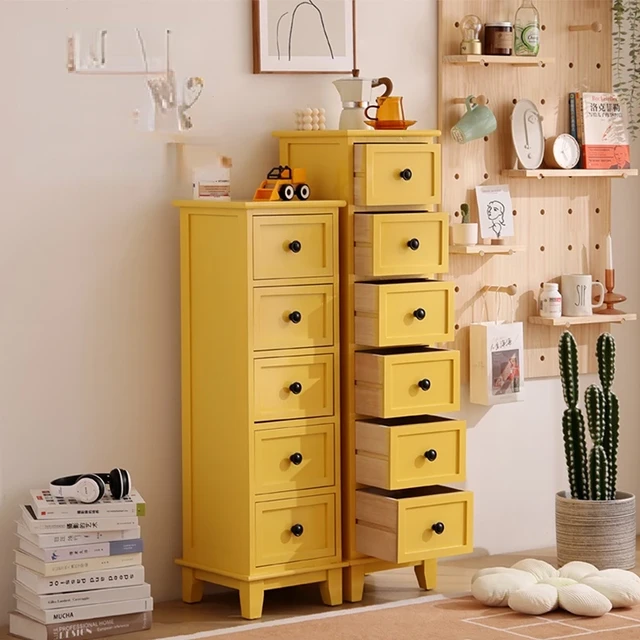
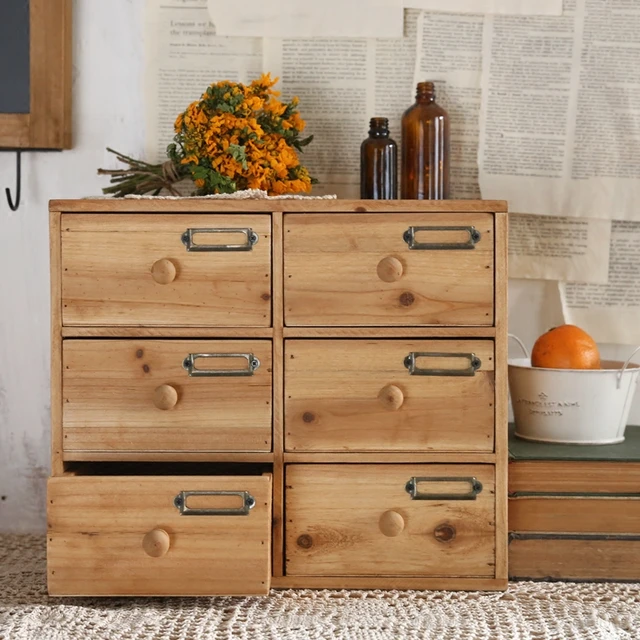
Solid Wood
Description: Made from a single piece or multiple pieces of natural wood.
Pros: Highly durable, classic and timeless look, can be stained or painted, strong and sturdy.
Cons: Can be expensive, sensitive to humidity and temperature changes, requiring regular maintenance to prevent warping or cracking.
Plywood
Description: Composed of layers of wood veneer glued together, often used in higher-quality cabinetry.
Pros: Strong and stable, resistant to warping, less expensive than solid wood, holds screws and fasteners well, can be finished with wood veneer.
Cons: More expensive than particleboard, exposed edges need to be finished.
Particleboard
Description: Made from compressed wood particles and adhesive.
Pros: Affordable, smooth surface for laminates or veneers, consistent and uniform appearance.
Cons: Less durable and prone to damage from moisture, not as strong as plywood or solid wood, can sag under heavy loads.
Medium-Density Fiberboard (MDF)
Description: Made from fine wood fibers and resin, offering a smooth, uniform surface.
Pros: Smooth and consistent surface, easy to paint, resists warping better than solid wood, affordable.
Cons: Can be heavy, vulnerable to water damage, not as strong as plywood or solid wood.
High-Density Fiberboard (HDF)
Description: Similar to MDF but denser and stronger.
Pros: Durable and strong, smooth surface, good for high-impact applications, water-resistant to some degree.
Cons: Heavier than MDF, can be more expensive, edges may need extra finishing.
Melamine
Description: Particleboard or MDF coated with a layer of melamine resin.
Pros: Durable, easy to clean, resistant to stains and scratches, budget-friendly.
Cons: Can chip or peel, less tolerant to moisture, edges need to be sealed to prevent water damage.
Materials and Tools Needed
Essential Materials
- Plywood or hardwood for drawer sides and bottom
- Drawer slides (full-extension or partial-extension)
- Wood glue
- Screws
- Drawer pulls or handles
- Sandpaper
- Wood stain or paint (optional)
Essential Tools
- Table saw or circular saw
- Measuring tape
- Clamps
- Drill and drill bits
- Screwdriver
- Miter saw or handsaw
- Square
- Router (optional, for dado cuts)
- Sanding block or electric sander
Step-by-Step Guide to Making Cabinet Drawers
Step 1: Measure and Plan
Measure the Cabinet Opening: Measure the height, width, and depth of the cabinet opening where the drawer will be installed. Subtract the width of the drawer slides (usually 1/2 inch per side) from the total width to determine the drawer’s width.
Plan the Design: Decide on the height and depth of the drawer. Typically, the drawer height should be slightly less than the opening to allow for clearance, and the depth should match the depth of the cabinet.
Sketch the Design: Draw a rough sketch of the drawer, including dimensions for the sides, front, back, and bottom pieces.
Step 2: Cut the Wood
Cut the Sides: Using a table saw or circular saw, cut two pieces of wood for the sides of the drawer. Ensure the height and depth match your measurements.
Cut the Front and Back: Cut two pieces of wood for the front and back of the drawer. The width should match the width of the sides minus the thickness of the wood (if using 3/4-inch thick wood, subtract 1.5 inches).
Cut the Bottom: Cut a piece of plywood for the drawer bottom. The bottom should fit snugly within the sides, front, and back.
 Step 3: Assemble the Drawer Box
Dry Fit the Pieces: Before gluing, dry fit the pieces together to ensure everything lines up correctly.
Apply Wood Glue: Apply wood glue to the edges of the front and back pieces where they meet the sides.
Clamp and Secure: Clamp the pieces together and allow the glue to set. Use a square to ensure the corners are at 90-degree angles.
Drill Pilot Holes: Drill pilot holes through the sides into the front and back pieces. This will prevent the wood from splitting.
Insert Screws: Insert screws into the pilot holes to secure the pieces together.
Step 4: Attach the Drawer Bottom
Fit the Bottom: Place the bottom piece into the assembled drawer box. It should fit snugly without gaps.
Glue the Bottom: Apply wood glue to the edges of the bottom piece.
Secure the Bottom: Use clamps to hold the bottom in place while the glue dries. For added strength, you can also drill pilot holes and insert screws through the bottom into the sides, front, and back.
Step 5: Sand and Finish
Sand the Drawer: Use sandpaper or an electric sander to smooth out any rough edges or surfaces. Start with a coarse grit and progress to a finer grit for a smooth finish.
Stain or Paint (Optional): If desired, apply wood stain or paint to the drawer. Follow the manufacturer’s instructions for application and drying times.
Step 6: Install Drawer Slides
Mark for Slides: Measure and mark the placement of the drawer slides on the inside of the cabinet. The slides should be level and evenly spaced.
Attach Cabinet Side: Attach the part of the slide that mounts to the inside of the cabinet. Use screws to secure it in place.
Attach Drawer Side: Attach the corresponding part of the slide to the sides of the drawer. Ensure it is level and aligned with the slide in the cabinet.
Test Fit: Slide the drawer into the cabinet to ensure it moves smoothly. Adjust as needed to ensure a proper fit.
 Step 7: Add Drawer Pulls or Handles
Mark Placement: Measure and mark the placement of the drawer pulls or handles on the drawer front.
Drill Holes: Drill holes for the screws that will attach the pulls or handles.
Attach Pulls or Handles: Insert the screws through the holes and tighten to secure the pulls or handles in place.
Tips for Success
Accurate Measurements
Double-Check Measurements: Accurate measurements are crucial for a properly fitting drawer. Double-check your measurements before cutting.
 Quality Materials
Use High-Quality Wood: High-quality plywood or hardwood will result in a sturdier, longer-lasting drawer.
Quality Hardware: Invest in good-quality drawer slides and handles for smooth operation and durability.
Proper Tool Use
Sharp Blades: Ensure all saw blades are sharp for clean, precise cuts.
Correct Drill Bits: Use the appropriate drill bits for pilot holes to prevent splitting the wood.
Safety Precautions
Wear Safety Gear: Always wear safety glasses, hearing protection, and a dust mask when working with power tools.
Follow Tool Instructions: Follow the manufacturer’s instructions for all tools and equipment.
Finishing Touches
Smooth Sanding: Take your time sanding for the best finish.
Even Stain or Paint: Apply stain or paint evenly and allow adequate drying time between coats.
Common Mistakes to Avoid
Improper Fit
Incorrect Measurements: Always account for the thickness of the drawer slides when measuring the drawer width.
Misaligned Slides: Ensure slides are level and aligned for smooth operation.
Weak Joints
Insufficient Glue: Apply an adequate amount of wood glue to ensure strong joints.
Loose Screws: Tighten screws securely but avoid over-tightening, which can strip the wood.
Rough Finish
Skipping Sanding: Don’t skip the sanding step; it’s essential for a smooth, professional finish.
Rushed Finishing: Take your time with staining or painting to avoid drips and uneven coverage.
Troubleshooting Common Issues
Drawer Not Fitting
Recheck Measurements: Measure the drawer and cabinet opening again to identify discrepancies.
Adjust Slides: Adjust the positioning of the drawer slides if they are causing fit issues.
Drawer Sticking
Check Alignment: Ensure the slides are aligned correctly and aren’t crooked.
Lubricate Slides: Apply a small amount of lubricant to the slides for smoother operation.
Drawer Bottom Sagging
Add Support: If the bottom is sagging, consider adding additional support such as glue blocks or a center divider.
Drawer Wobbling
Tighten Joints: Ensure all joints are tight and secure. Tighten any loose screws.
Reinforce Corners: Consider adding corner brackets for extra stability.
 Conclusion
Making cabinet drawers is a satisfying project that enhances the functionality and aesthetics of your cabinets. By following this comprehensive guide, you can create custom drawers that fit perfectly and operate smoothly. Remember to measure accurately, use quality materials, and follow each step carefully. With patience and attention to detail, you’ll have beautiful, durable drawers that enhance your home’s storage and organization. Happy woodworking!