 Introduction
Removing cabinet doors is a simple yet essential task for various purposes, such as renovating, painting, or replacing cabinet hardware. In this article, we will provide a step-by-step guide on how to remove cabinet doors efficiently. By following these straightforward instructions, you can easily remove cabinet doors and proceed with your desired project.
 Some common materials used for cabinet doors:
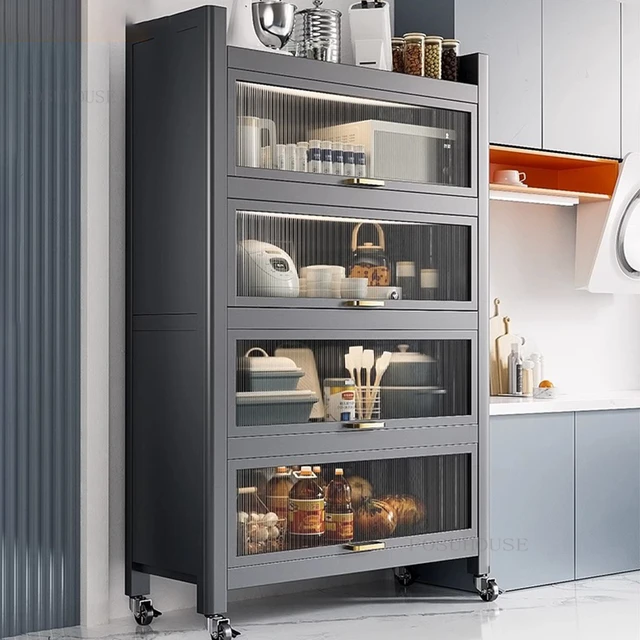
Cabinet doors can be made from a variety of materials, each offering different aesthetics, durability, and maintenance requirements. Here are some common materials used for cabinet doors:
Solid Wood:
Solid wood cabinet doors provide a natural and timeless appeal. They are available in various wood species such as oak, maple, cherry, and walnut. Solid wood doors can be stained or painted to match different design styles, and they offer durability and longevity.
MDF (Medium-Density Fiberboard):
It is a composite material made from wood fibers and resin, compressed to form a dense and smooth panel. MDF cabinet doors are cost-effective, have a consistent appearance, and are suitable for painting. However, they are not as resistant to moisture as solid wood.
Plywood:
It is constructed by layering thin wood veneers together, resulting in a durable and stable panel. Plywood cabinet doors are resistant to warping, making them a preferred choice for high-moisture areas such as kitchens and bathrooms. They can be stained or painted, offering versatility in design.
Laminates:
Cabinet doors feature a thin layer of synthetic material, typically applied over MDF or particleboard. Laminates provide a wide range of colors, patterns, and textures, including wood-grain finishes. They are durable, easy to clean, and resistant to moisture and staining.
Thermofoil:
Cabinet doors consist of an MDF or engineered wood core, covered with a thin layer of heat-fused vinyl material. Thermofoil doors offer a smooth and seamless finish, available in various colors and designs. They are moisture-resistant, durable, and easy to clean.
Glass:
Cabinet doors add a touch of elegance and showcase the contents of the cabinets. Glass options include clear, frosted, textured, or stained glass, offering various levels of transparency and privacy. Glass doors are often combined with a frame made from wood or aluminum.
Metal:
Metal cabinet doors, such as stainless steel or aluminum, create a sleek and contemporary look. They are highly durable, resistant to moisture and heat, and easy to clean. Metal doors are commonly used in modern or industrial-style kitchens.
Each material has its own unique characteristics, so the choice of cabinet door material depends on personal preference, budget, and the overall style and functional requirements of the space. Consider factors such as durability, maintenance, aesthetics, and compatibility with other elements in your kitchen or living areas when selecting cabinet door materials.
Preparation for Cabinet Door Removal
Gather Necessary Tools: Before starting, ensure you have the required tools, including a screwdriver, drill (if applicable), masking tape, and a container to store screws and other small hardware.
Clear the Surrounding Area: Remove any items near or on the cabinet doors to create a safe and clutter-free workspace.
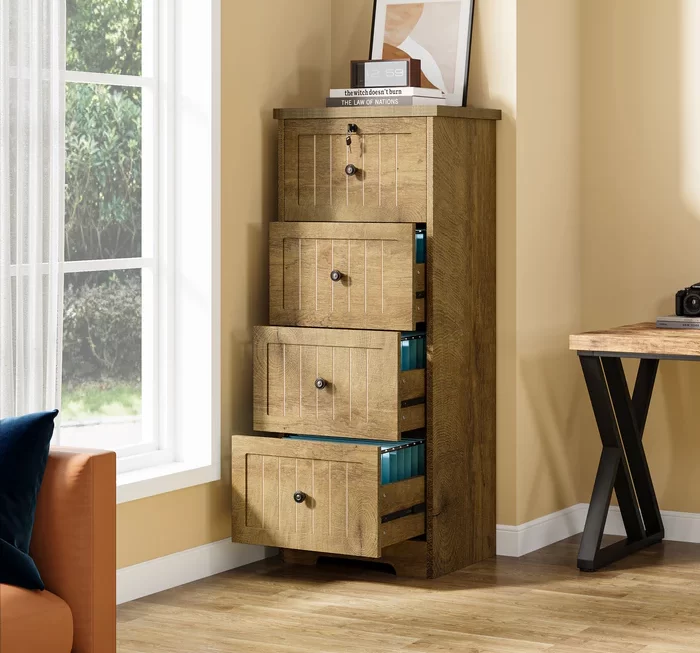
Identifying Door Type and Hardware
Determine Door Type: Assess whether your cabinet doors are hinge-mounted or mounted on a track, as the removal method may vary.
Examine Hardware: Take note of the hinges and other hardware holding the door in place to understand how they connect.
Removing Hinge-Mounted Cabinet Doors
Open the Cabinet Door: Fully open the cabinet door, ensuring it is secure and not in danger of falling.
Locate the Screws: Identify the screws connecting the hinges to the cabinet frame and mark them with masking tape for easy reinstallation.
Unscrew Hinges: Using a screwdriver, remove the screws from the hinges, starting with the top hinge and working your way down. Support the door by holding it gently as the last screw is removed.
Set Aside the Door: Once all screws are removed, carefully lift the cabinet door away, placing it in a safe location.
Removing Track-Mounted Cabinet Doors
Check Track Connection: Inspect the track-mounted doors for any visible locks or latches holding them in place. Disengage or unlock them, if present.
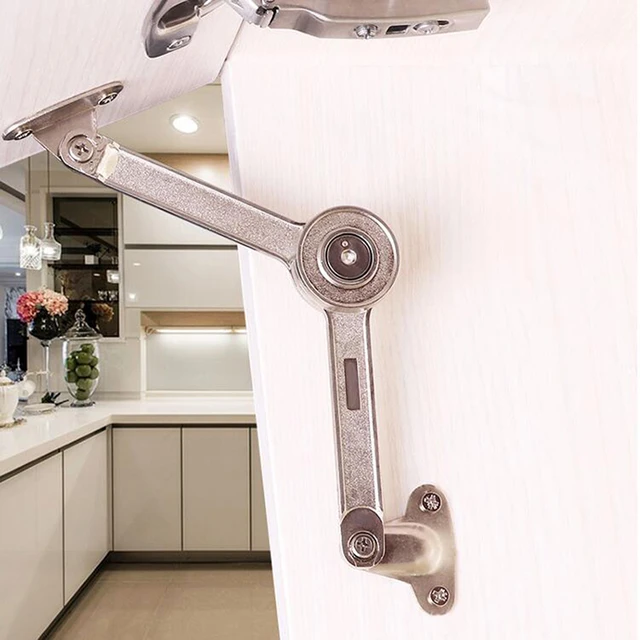
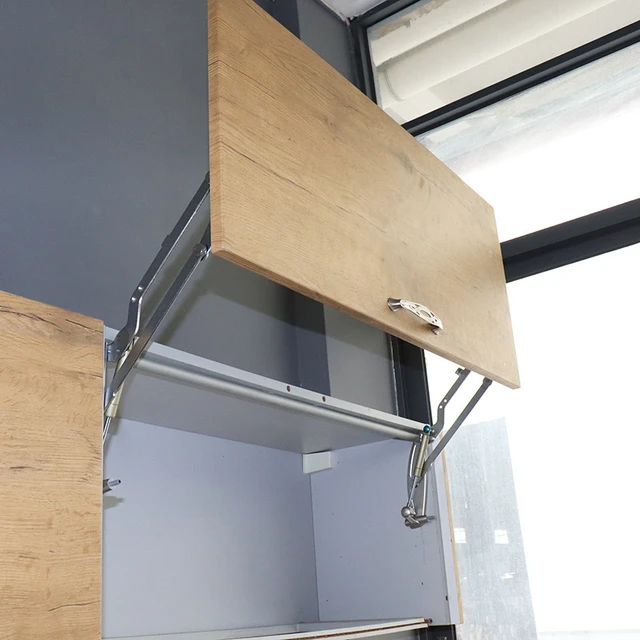
Locate Release Mechanism: Many track-mounted systems feature a release mechanism located near the track, allowing easy removal of the door.
Activate and Remove Door: Activate the release mechanism as instructed by the manufacturer, gently guiding the door along the track and lifting it off.
 Storing Hardware and Reinstalling
Collect Hardware: Place screws and other small hardware in a container to prevent loss during the removal process.
Label and Store: If you have multiple doors or complex hardware configurations, consider labeling each set of hardware to ensure convenient reinstallation.
Reinstallation: To reinstall the cabinet doors, follow the removal steps in reverse order, attaching the hinges or sliding the door back onto the track.
Some key precautions to take when removing cabinet doors:
When removing cabinet doors, it is important to keep a few considerations in mind to ensure a smooth and safe process. Here are some key precautions to take when removing cabinet doors:
Safety First:
Before starting, ensure the surrounding area is clear of any potential hazards or obstacles. Remove any items that may be in the way or could potentially fall during the door removal process.
Secure the Doors:
Before removing any screws or hinges, ensure that the cabinet doors are fully open and securely held in place. This prevents any unexpected movement or accidents during the removal process.
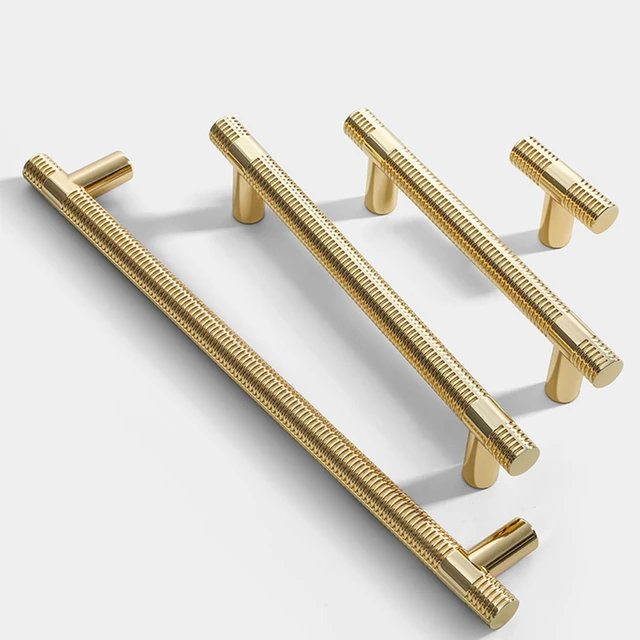
Use Proper Tools:
Make sure to use the correct tools for the job. A screwdriver with the appropriate size and type of head is essential for removing screws. Using improper tools can lead to damage to the door or hardware.
Take Note of Hardware:
Pay attention to the location and type of hardware, such as hinges or tracks, used to secure the cabinet doors. This will help when it comes time to reinstall the doors. Consider labeling or organizing the hardware to make reinstallation easier.
Work Slowly and Carefully:
Take your time when removing the doors to avoid any unnecessary damage or accidents. Remove screws in a controlled manner, supporting the door as you remove the final screw or hinge to prevent it from falling.
Protect Surfaces:
To protect the cabinet surface and prevent scratches, consider placing a cloth or towel underneath the door before removal. This will provide a cushioning effect and help prevent any accidental damage.
Properly Store Hardware:
To avoid misplacing or losing screws and other small hardware, have a container or bag ready to collect and store them. This ensures that all hardware necessary for reinstallation is kept together and easily accessible.
Handle with Care:
Cabinet doors, especially those made of delicate materials like glass, require gentle handling during removal. Exercise caution and avoid applying excessive force or pressure that could lead to damage.
By keeping these precautions in mind, you can ensure the safe and efficient removal of cabinet doors without any mishaps or damage. Remember to work methodically and take your time to avoid any potential issues.
Conclusion
Removing cabinet doors is a straightforward process that can be accomplished with minimal effort and the right tools. By determining the door type, identifying the hardware, and using the appropriate removal method, you can easily remove your cabinet doors and proceed with your desired project, be it renovating, painting, or replacing hardware. Take your time, handle the doors with care, and store the hardware safely for easy reinstallation. Enjoy the freedom and flexibility that removing cabinet doors provides for your home improvement tasks.