 Introduction:
Making your own cabinet door is a rewarding DIY project that allows you to customize your cabinets and add a personal touch to your space. Whether you are renovating existing cabinets or building new ones, knowing how to make a cabinet door is a valuable skill. In this comprehensive guide, we will provide a step-by-step approach to making a cabinet door. By following these simple instructions, you can create a custom cabinet door that fits your style and functional needs.
Introduction to Making a Cabinet Door
Making a cabinet door is a practical and creative endeavor that allows for customization.
A. Benefits of DIY: Making your own cabinet door provides the opportunity for personalization and cost savings.
B. Customized Design: Building a cabinet door allows you to choose the materials, style, and finishes to match your desired look.
 Planning and Measurements
Proper planning and accurate measurements are essential for successful cabinet door construction.
A. Evaluate Cabinet Opening: Measure the dimensions of the cabinet opening or determine the size for new cabinets.
B. Determine Style and Materials: Decide on the style (such as shaker, panel, or glass) and choose the suitable materials.
Selecting Materials and Tools
Choosing the right materials and tools ensures excellent results for your cabinet door.
A. Material Options: Consider using solid wood, plywood, MDF, or other suitable materials based on your preference and budget.
B. Tool Requirements: Gather the necessary tools, including a table saw, miter saw, drill, router, clamps, and sanding tools.
Cutting and Preparing the Door Components
Precisely cutting the door components is crucial to achieving a seamless fit.
A. Cutting the Stiles and Rails: Cut the stiles (vertical pieces) and rails (horizontal pieces) to the desired size using a table saw or miter saw.
B. Preparing the Grooves and Tenons: Use a router to create grooves in the stiles for the panel, and cut tenons on the ends of the rails for secure joinery.
 Assembling the Cabinet Door
Proper assembly ensures the structural integrity and functionality of the cabinet door.
A. Dry-Fit Components: Arrange the stiles and rails together, ensuring the grooves align accurately.
B. Applying Wood Glue: Apply wood glue to the tenons and insert them into the corresponding grooves, joining the door components.
C. Clamping and Drying: Use clamps to secure the joints tightly and allow the door to dry according to the wood glue’s instructions.
Adding the Panel
Inserting the panel provides stability to the door structure and adds visual interest.
A. Preparing the Panel Material: Cut the panel, which can be plywood, solid wood, glass, or other materials, to fit within the door frame.
B. Dry-Fitting the Panel: Place the panel into the grooves of the stiles and rails to test the fit. Make adjustments if necessary.
C. Gluing and Securing the Panel: Apply wood glue along the edges of the panel groove and insert the panel. Secure the panel if needed using small brad nails or pins.
Sanding and Finishing the Cabinet Door
Proper sanding and finishing create a smooth and polished cabinet door.
A. Sanding the Door: Use sandpaper or a sanding block to smooth the surfaces of the door, ensuring there are no rough spots or splinters.
B. Applying Finish: Choose the desired finish, such as paint, stain, or varnish, and apply it according to the manufacturer’s instructions. Allow the finish to dry completely.
Installing the Cabinet Door
Installing your newly made cabinet door properly ensures it functions smoothly and fits perfectly.
A. Removing Existing Door (if applicable): Remove the old cabinet door by unscrewing the hinges from the cabinet frame.
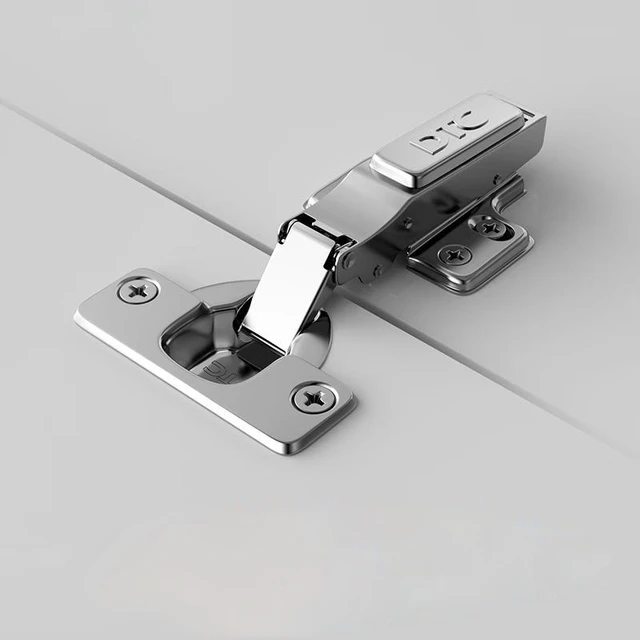
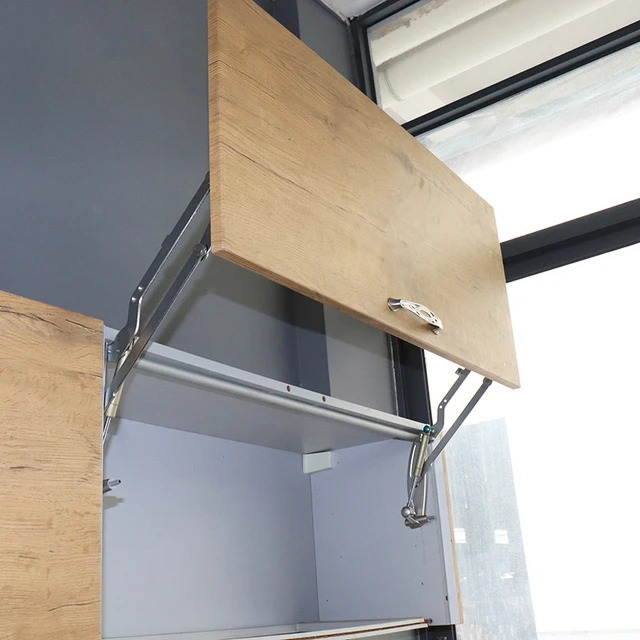
B. Installing Hinges: Align the hinges on the cabinet frame and screw them in securely. Repeat the process on the cabinet door, aligning the hinges properly.
C. Mounting the Door: Attach the cabinet door to the hinges, ensuring it fits snugly and opens and closes smoothly.
 Some key tips and precautions:
When making a cabinet door, there are several important considerations to keep in mind. Here are some key tips and precautions:
Accurate measurements:
Take accurate measurements of the cabinet opening to determine the appropriate size of the door. Measure the width, height, and thickness of the opening, and double-check the dimensions before cutting the door material to ensure a proper fit.
Choose the right material:
Select a suitable material for the cabinet door based on factors such as durability, style, and budget. Common options include solid wood, plywood, MDF (medium-density fiberboard), or a combination of these materials. Consider the characteristics of each material, such as stability, moisture resistance, and finishing requirements.
Select appropriate tools and techniques:
Ensure you have the necessary tools and equipment for the project, such as a table saw, miter saw, router, clamps, and a nail gun or screws. Familiarize yourself with proper cutting, joining, and assembling techniques to ensure a sturdy and well-constructed door.
Consider the door style and design:
Determine the desired style and design of the cabinet door to complement the overall aesthetic of the space. Consider details such as panel style (e.g., flat, raised, Shaker), edge profile, and any additional decorative features or accents.
Allow for expansion and contraction:
Wood materials can expand and contract with changes in temperature and humidity. Leave adequate space or utilize techniques such as floating panels or tongue-and-groove joinery to accommodate these movements. This helps prevent warping or splitting of the door over time.
Proper sanding and finishing:
Sand the surfaces of the door to ensure they are smooth and free from imperfections. Apply an appropriate finish, such as paint, stain, or varnish, to protect the wood and enhance its appearance. Follow the manufacturer’s instructions and allow sufficient drying time between coats.
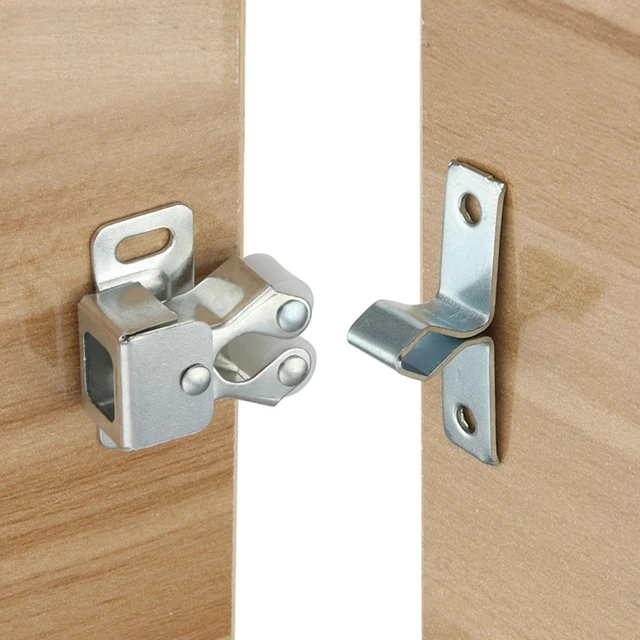
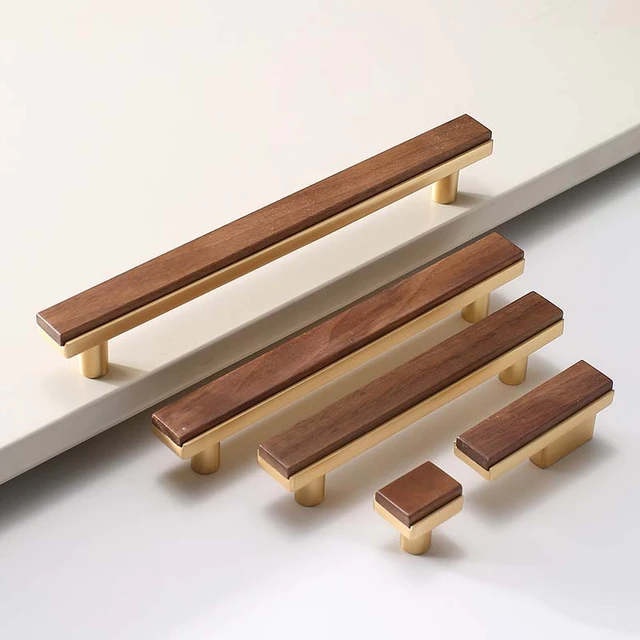
Install suitable hardware:
Choose hinges, handles, or knobs that are appropriately sized and durable for the weight and function of the cabinet door. Ensure they are installed accurately and securely to achieve smooth operation and longevity.
Test and adjust:
Before completing the installation, test the door to ensure it opens, closes, and aligns properly with the cabinet frame. Make any necessary adjustments to the hinges or hardware for proper operation.
Safety precautions:
When using power tools or sharp objects, follow safety guidelines, wear protective gear, and work in a well-ventilated area. Take necessary precautions to prevent injuries and ensure a safe working environment.
These considerations, along with proper planning and execution, will help you create a well-crafted and functional cabinet door. It’s recommended to refer to woodworking resources, seek professional advice if needed, and always prioritize safety in your woodworking projects.
 Conclusion
Making your own cabinet door is a rewarding DIY project that adds a personalized touch to your space. By following the step-by-step guide outlined in this article, you can successfully create a custom cabinet door. Plan and measure accurately, select suitable materials, and meticulously cut and assemble the door components. Install the panel securely and finish the door with your desired paint, stain, or varnish. Finally, install the cabinet door properly using hinges. With these instructions and some creativity, you can build a cabinet door that matches your style and enhances the functionality and beauty of your cabinets.