 Introduction:
Installing cabinet handles is a simple and effective way to update the look of your cabinets and enhance their functionality. Whether you are replacing old handles or adding new ones to your cabinets, the installation process is straightforward and requires minimal tools. In this comprehensive guide, we will provide a step-by-step process for installing cabinet handles. By following these simple instructions and taking necessary precautions, you can easily install handles and transform the appearance of your cabinets.
 Introduction to Installing Cabinet Handles
Installing cabinet handles is a DIY project that can instantly update the look of your cabinets.
A. Functional Enhancement: Handles provide a convenient grip for opening and closing cabinet doors and drawers.
B. Style Upgrade: By choosing the right handles, you can enhance the overall aesthetic of your kitchen or bathroom.
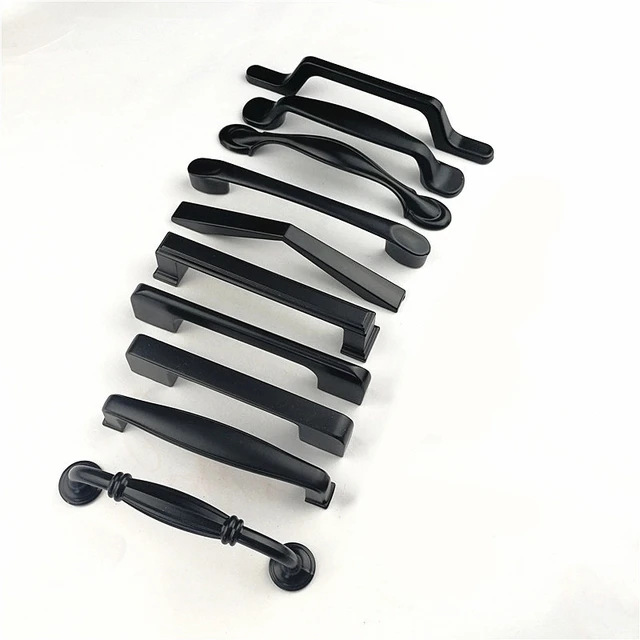
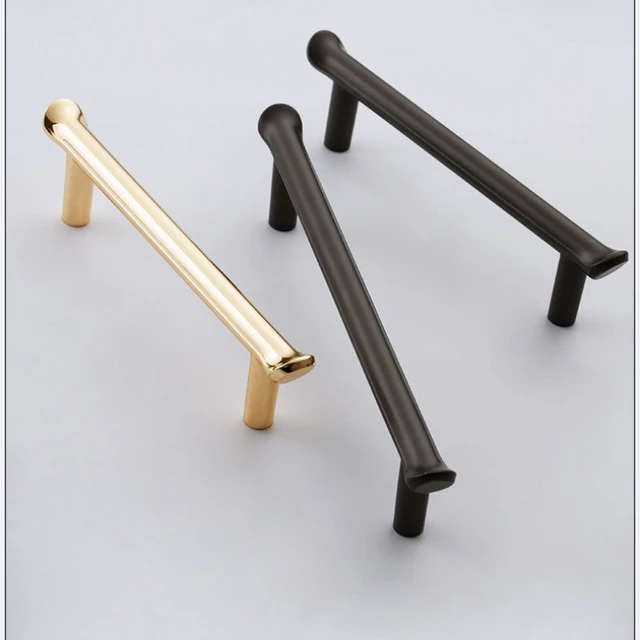
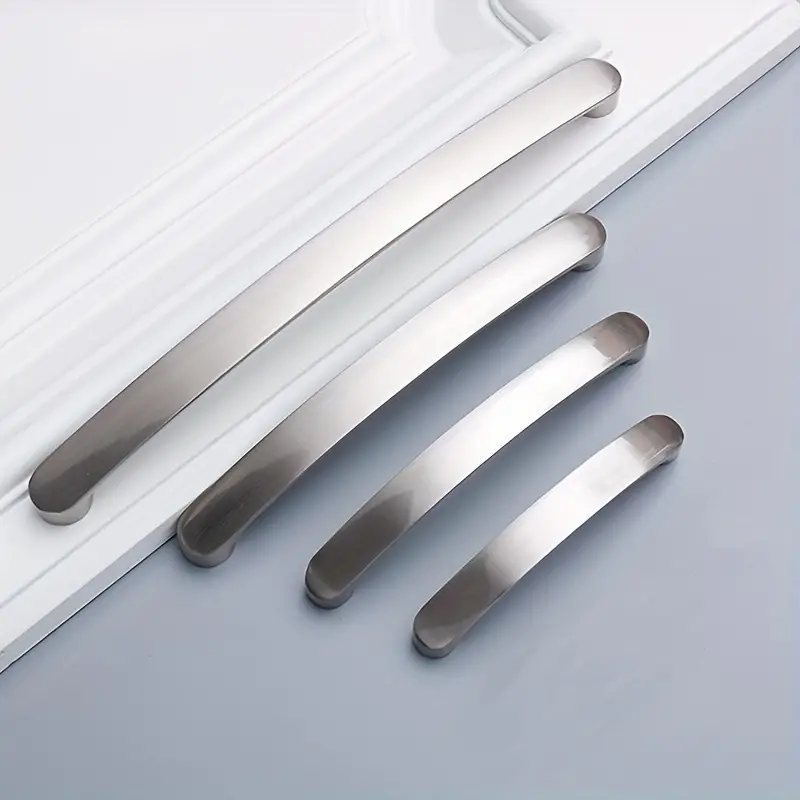
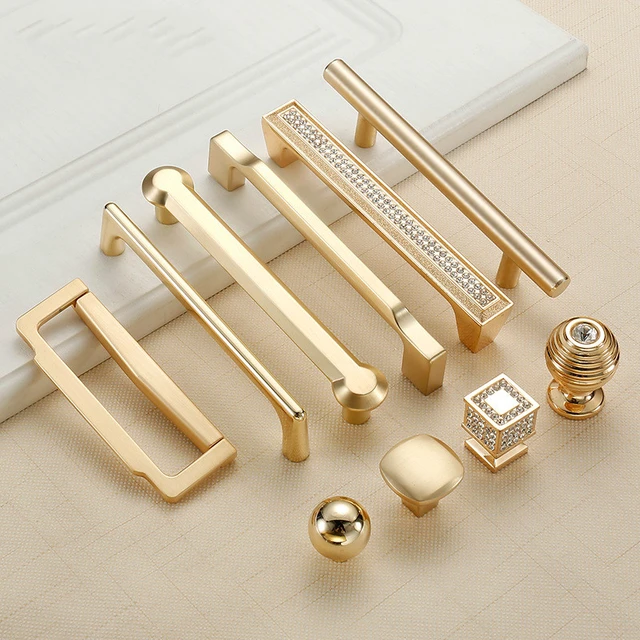
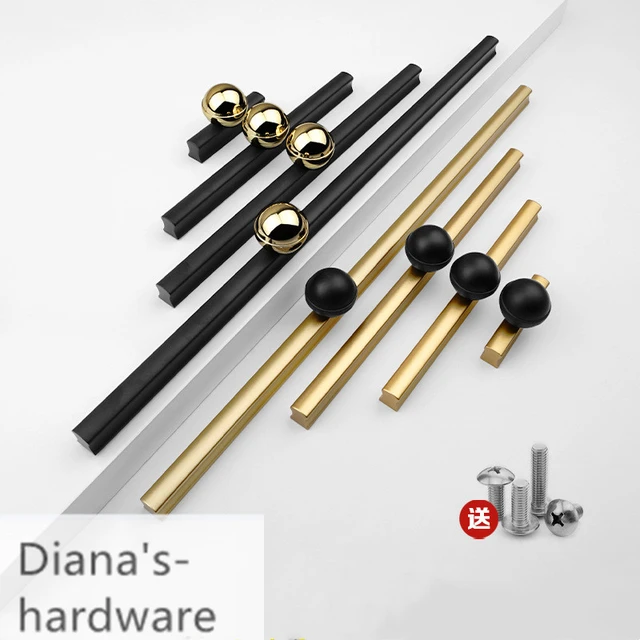
Selecting the Right Handles
Before installation, choose handles that match your style and suit the cabinets.
A. Handle Styles and Sizes: Consider the design, size, and finish of the handles, ensuring they complement the cabinet doors.
B. Handle Placement: Decide on the placement of the handles, whether centered vertically or horizontally on the cabinet doors.
Measuring and Marking
Accurate measuring and marking are crucial for proper handle placement.
A. Cabinet Doors: Measure and mark the desired position for the handles on the cabinet doors.
B. Cabinet Drawers: For drawers, measure and mark the center of the top drawer front for handle placement.
Preparing for Installation
Ensure you have the necessary tools and materials before starting the installation process.
A. Tools: Gather tools such as a tape measure, pencil, drill, drill bits, screwdriver, and a template or jig for consistent handle placement.
B. Handles and Screws: Check that you have the appropriate handles and screws for installation.
 Creating Pilot Holes
Creating pilot holes ensures smooth and accurate installation.
A. Marking Pilot Hole Locations: Transfer the handle placement measurements to the cabinet doors and drawers using a pencil or template.
B. Drilling Pilot Holes: Use an appropriate-sized drill bit to create pilot holes at the marked locations on the cabinet doors and drawers.
Attaching the Handles
Follow these steps to attach the handles securely:
A. Aligning Handles: Align each handle with its corresponding pilot holes, ensuring they are straight and centered.
B. Inserting Screws: Insert screws through the handle holes and into the pilot holes, starting with one screw at a time.
C. Tightening Screws: Use a screwdriver or drill to tighten the screws, being careful not to overtighten and strip the holes.
Finishing and Adjustments
Complete the installation process and make any necessary adjustments for optimal function.
A. Checking Handle Alignment: Ensure all the handles are properly aligned and sitting flush against the cabinet surface.
B. Testing Functionality: Open and close the cabinet doors and drawers to ensure the handles are secure and functioning smoothly.
 Additional Tips and Precautions
Consider these additional tips and precautions for successful handle installation:
A. Cabinet Material: Adjust your drilling technique and pilot hole size based on the material of your cabinets to avoid splintering or damage.
B. Professional Help: If you are unsure about drilling into your cabinets or lack the necessary tools, seek professional assistance.
Some tips for maintaining and caring for cabinet handles:
Proper maintenance and care of cabinet handles can help preserve their appearance and functionality over time. Here are some tips for maintaining and caring for cabinet handles:
Regular Cleaning:
Clean the cabinet handles regularly to remove dirt, dust, and grime that accumulate over time. Use a mild soap or detergent and a soft cloth or sponge to gently wipe down the handles. Avoid using harsh chemicals or abrasive materials that could damage the finish.
Avoid Excessive Force:
Handle cabinet handles with care and avoid using excessive force when opening or closing cabinets. Pulling or pushing too hard on the handles can loosen or damage them over time. Instead, use a firm and controlled grip to operate the cabinets.
Tighten Loose Handles:
Check the cabinet handles periodically to ensure they are securely attached. If you notice any handles becoming loose, use a screwdriver or an appropriate tool to tighten the screws or bolts that hold them in place. Be careful not to overtighten, as this can cause damage.
Repair or Replace Damaged Handles:
If you come across any handles that are damaged, such as broken or cracked handles or handles with loose connections that cannot be tightened, consider repairing or replacing them. This will help maintain the functionality and aesthetics of your cabinets.
Consider Surface Protection:
Depending on the material and finish of the cabinet handles, consider applying a protective coating or wax to help prevent corrosion, tarnishing, or scratches. Be sure to follow the manufacturer’s instructions and avoid using products that may damage the handles.
Avoid Excessive Moisture:
Minimize exposure to excessive moisture or humidity, as this can cause damage to certain types of cabinet handles. Wipe off any spills or moisture promptly to prevent moisture-related issues such as rust or discoloration.
Be Mindful of Cleaning Products:
If you use any cleaning products or chemicals near your cabinet handles, be cautious not to spill or splash them onto the handles. Some chemicals can be corrosive and may damage the finish or material of the handles. Always read and follow the instructions provided by the cleaning product manufacturer.
By following these maintenance and care tips, you can help extend lifespan of your cabinet handles and keep them looking clean and functioning properly for years to come.
 Conclusion
Installing cabinet handles is a simple and rewarding project that can add a stylish touch to your cabinets. By selecting the right handles, accurately measuring and marking, and using the proper tools, you can install handles with ease. Remember to create pilot holes to prevent damage and ensure a secure installation. Check the handle alignment and test their functionality once installed. Enjoy transformation of your cabinets with these easy steps. With new handles added, your cabinets will not only look updated but also provide a functional and practical solution for everyday use.