
 Introduction:
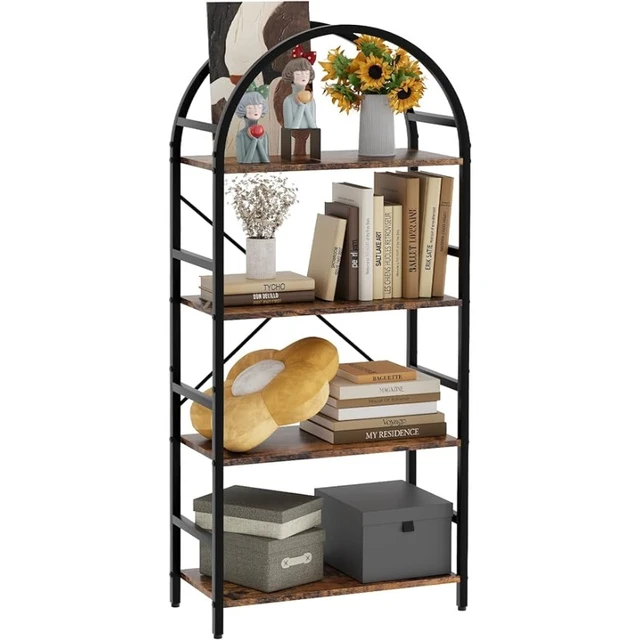
Building your own arched bookcase is a rewarding DIY project that adds beauty and functionality to your home. An arched bookcase serves as a stunning focal point and allows you to display your favorite books and decorative items with style. In this comprehensive guide, we will provide you with a step-by-step approach to building a DIY arched bookcase. From gathering the necessary materials and tools to constructing the frame and shelves, we will cover all the essential steps needed to create a unique and eye-catching piece for your home.
 Some common types of bookcases:
There are various types of bookcases available, each offering different designs, structures, and functionalities. Here are some common types of bookcases:
Standard Bookcase: Standard bookcases are the most common type and are characterized by a series of evenly spaced shelves supported by vertical side panels. These bookcases are usually rectangular in shape and come in different sizes, materials, and finishes to suit various interior styles.
Wall-Mounted Bookcase:
Wall-mounted bookcases are attached directly to the wall, providing a space-saving solution for organizing and displaying books and other items. These bookcases often have adjustable shelves and can be customized to fit the available wall space.
Barrister Bookcase:
Barrister bookcases are characterized by sectional units with glass doors that slide or lift up to access the shelves. These bookcases are commonly used in offices or libraries to showcase collections of valuable or delicate books while providing protection from dust and damage.
Cube Bookcase:
Cube bookcases have a modular design consisting of multiple cube-shaped compartments. These compartments can be used to store books, decorative items, or storage bins. Cube bookcases allow for creative arrangements and can be stacked or organized in different configurations.
Ladder Bookcase:
Ladder bookcases feature a leaning design with shelves that gradually increase in size from the bottom to the top, resembling a ladder. These bookcases lean against the wall and can add a stylish and contemporary look to any room. The shelves are usually wider towards the bottom, providing ample storage space for larger items.
Corner Bookcase:
Corner bookcases are specifically designed to fit into corners, maximizing the use of space while providing storage for books and display items. These bookcases often have a triangular or quarter-circle shape to seamlessly fit into corners and offer convenient access to books from two sides.
Open Back Bookcase:
Open back bookcases have shelves with an open back panel, allowing for visibility and light to pass through. These bookcases create a more open and airy feel and are often used to display decorative items and books on both sides.
It’s important to consider your storage needs, available space, and desired aesthetic when choosing a bookcase. Whether it’s a traditional standard bookcase or a more specialized design, selecting the right bookcase can help organize and showcase your book collection and enhance the overall look of your space.
 Introduction to DIY Arched Bookcase
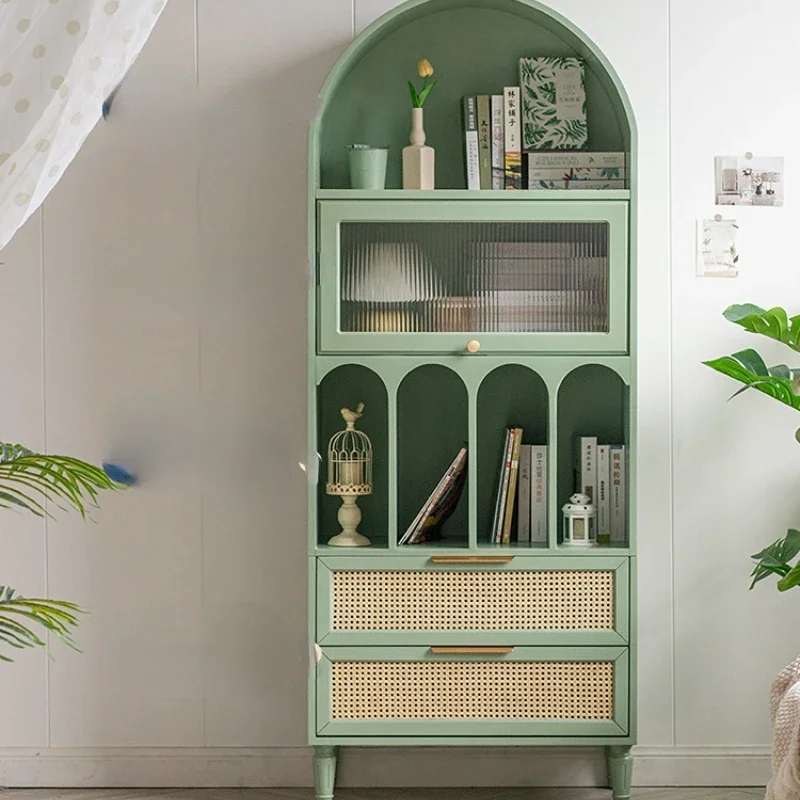
A DIY arched bookcase allows you to customize the design and size according to your preferences.
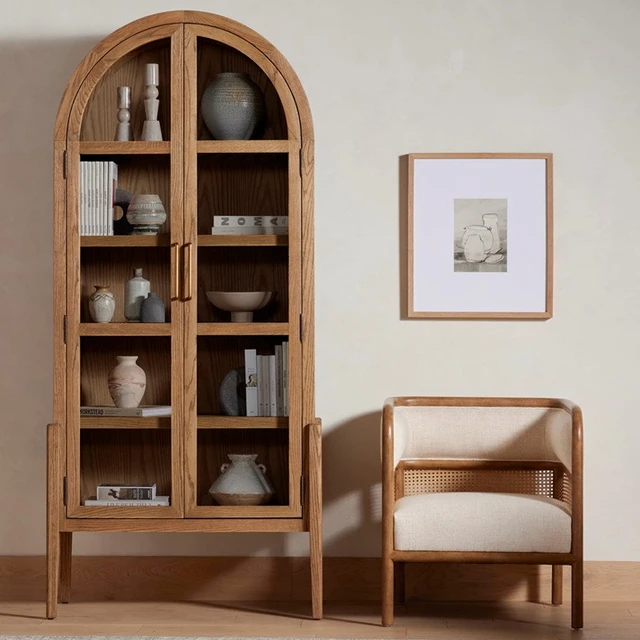
A. Functionality and Aesthetics: An arched bookcase provides both storage space and a visually appealing element to any room.
B. Personalized Design: Building your own bookcase allows you to add personal touches and tailor it to your specific style and needs.
Gathering the Necessary Materials and Tools
Before starting the project, gather the required materials and tools.
A. Materials: Plywood, solid wood boards, wood glue, screws, sandpaper, wood stain or paint, a dowel rod, and clear polyurethane finish.
B. Tools: Table saw, circular saw, jigsaw, drill, tape measure, clamps, router, sander, and paintbrushes.
Designing and Planning the Arched Bookcase
Careful planning and design considerations are crucial for a successful outcome.
A. Measurements and Dimensions: Determine the desired height, width, and depth of the arched bookcase and draw a detailed plan.
B. Arch Design: Create a template for the arched top and transfer it onto the plywood for cutting.
Constructing the Bookcase Frame
Building the frame forms the foundation of the arched bookcase.
A. Cutting the Wood: Use the table saw or circular saw to cut the plywood and solid wood boards according to your measurements.
B. Assembling the Frame: Join the wood boards together using wood glue and screws, ensuring the corners are square and the frame is sturdy.
 Creating the Arched Top
The arched top adds an elegant touch to the bookcase.
A. Cutting the Arch: Use a jigsaw to carefully cut along the template previously created on the plywood.
B. Sanding: Smooth the edges of the arched top using sandpaper to achieve a seamless finish.
Attaching the Arched Top to the Frame
Securely attaching the arched top completes the structure of the bookcase.
A. Positioning the Top: Align the arched top to the frame and secure it using wood glue and screws.
B. Reinforcement: Strengthen the connection with additional screws or brackets for added stability.
Building and Installing the Shelves
Shelves provide the storage space for books and decorative items.
A. Cutting the Shelves: Use the table saw or circular saw to cut the plywood into shelves of desired width.
B. Installing the Shelves: Use a router to create shelf supports along the inside of the bookcase frame. Insert the shelves, ensuring they are level and secure.
Finishing and Decorating the Bookcase
Applying the finishing touches completes the DIY arched bookcase.
A. Sanding and Staining: Smooth the surfaces with sandpaper and apply stain or paint of your choice to match your décor.
B. Applying Protective Finish: Seal the bookcase with a clear polyurethane finish for added durability and protection.
 Conclusion
Building a DIY arched bookcase allows you to showcase your craftsmanship and create a unique piece for your home. By following the step-by-step instructions in this comprehensive guide, you can successfully construct an arched bookcase that meets your needs and complements your style. Remember to gather the necessary materials and tools, plan the design and dimensions, and take your time to ensure accurate measurements and sturdy construction. Embrace the creativity and satisfaction that come with completing this DIY project, and enjoy the beauty and functionality of your customized arched bookcase.


