 Introduction:
Building a bookcase can be a rewarding and practical DIY project that allows you to customize the design and size to fit your space and needs. Whether you’re a beginner or an experienced woodworker, constructing your own bookcase can add a personal touch to your home while providing functional storage for your books and other items. In this article, we will provide you with a step-by-step guide on how to build a bookcase. From gathering materials and tools to assembly and finishing touches, you’ll learn everything you need to know to create a beautiful and functional bookcase.
 Some common types of bookcases:
There are several types of bookcases available, each with its own unique design and features. Here are some common types of bookcases:
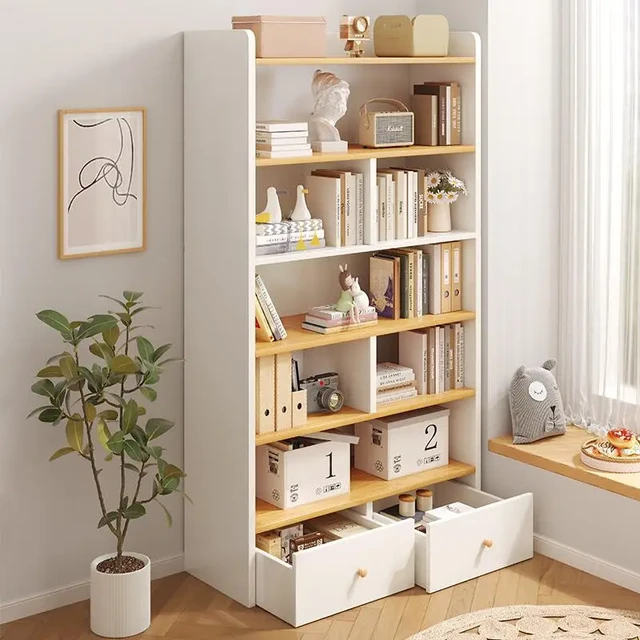
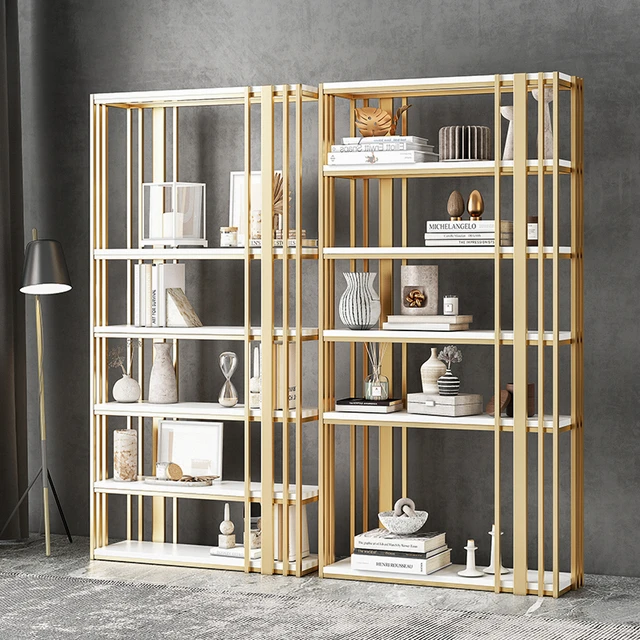
Standard Bookcase:
A standard bookcase is the most basic and common type, characterized by a vertical structure with horizontal shelves. It is typically made of wood or a wood composite material and comes in various sizes and configurations.
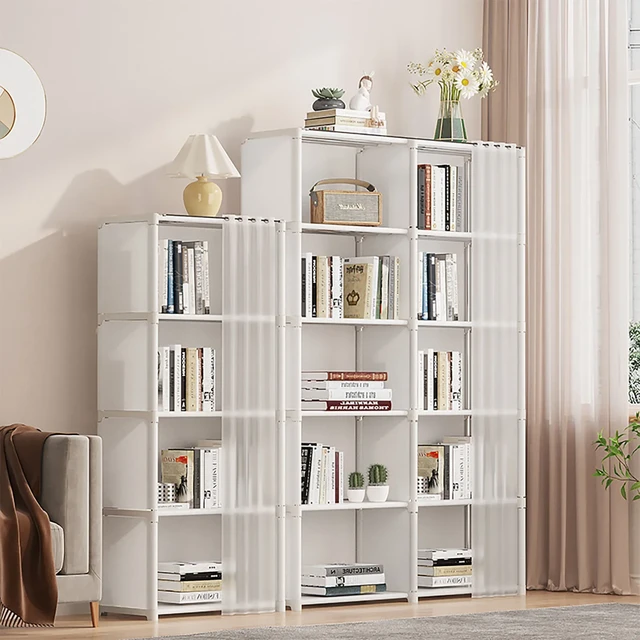
Cube Bookcase:
Cube bookcases feature cube-shaped compartments or cubby holes for storage. They can be arranged in a grid-like pattern, providing a versatile and modular storage solution.
Barrister Bookcase:
Barrister bookcases are known for their glass-front doors that protect books from dust and damage. The doors are often made of glass panels that slide up and down or swing open.
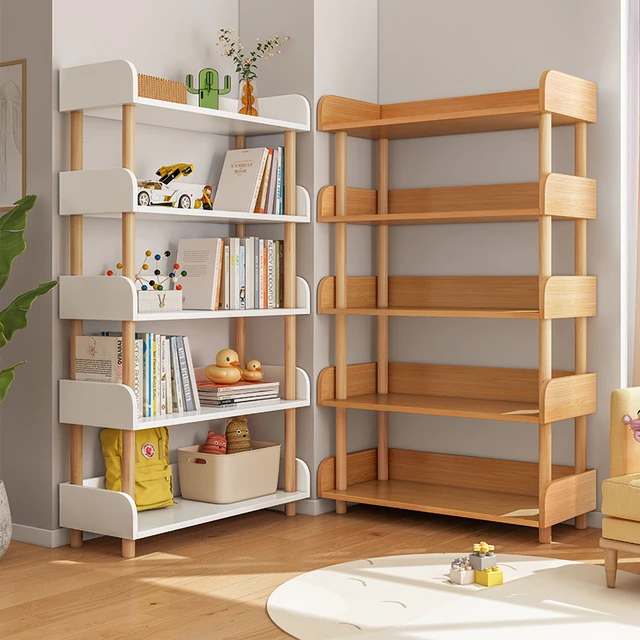
Ladder Bookcase:
Ladder bookcases have a leaning or ladder-like design. They typically have shelves of varying depths and heights, creating a visually appealing display.
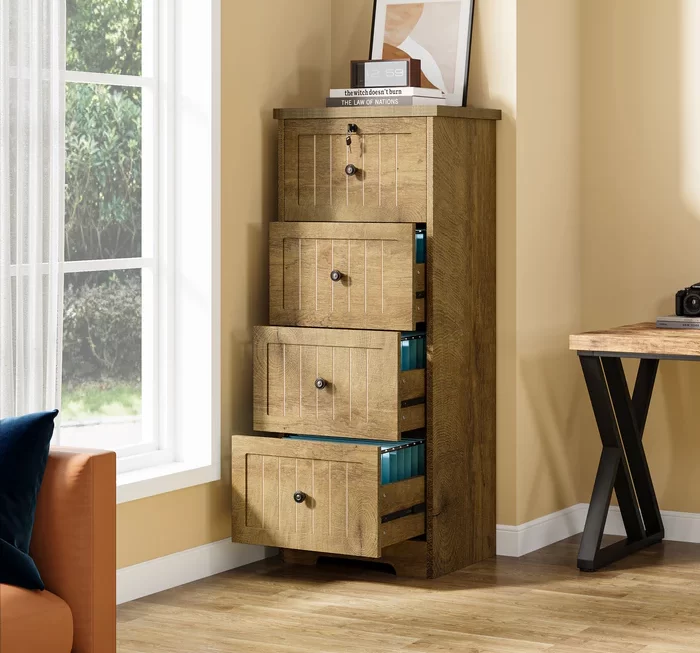
Corner Bookcase:
Corner bookcases are designed to fit into corners, making use of space that might otherwise be wasted. They have a triangular shape and are versatile for holding books and displaying decorative items.
Revolving Bookcase:
Revolving bookcases, also known as rotating bookcases or book towers, have multiple shelves that rotate on a central axis. This design allows for easy access to books, even in a tight space.
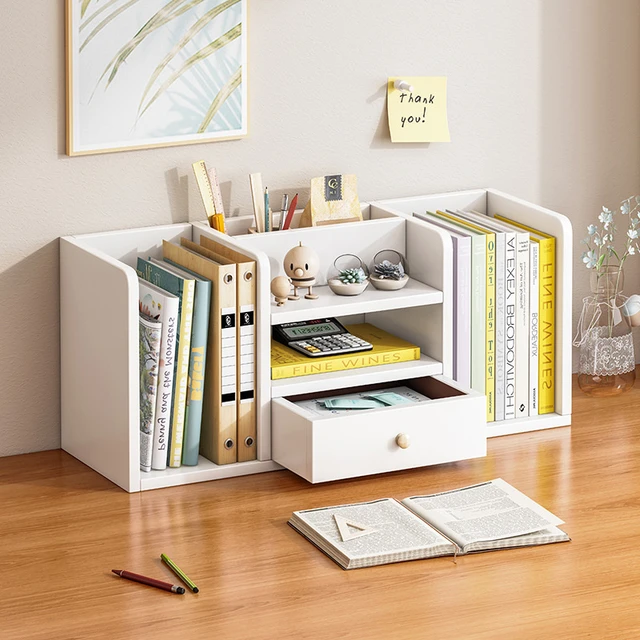
Wall-mounted Bookcase:
Wall-mounted bookcases are attached directly to the wall, providing a minimalistic and space-saving option. They can be fixed at various heights and widths, depending on the available wall space.
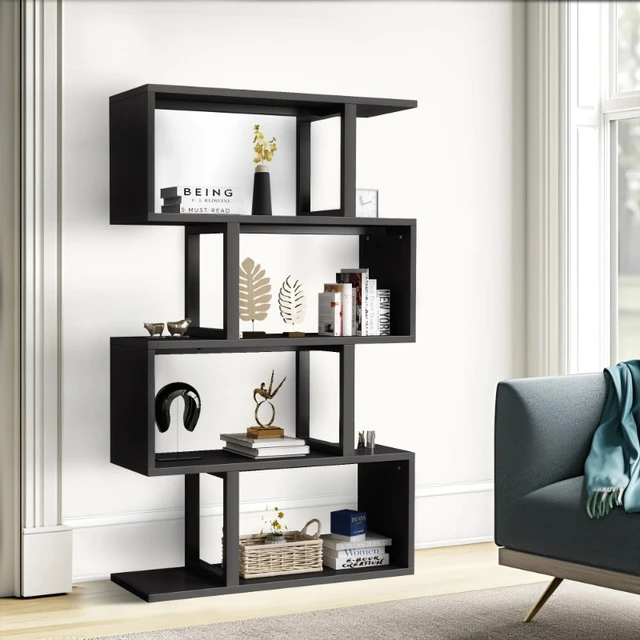
Open Back Bookcase:
Open back bookcases have an open design at the back, allowing the wall to be visible through the shelves. They provide a more airy and transparent look, suitable for creating an open and modern atmosphere.
Modular Bookcase:
Modular bookcases consist of separate units or modules that can be stacked or arranged in different configurations. They offer flexibility in customization and can adapt to changing storage needs.
When choosing a bookcase, consider factors such as the available space, storage requirements, aesthetic preferences, and the overall style of the room. Each type of bookcase offers its own advantages and features, allowing you to find the perfect fit for your specific needs.
 Introduction to Building a Bookcase
Building a bookcase from scratch allows you to customize its size, shape, and design to suit your preferences.
A. Materials: Building a bookcase requires basic materials such as wood, screws, and nails, as well as optional items such as paint or stain.
B. Tools: Essential tools include a circular saw, drill, level, tape measure, clamps, hammer, and screwdriver.
Design and Measurements
Start by determining the design, dimensions, and placement for your bookcase.
A. Measurements: Measure the space where you plan to place the bookcase, taking into account the height, width, and depth you desire.
B. Design Considerations: Consider the design elements, such as the number of shelves, the style of the sides, and any additional features like cabinet doors or drawers.
C. Sketch and Plan: Create a sketch or use design software to visualize the bookcase and plan the materials and cuts required.
Materials and Tools
Gather all the necessary materials and tools before beginning the construction process.
A. Wood Selection: Choose a type of wood that suits your design and budget, such as plywood or solid wood boards.
B. Hardware: Purchase screws, nails, brackets, and other necessary hardware based on the design and measurements of your bookcase.
C. Tools: Ensure you have all the required tools, including a circular saw, drill, measuring tape, level, clamps, and safety equipment.
 Cutting and Assembly
Begin the construction process by cutting the wood pieces and assembling the bookcase framework.
A. Cutting Wood: Use a circular saw or miter saw to cut the wood boards into the required dimensions for the sides, shelves, and other components.
B. Side Panels: Assemble the side panels, ensuring they are square and level. Use clamps to hold the pieces in place while drilling pilot holes and attaching them with screws.
C. Shelves: Install shelves by measuring and marking their placement on the side panels. Drill pilot holes and attach the shelves using screws or brackets.
D. Back Panel: Attach a back panel, such as a piece of plywood or hardboard, to provide stability and prevent items from falling out the back.
Finishing Touches
Add finishing touches to your bookcase to enhance its appearance and protect the wood.
A. Sanding: Use sandpaper or a sanding block to smooth any rough edges or surfaces. Sand the entire bookcase to create a smooth finish.
B. Stain or Paint: Apply stain or paint to the bookcase according to your desired finish. Follow the manufacturer’s instructions and apply multiple coats if necessary.
C. Seal and Protect: Apply a protective finish, such as polyurethane or clear coat, to seal the wood and provide additional durability.
Placement and Use
Once your bookcase is complete, carefully move it to the desired location and start organizing your books and other items.
A. Placement: Ensure the bookcase is level and stable on the floor or wall, depending on its design.
B. Organizing: Arrange your books and other items on the shelves, considering aesthetics and functionality.
C. Personalization: Add decorative touches such as plants, artwork, or personal mementos to personalize the bookcase.
 Conclusion
Building a bookcase allows you to create a customized storage solution that reflects your style and fits your space. By following this step-by-step guide, you can construct your own bookcase from scratch, from design and measurements to cutting, assembly, and finishing touches. Take pride in your craftsmanship and enjoy the functionality and aesthetics of your unique bookcase. With a little time, effort, and attention to detail, you can create a beautiful and functional piece of furniture that will hold your favorite books and enhance the overall look of your home.